In today’s blog post, I’m going to show you how to set up a new company file in QuickBooks 2019 for Mac.
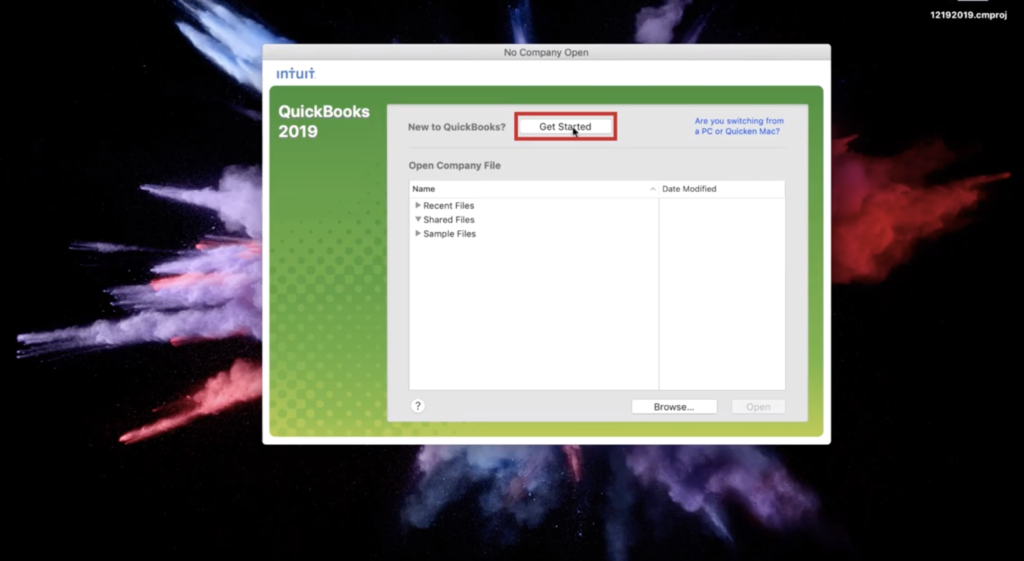
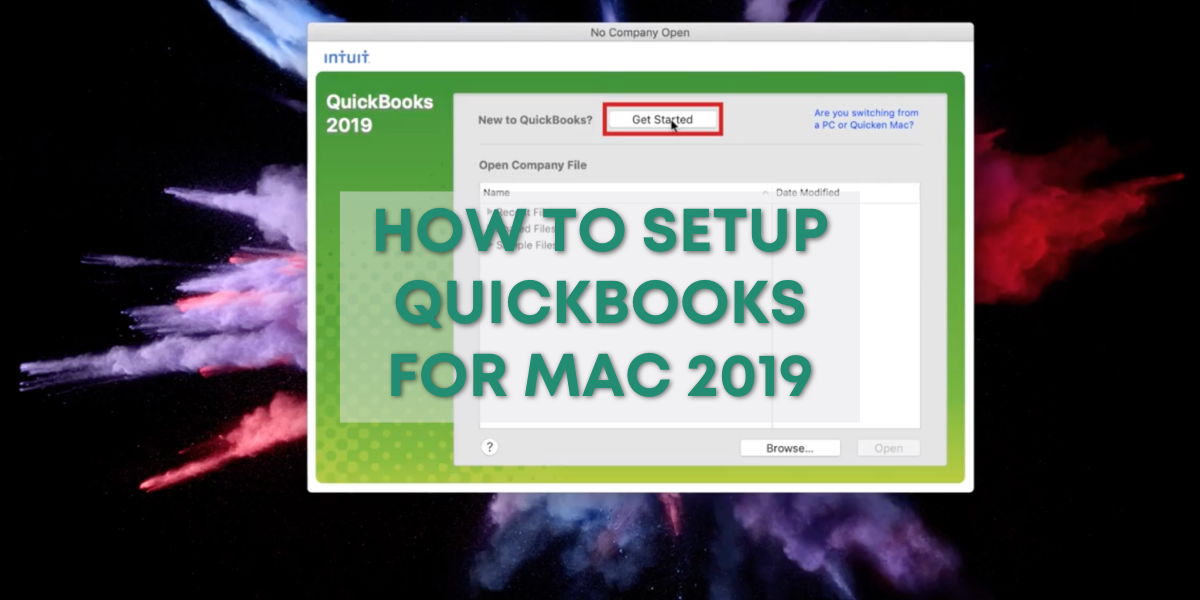
When we first open QuickBooks, we are greeted with a screen that lists each company file. QuickBooks will list the date modified next to each company file. To begin setting up your new file, click the Get Started button in the upper middle part of the program.
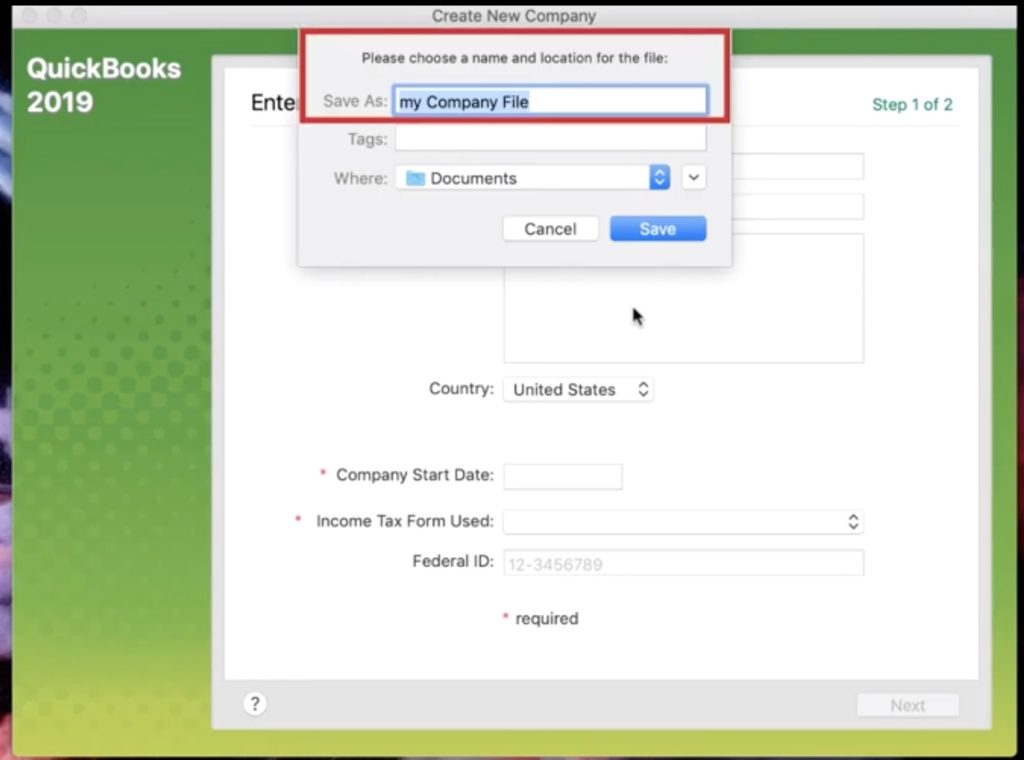
Once we’ve clicked “Get Started” we will then need to name our file. In this example we’ll name it RachelsMacVideoFile and save it to the Documents folder.
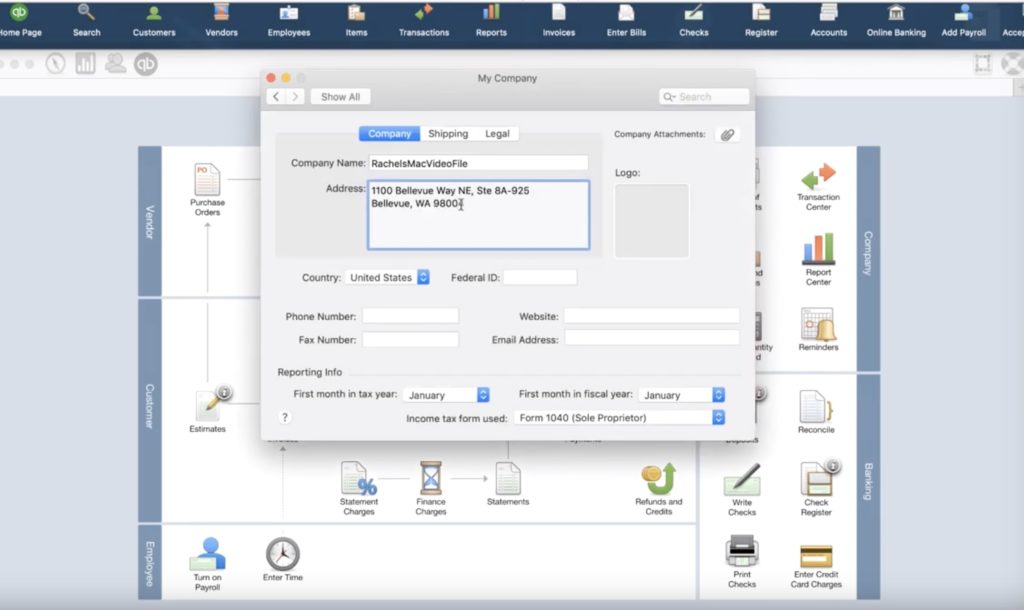
After our file is named and saved to a safe location, it’s time to fill in the details about our company address and tax information. This part is self-explanatory and will depend on the specifics of your business. The part to note is that for the Income-tax Form Used, we advise against using your Social Security Number. Instead, use an EIN if you have one available.
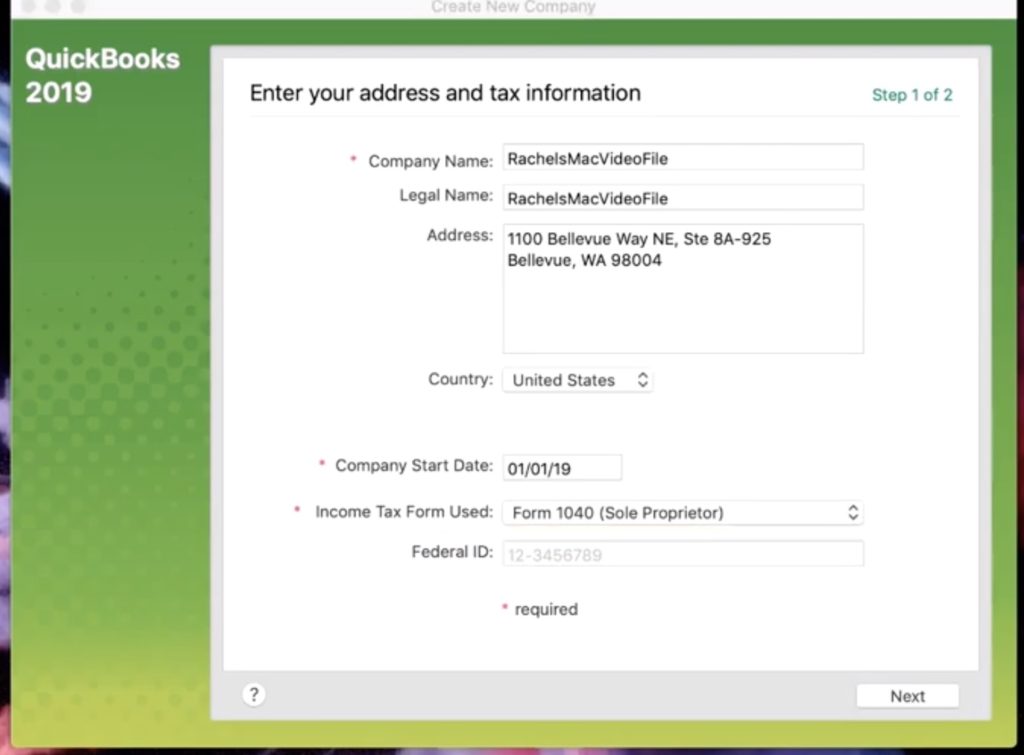
If you don’t have an EIN, obtaining one is quick and easy. Just head over to the IRS.gov website, search for “EIN” in the search box, click the link to the page titled “Apply for an Employee Identification Number,” and then follow the steps presented to you. You will know the kind of business you have best, so do what applies to you.
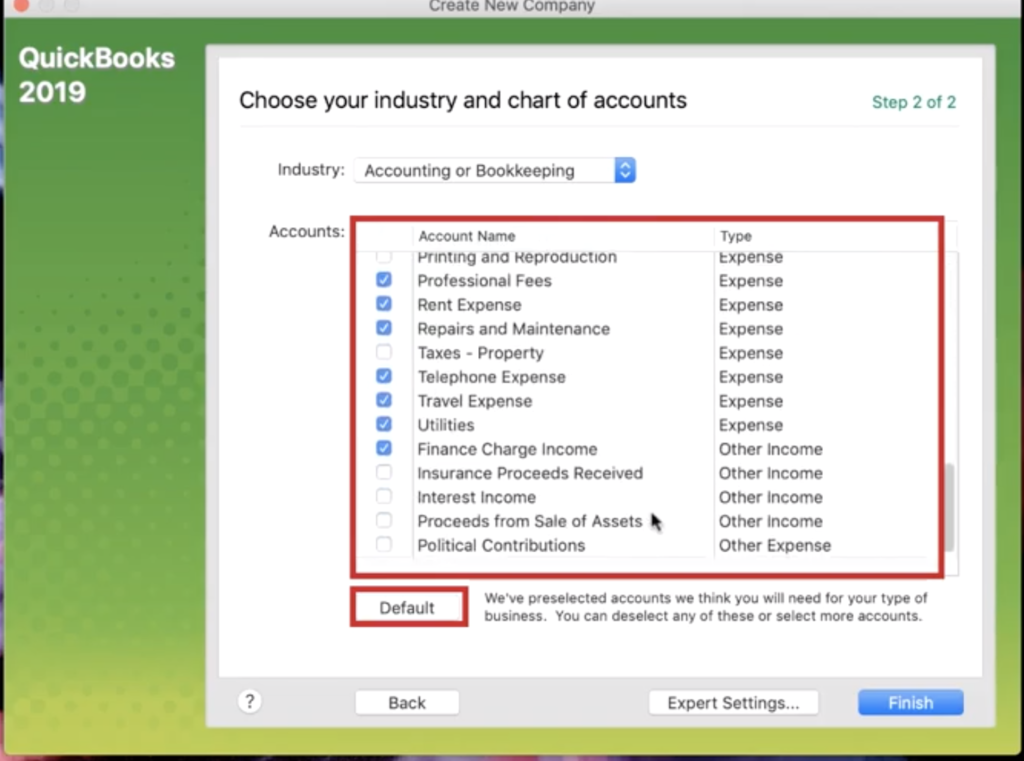
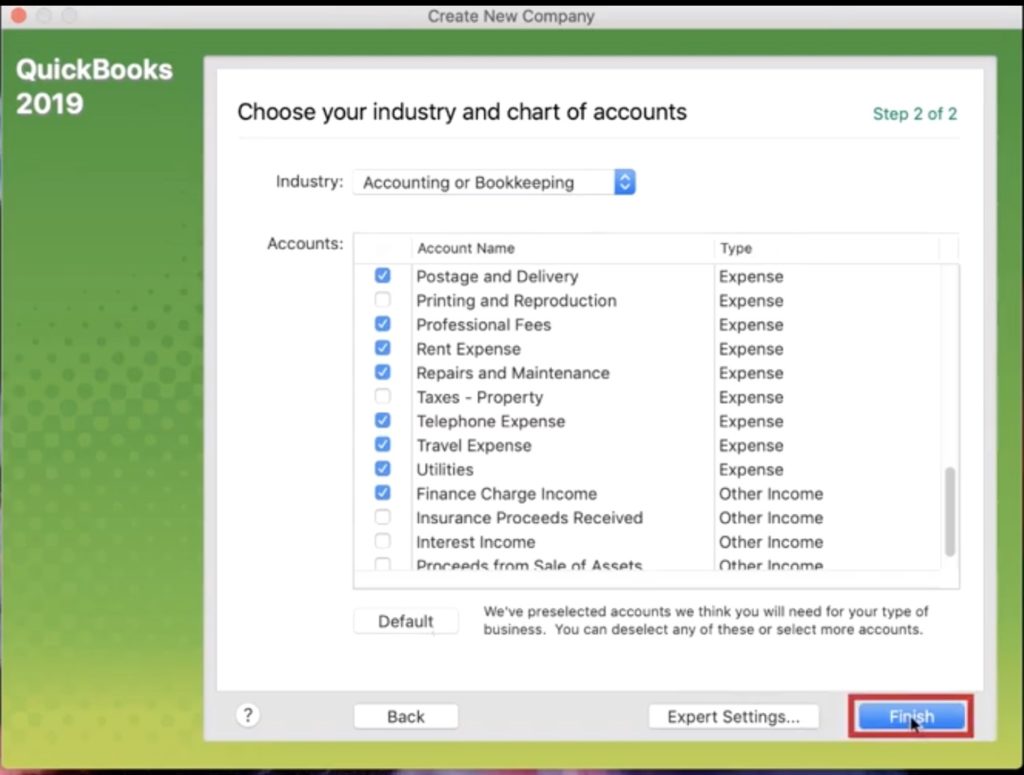
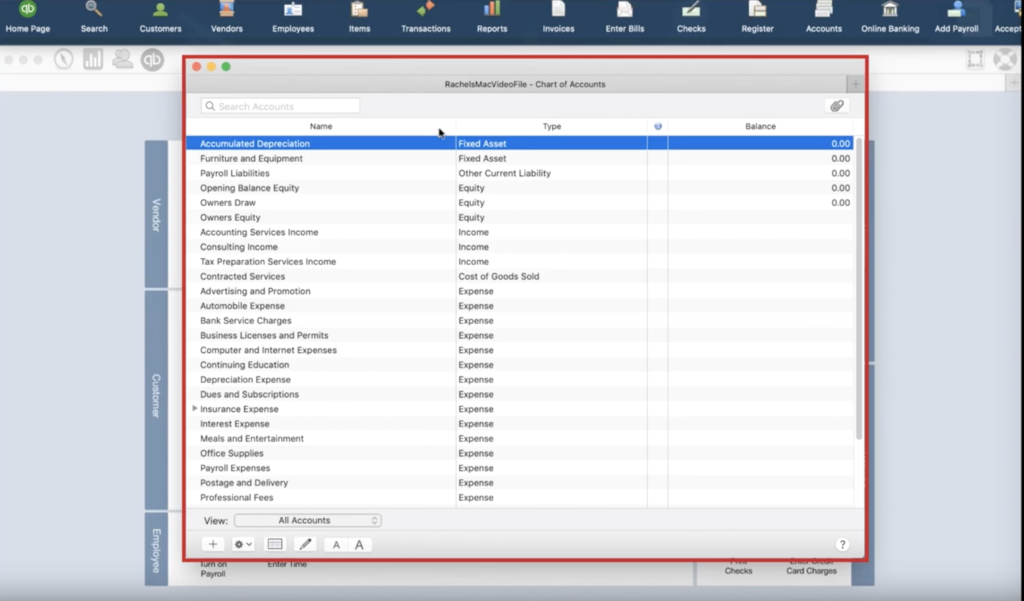
Once you click next, you’ll be brought to a page titled Step 2 of 2. This is where you select the industry and the accounts in your chart of accounts. You will notice that some of these accounts are already checked. Depending on your industry, the defaults will change and add different accounts. The ones you pick will be specific to your business. When you have all the accounts selected that you would like, click Finish and then on the following screen, confirm and click OK.
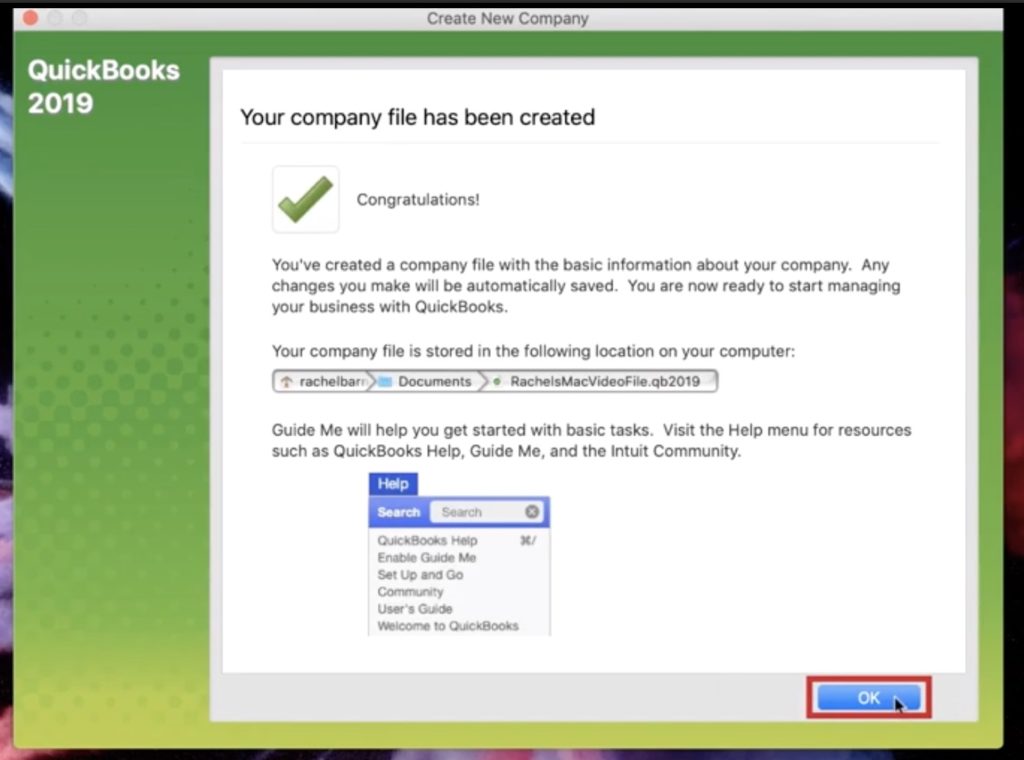
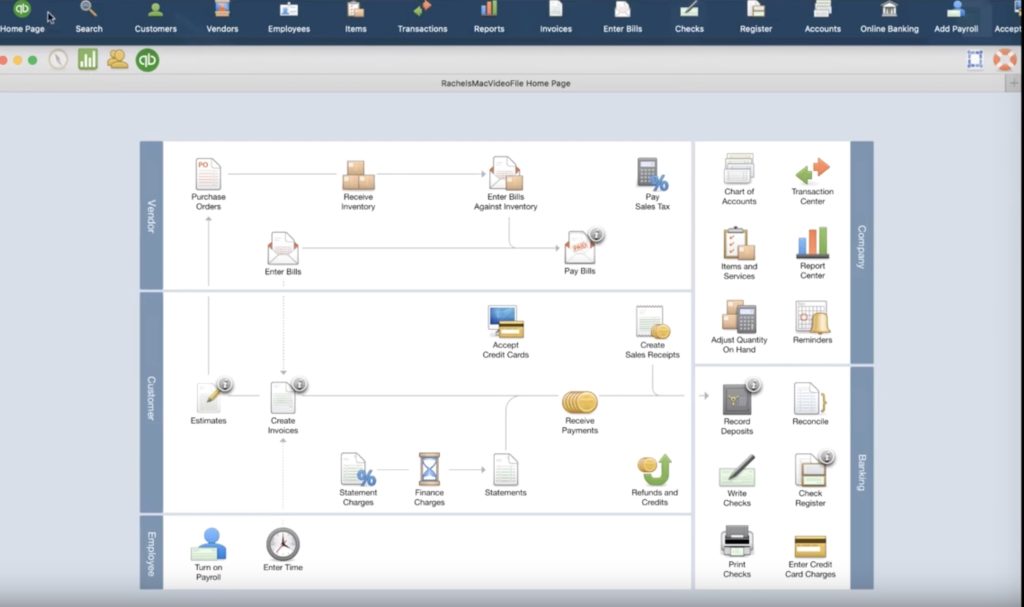
After your file has been created, you’ll be able to dive into your QuickBooks File and begin doing your bookkeeping.
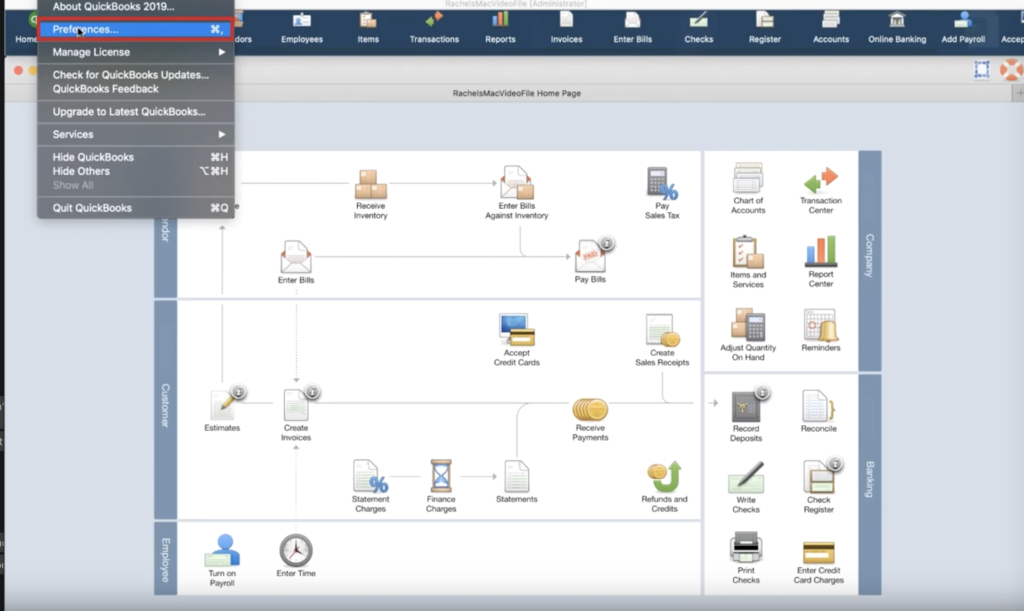
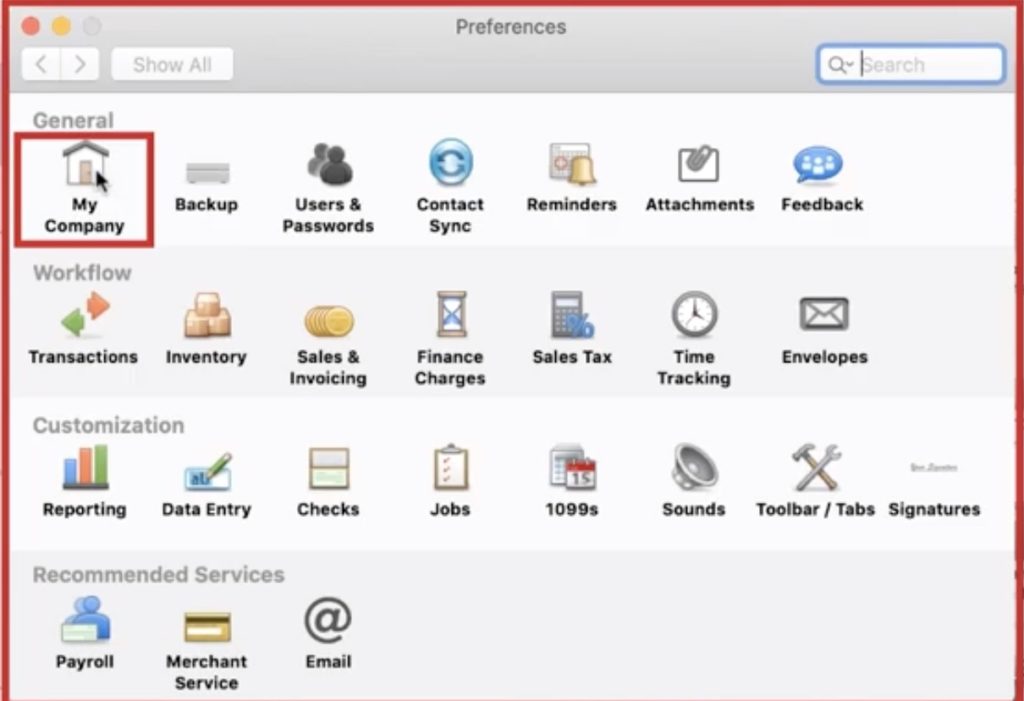
If you realize that some mistake was made while setting up the new file, that can be fixed. To rectify any error in your Company Information, navigate to the main menu at the top of the screen and click where it says QuickBooks and then click on Preferences. On the next screen, click on the little house titled My Company. On the My Company screen, you’ll be able to modify the same details we just filled out while creating the file.
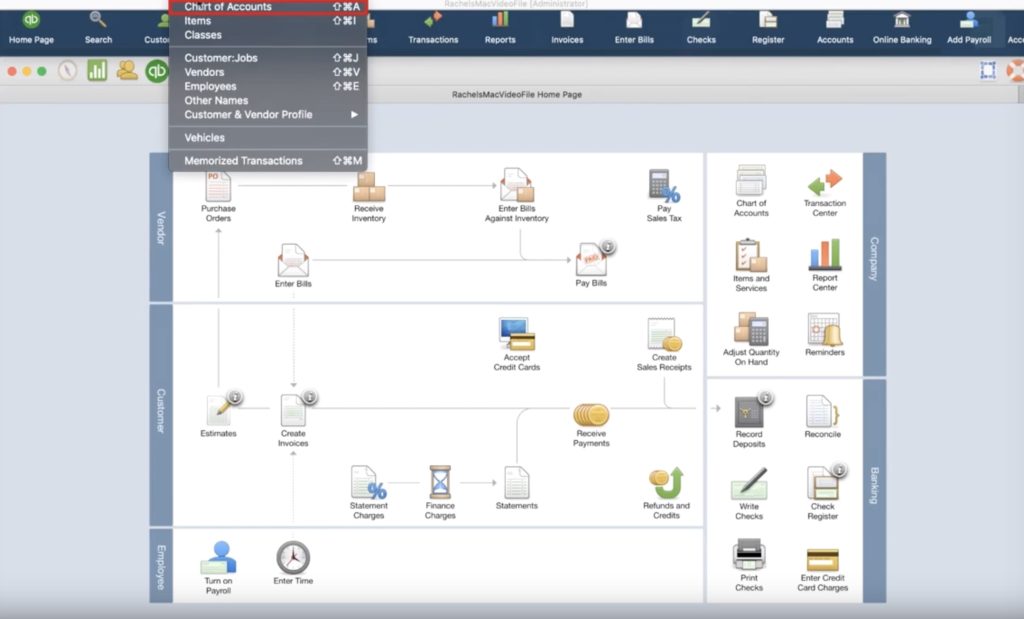
Another item we set up when creating this file is the Chart of Accounts. If you wanted to modify that, click on Lists on the main navigation menu and then Chart of Accounts.
And there you have it. Now you know how to create a new QuickBooks 2019 file, set it up, and then modify it once it’s created.
☕ If you found this helpful you can say “thanks” by buying me a coffee…
https://www.buymeacoffee.com/gentlefrog


One Response