
In today’s blog post, I want to show you how to change, add, and rename things in your chart of accounts.
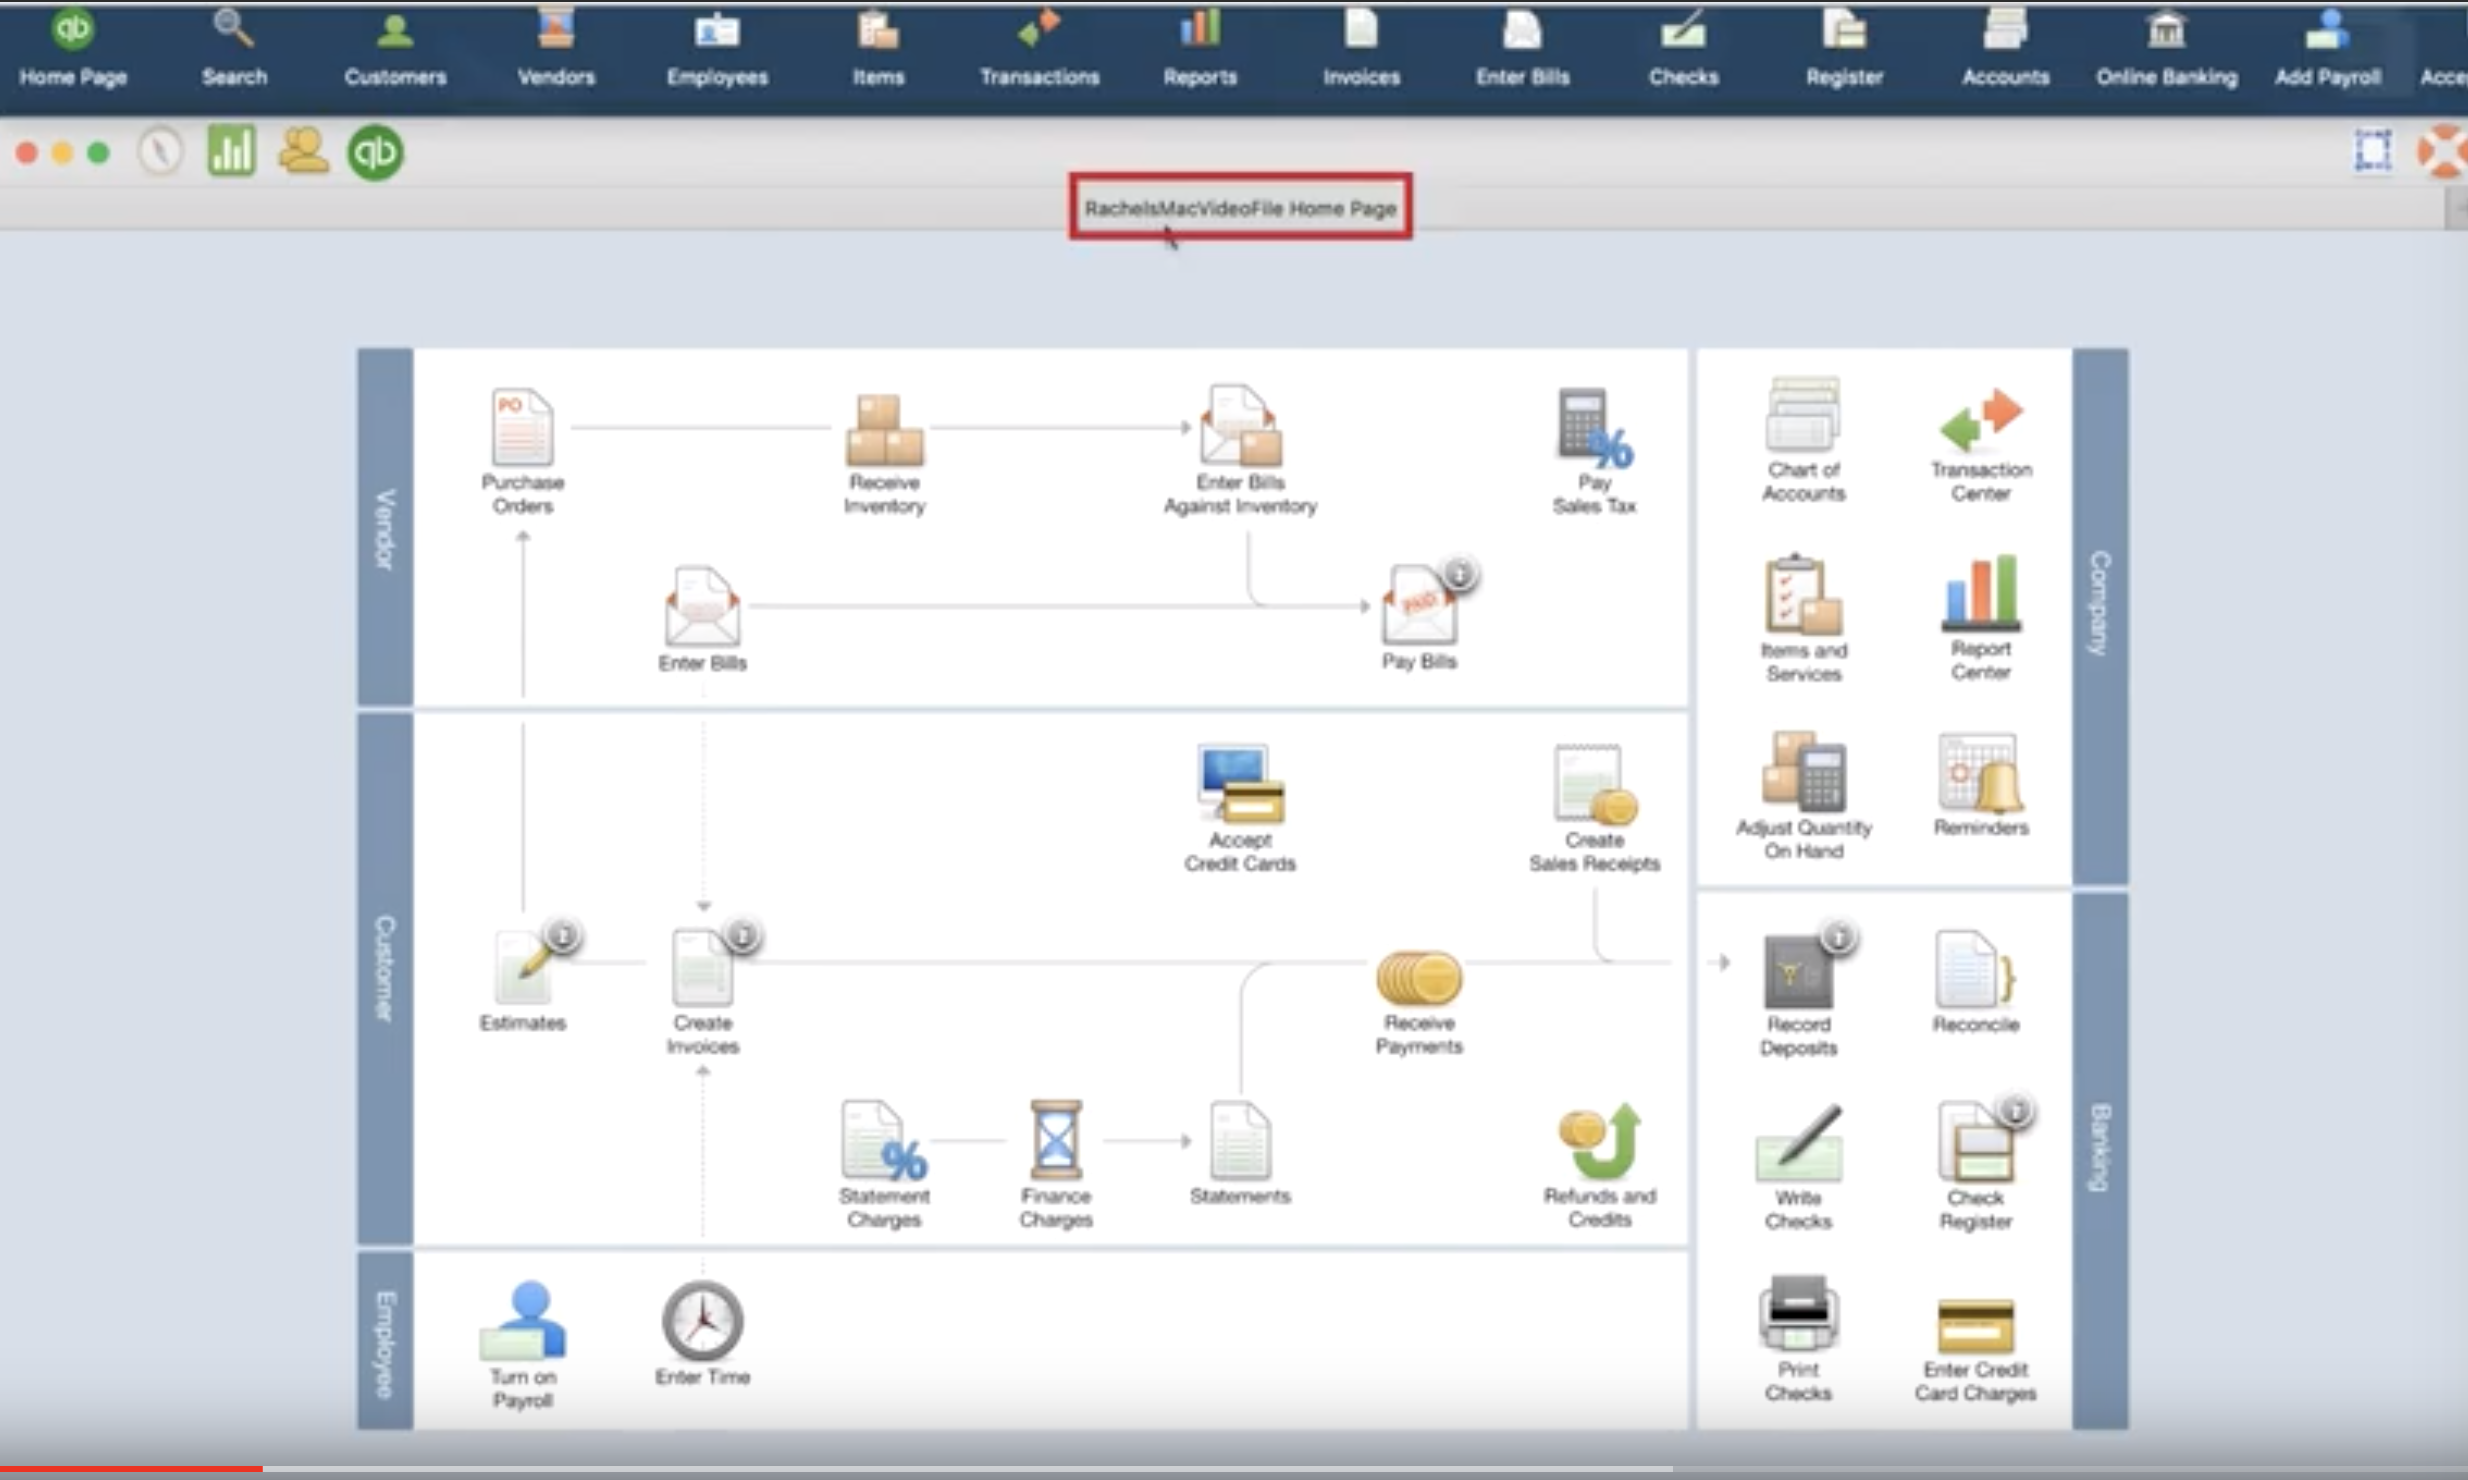
To begin with, we’re going to open up QuickBooks Desktop and load our Sample File. This is the same file we created in a blog post earlier this week. To read that blog post, go here.
Once your file is loaded, there are a handful of ways to get to the chart of accounts. In this example, we’re going to look to the top navigation bar and click the drop-down menu item titled “Lists” and then down to Chart of Accounts. You can alternatively press Shift+Command+A on your Mac.
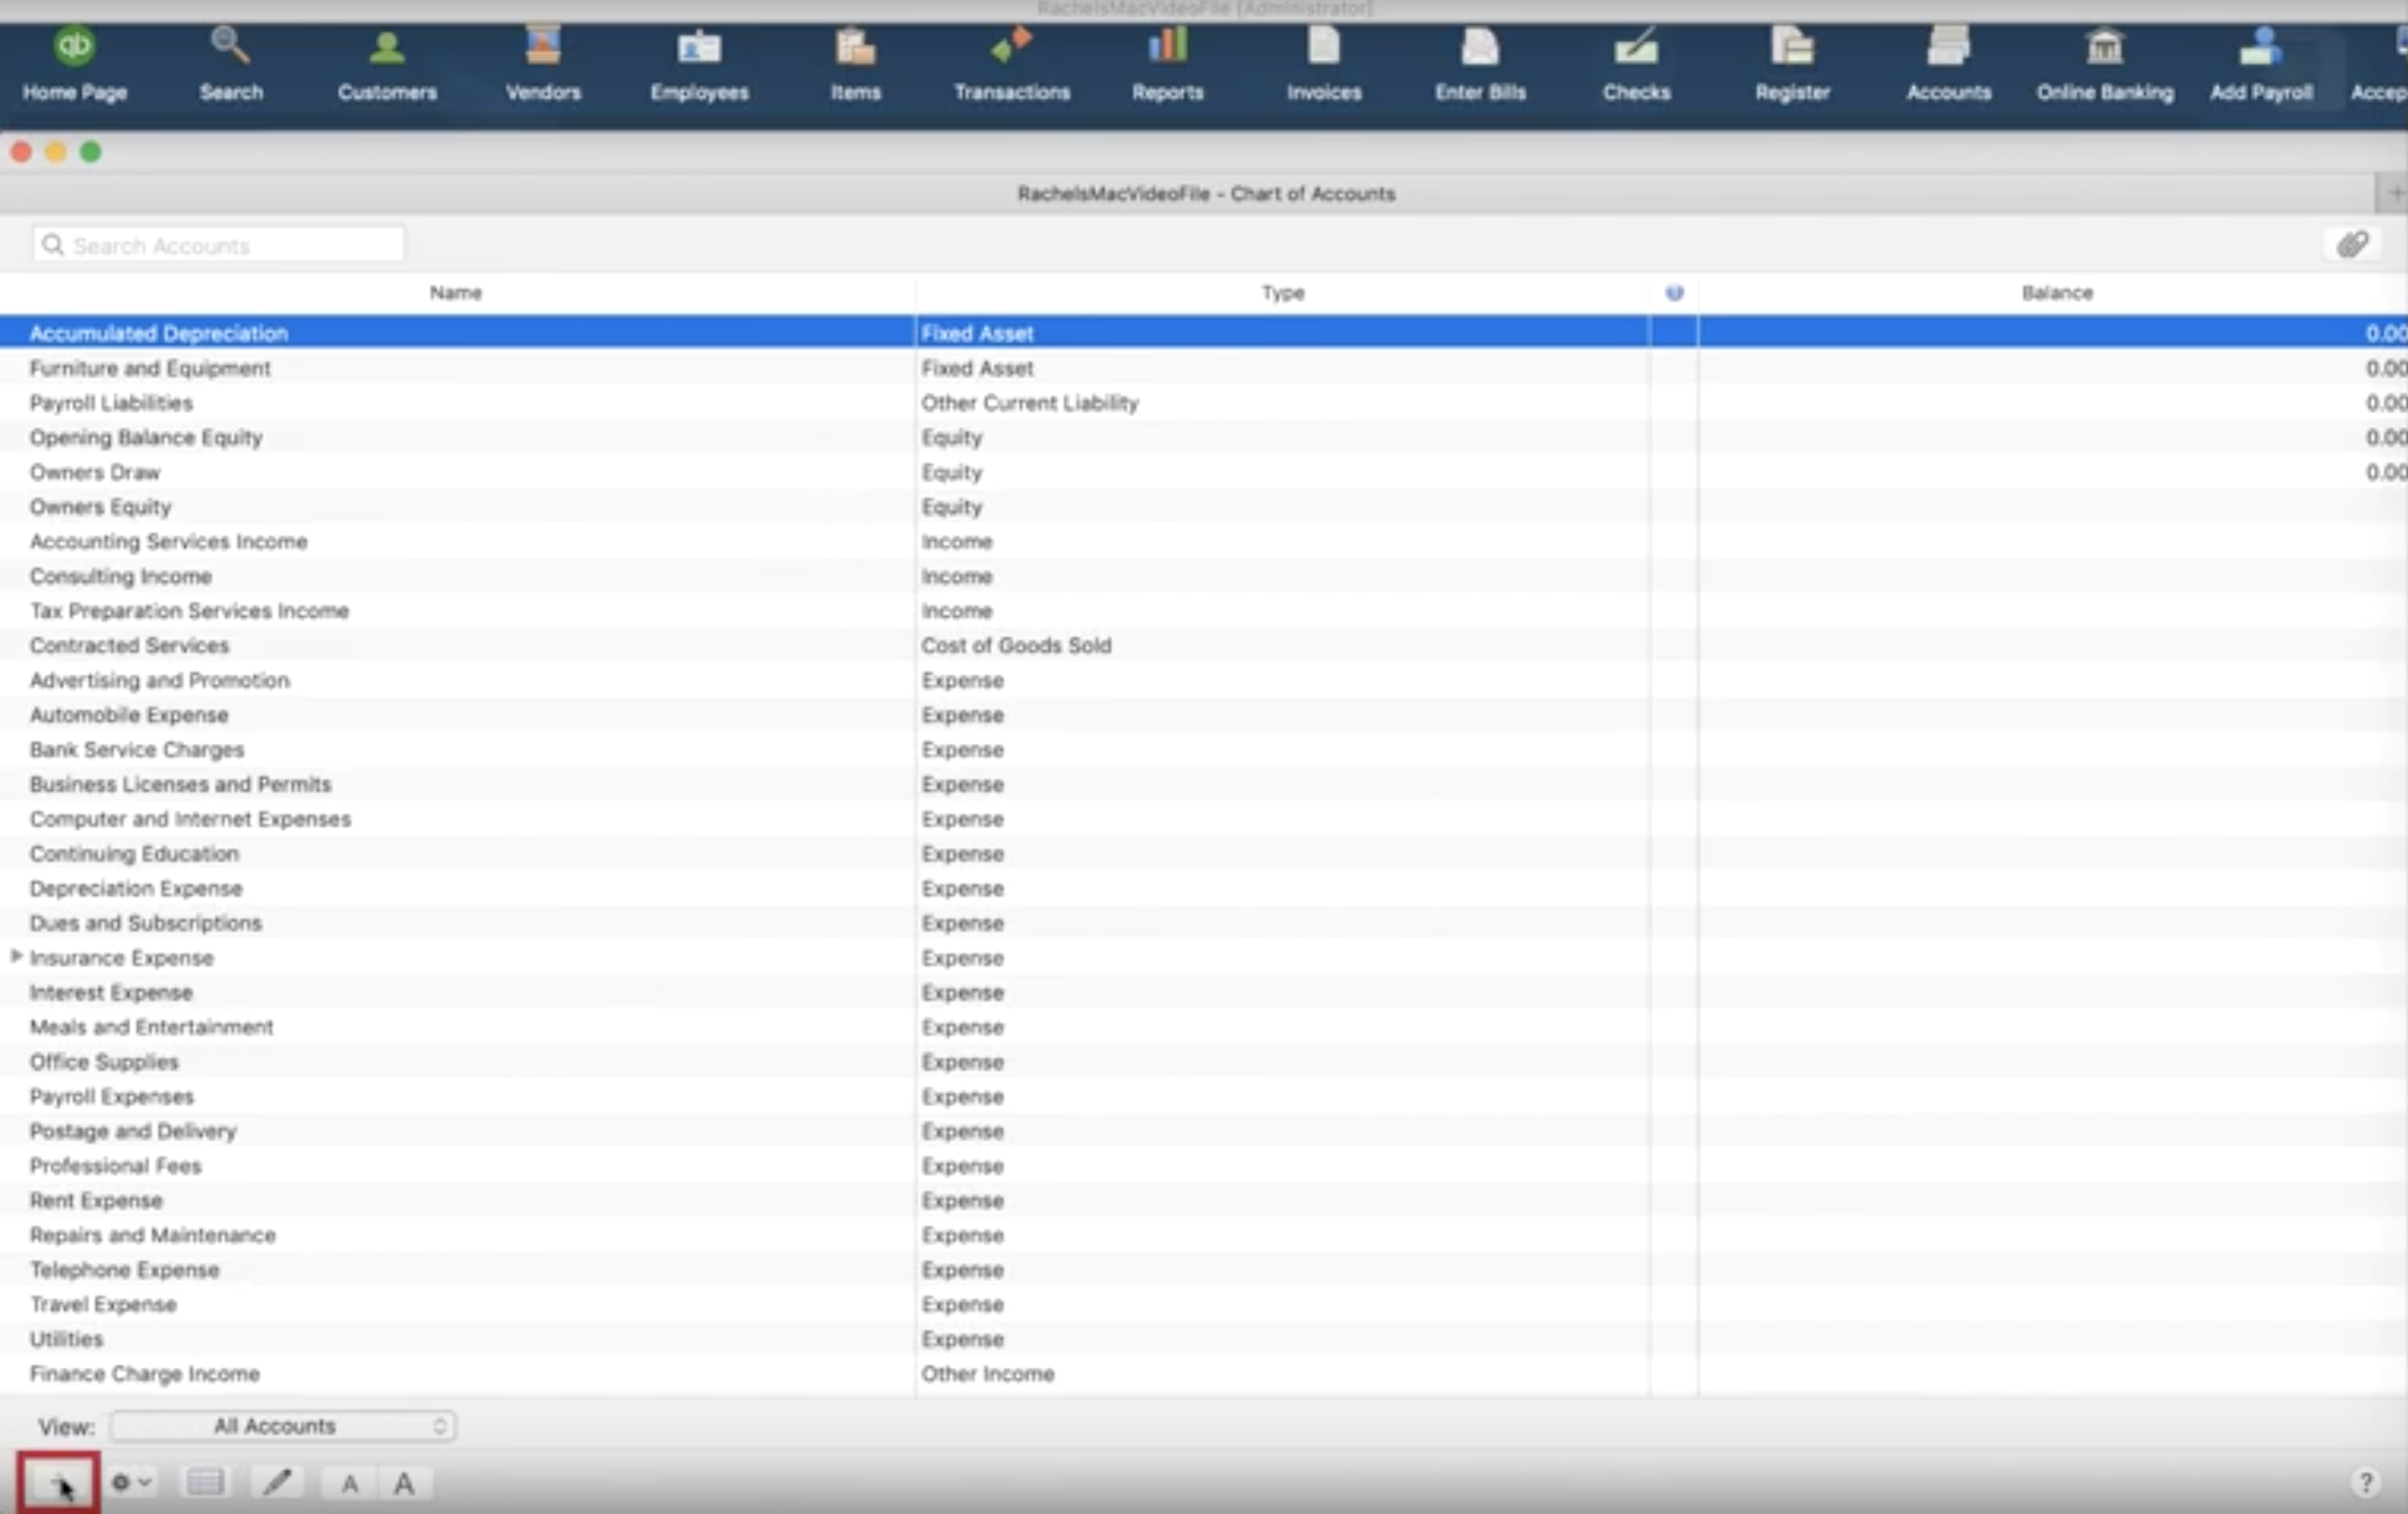
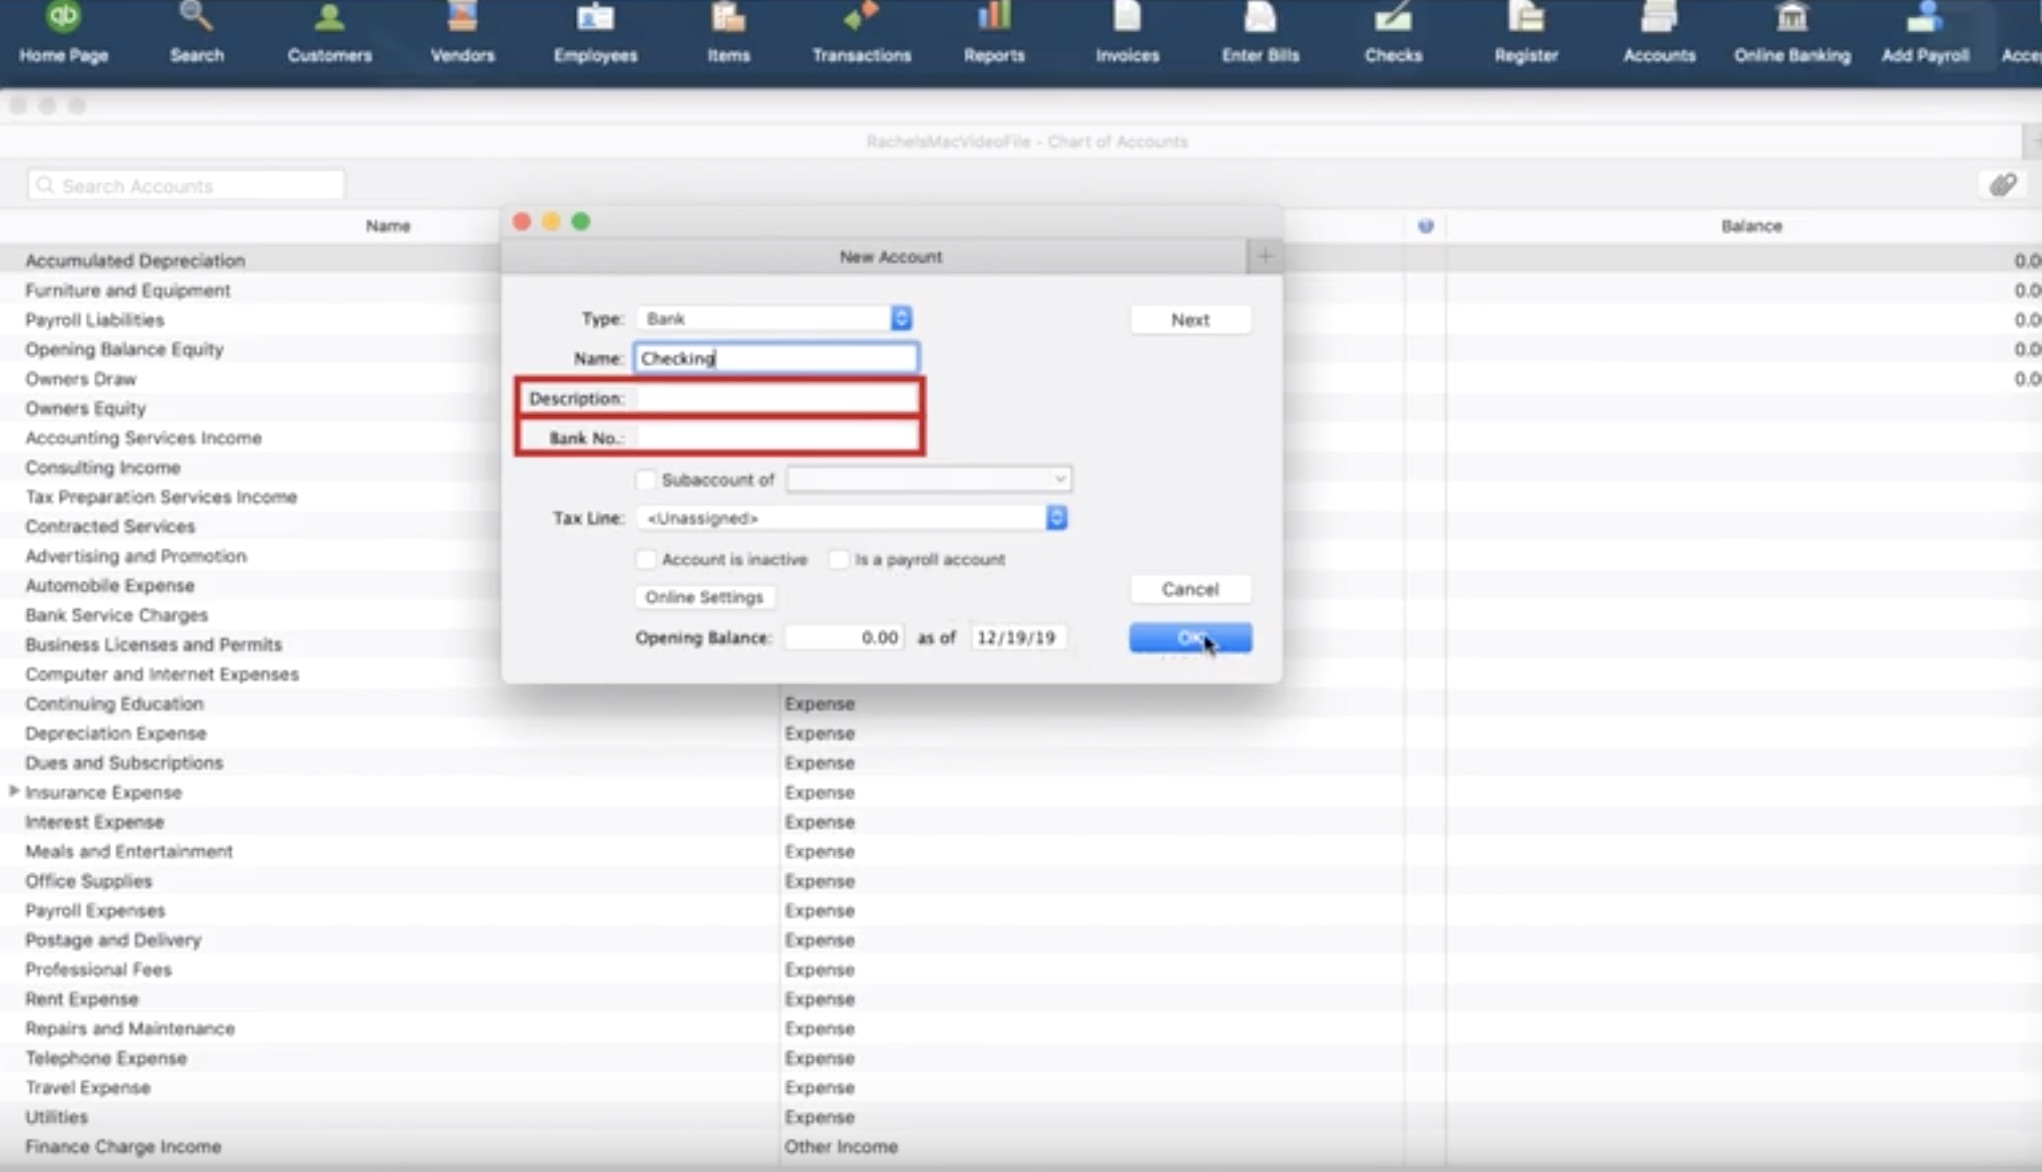
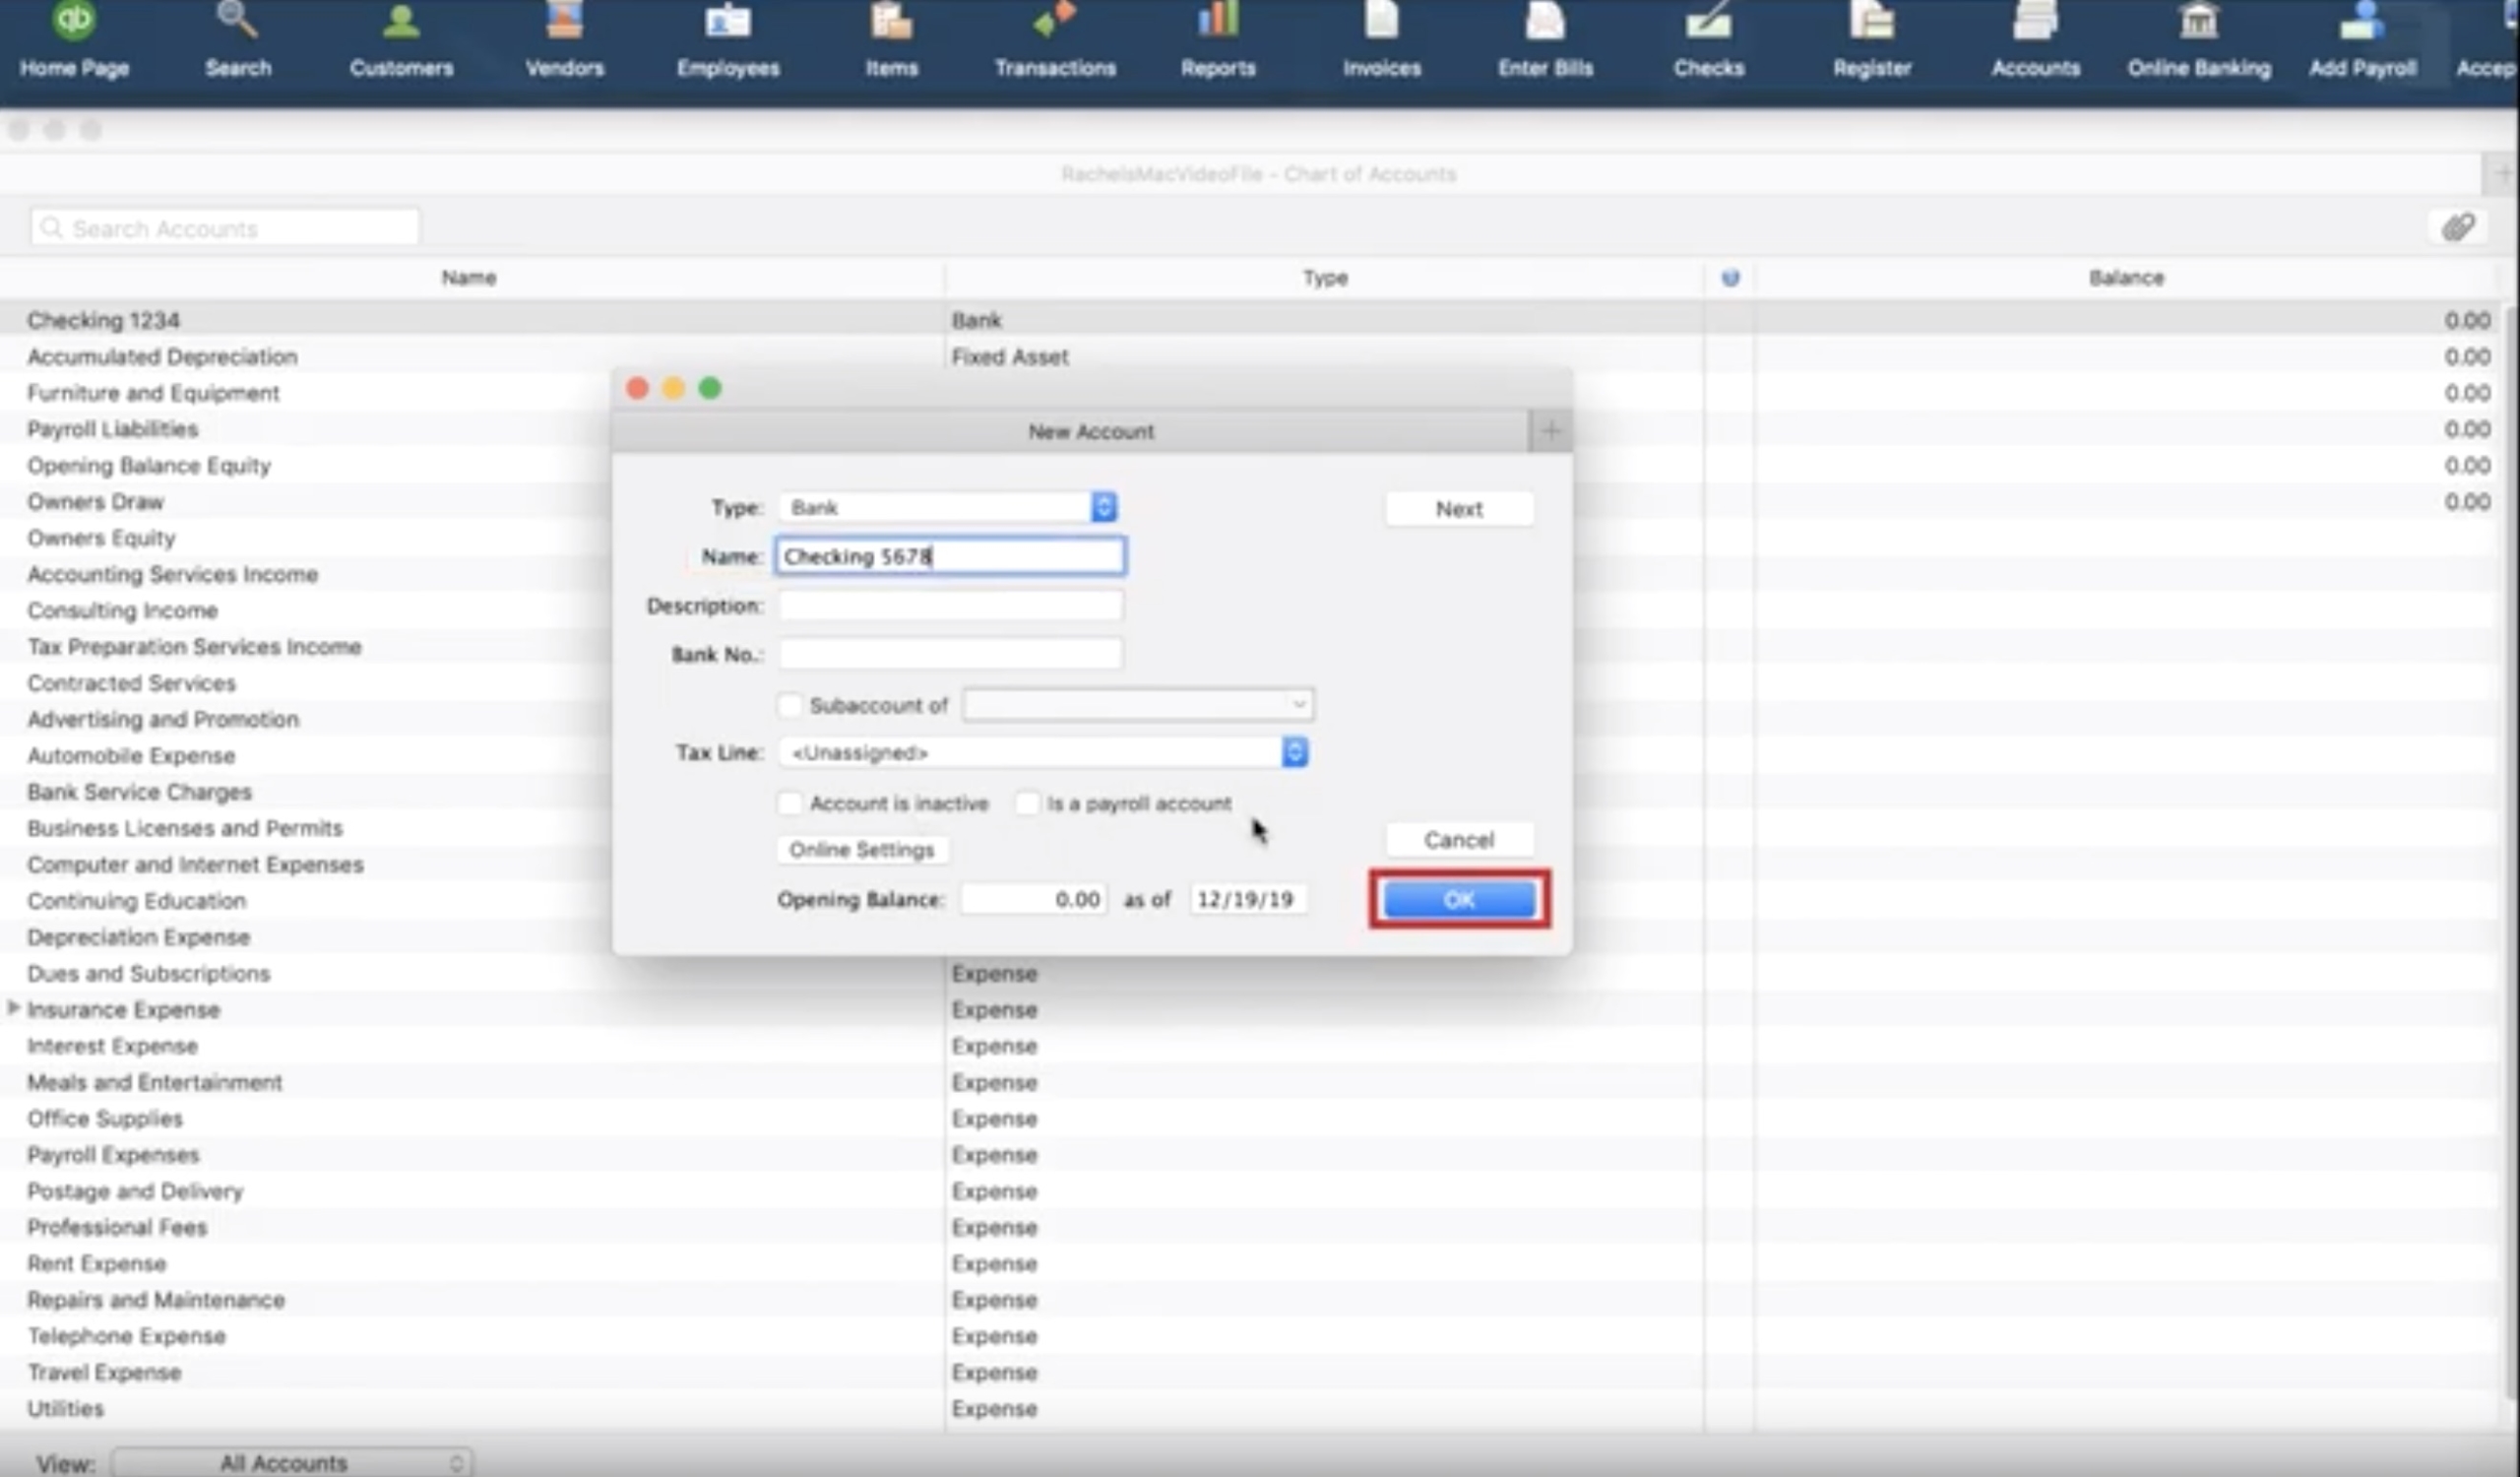
Now that the chart of accounts is open let’s begin by adding something. In this example, we’re missing a Checking Account, so let’s go ahead and add that. To do that, look to the lower left-hand side and click the plus sign. Clicking that plus sign will pop up a new window where we can add the details of the account.
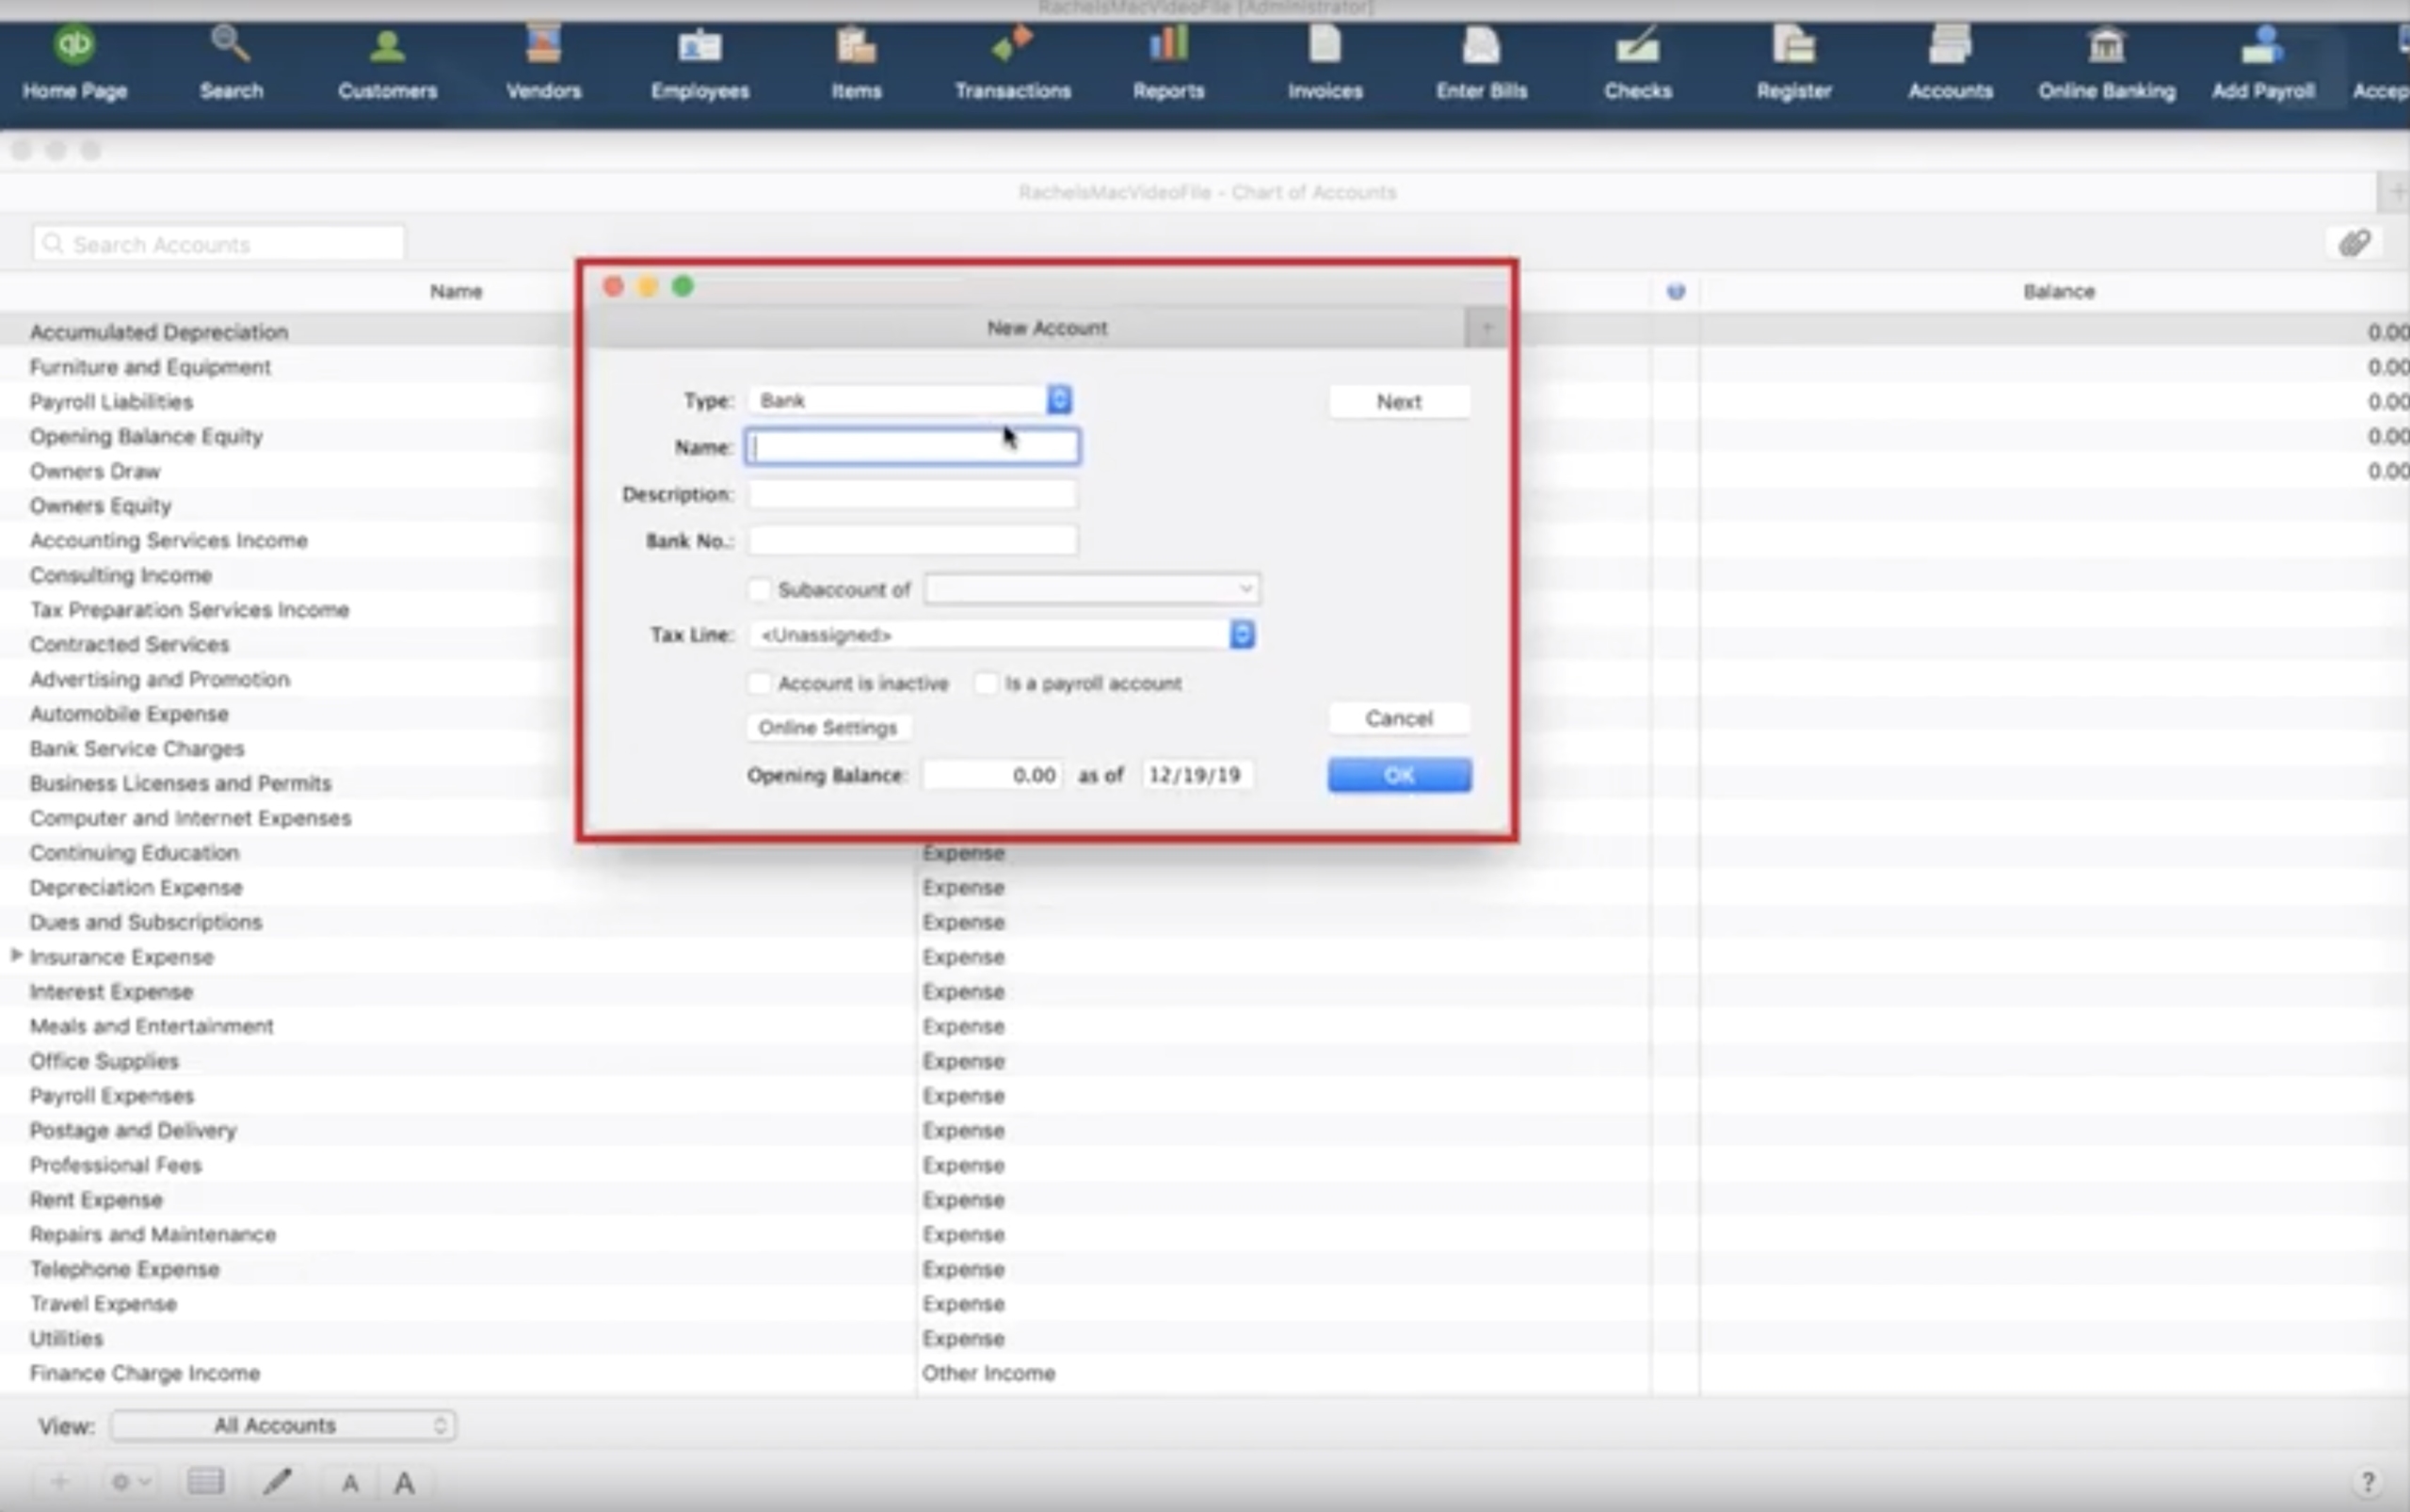
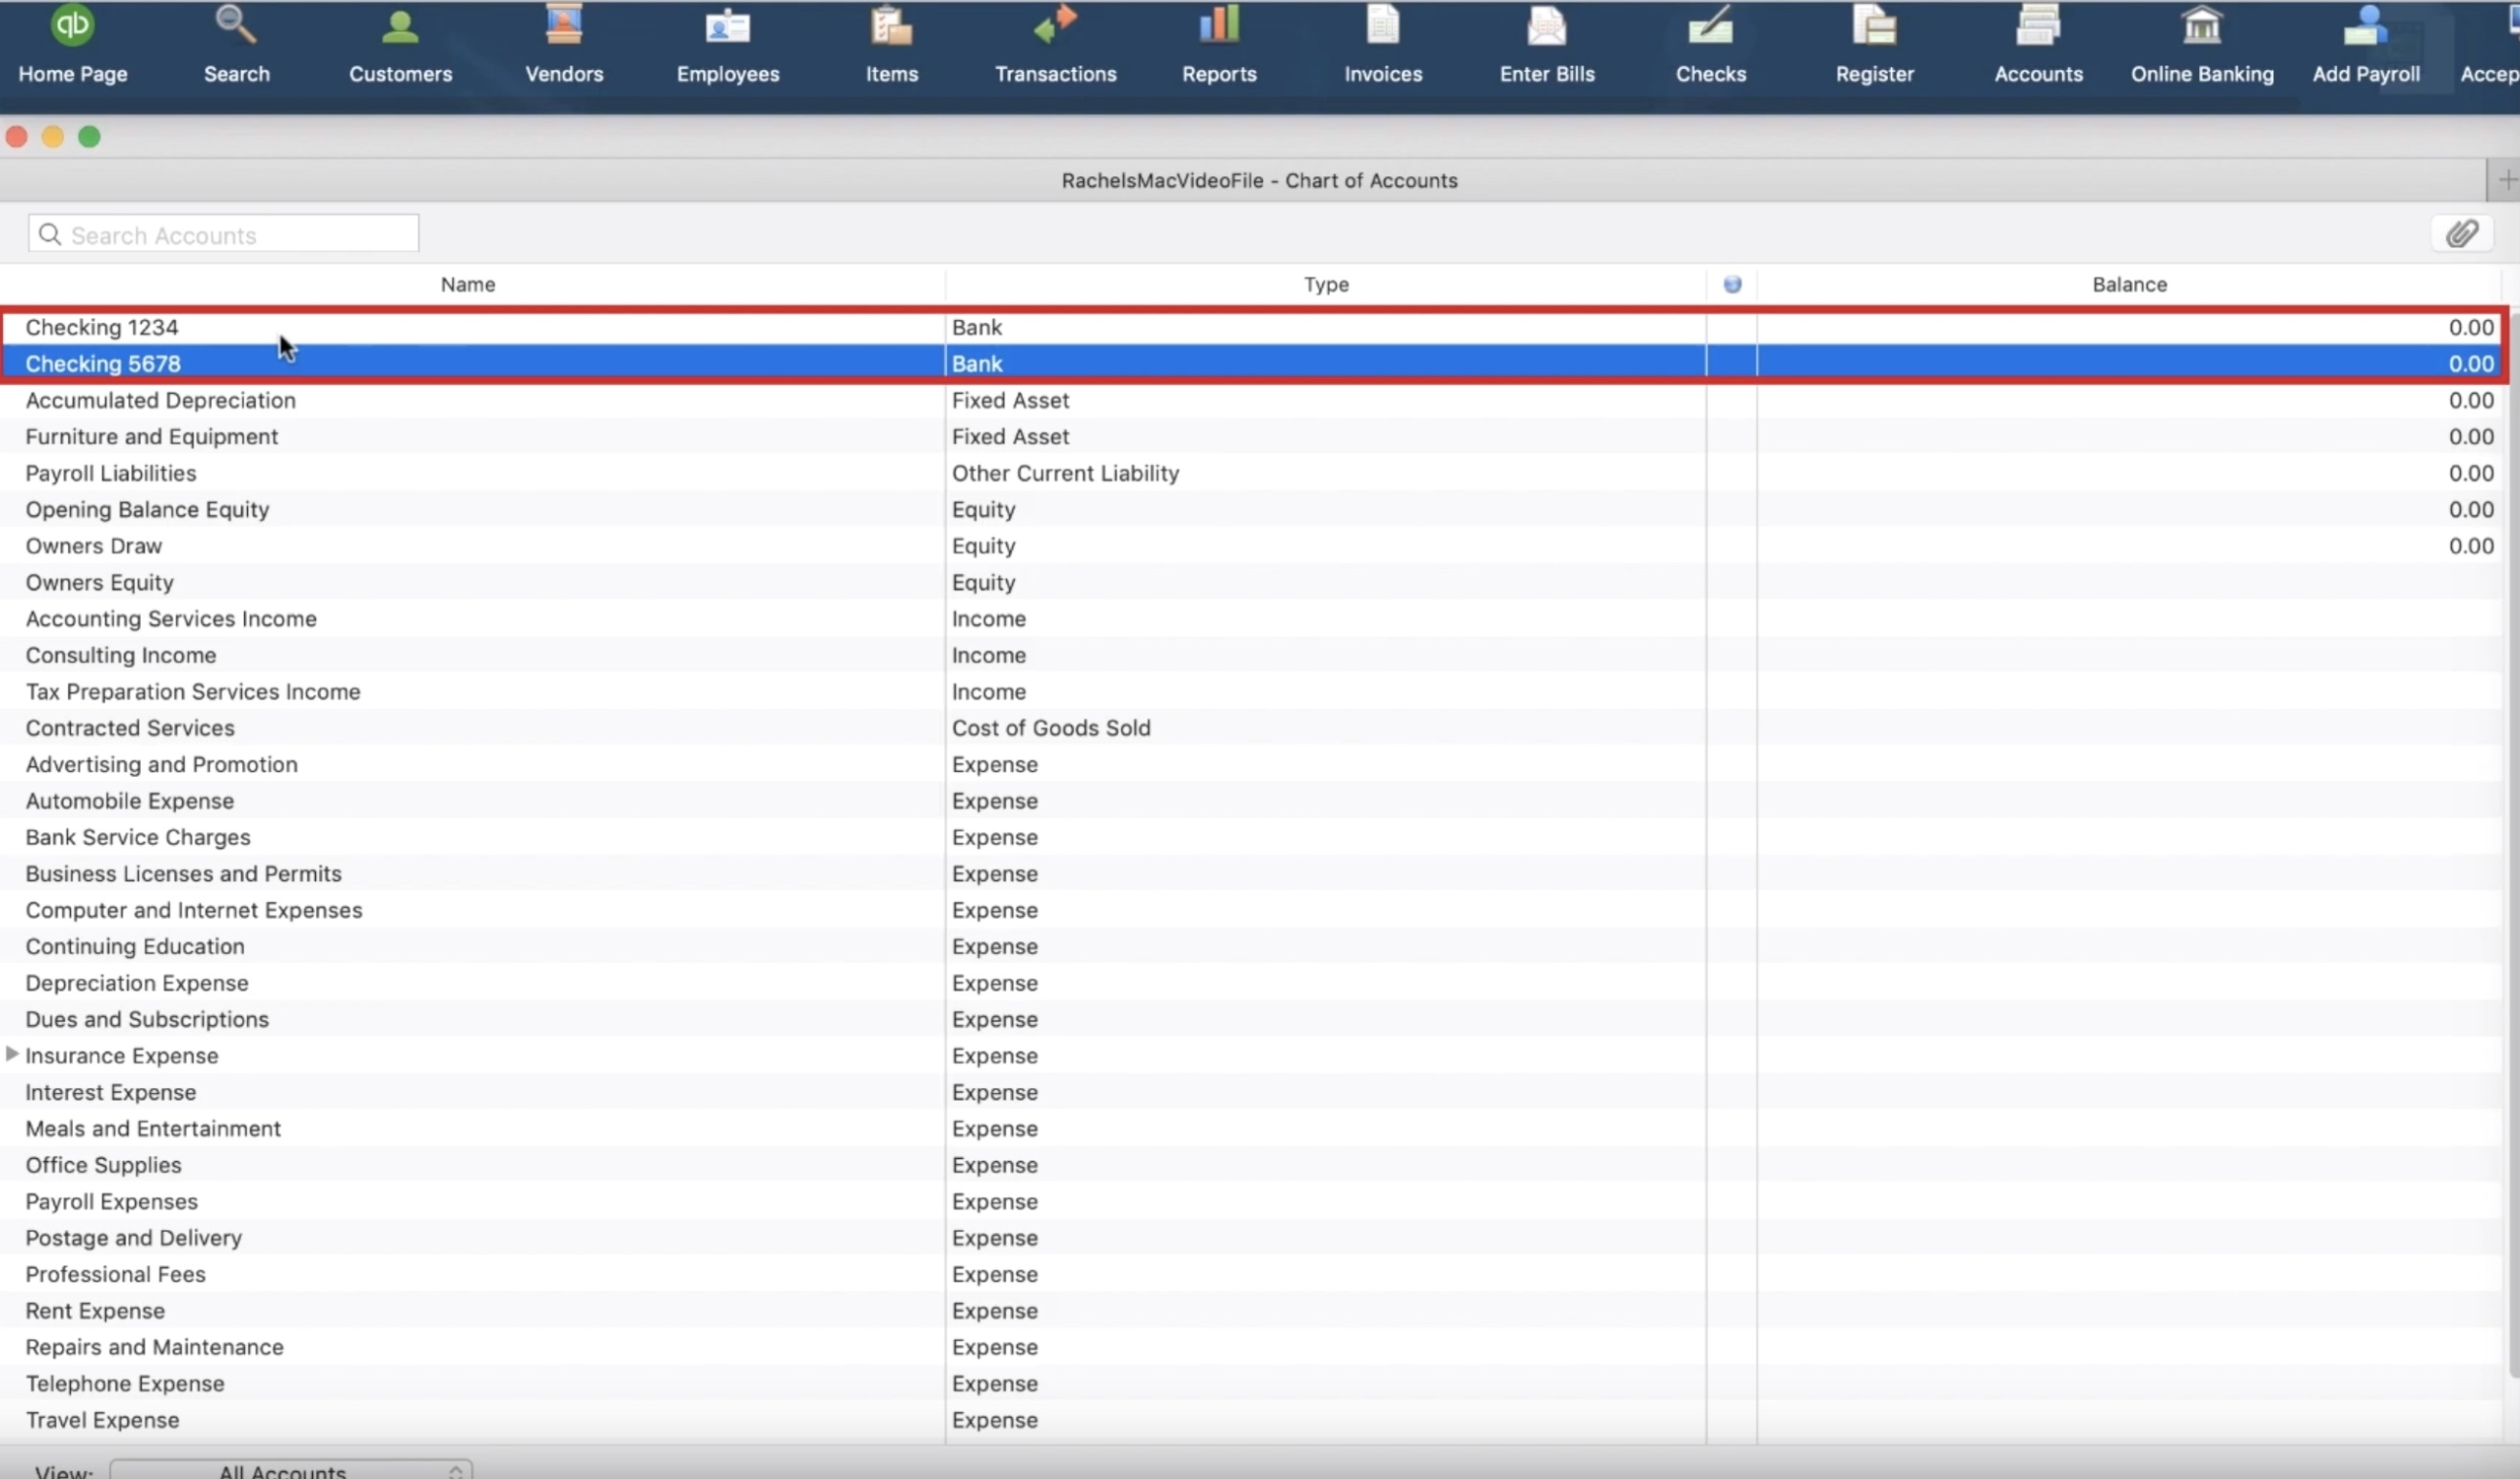
You will see about a dozen items we could potentially fill out for this new account, but right now, we’re only concerned with two — the name and type. For name, input “Checking,” and for type, select “Bank.” Once you click “Ok,” you will be able to see the “Checking” account in your chart of accounts.
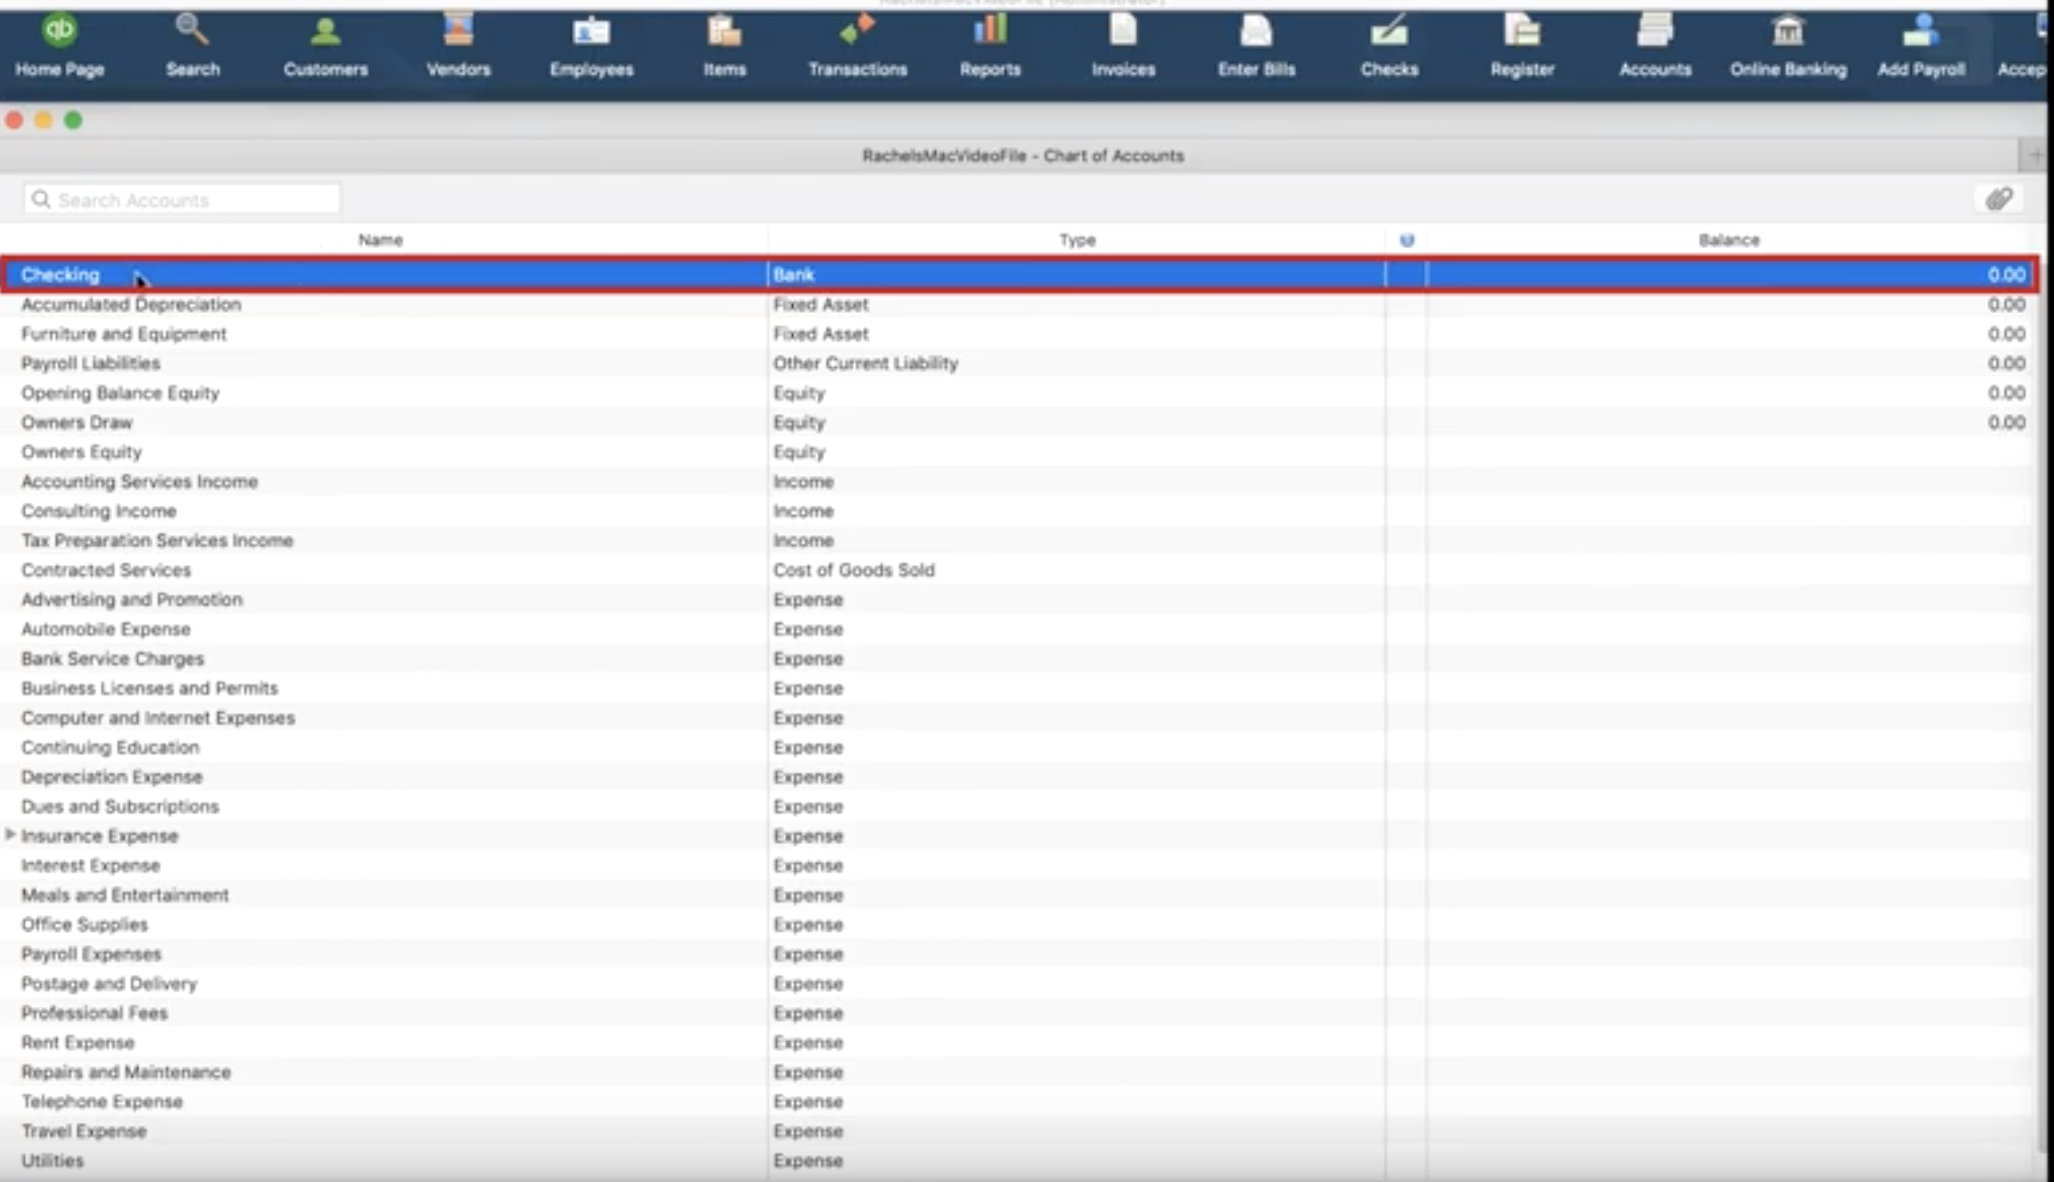
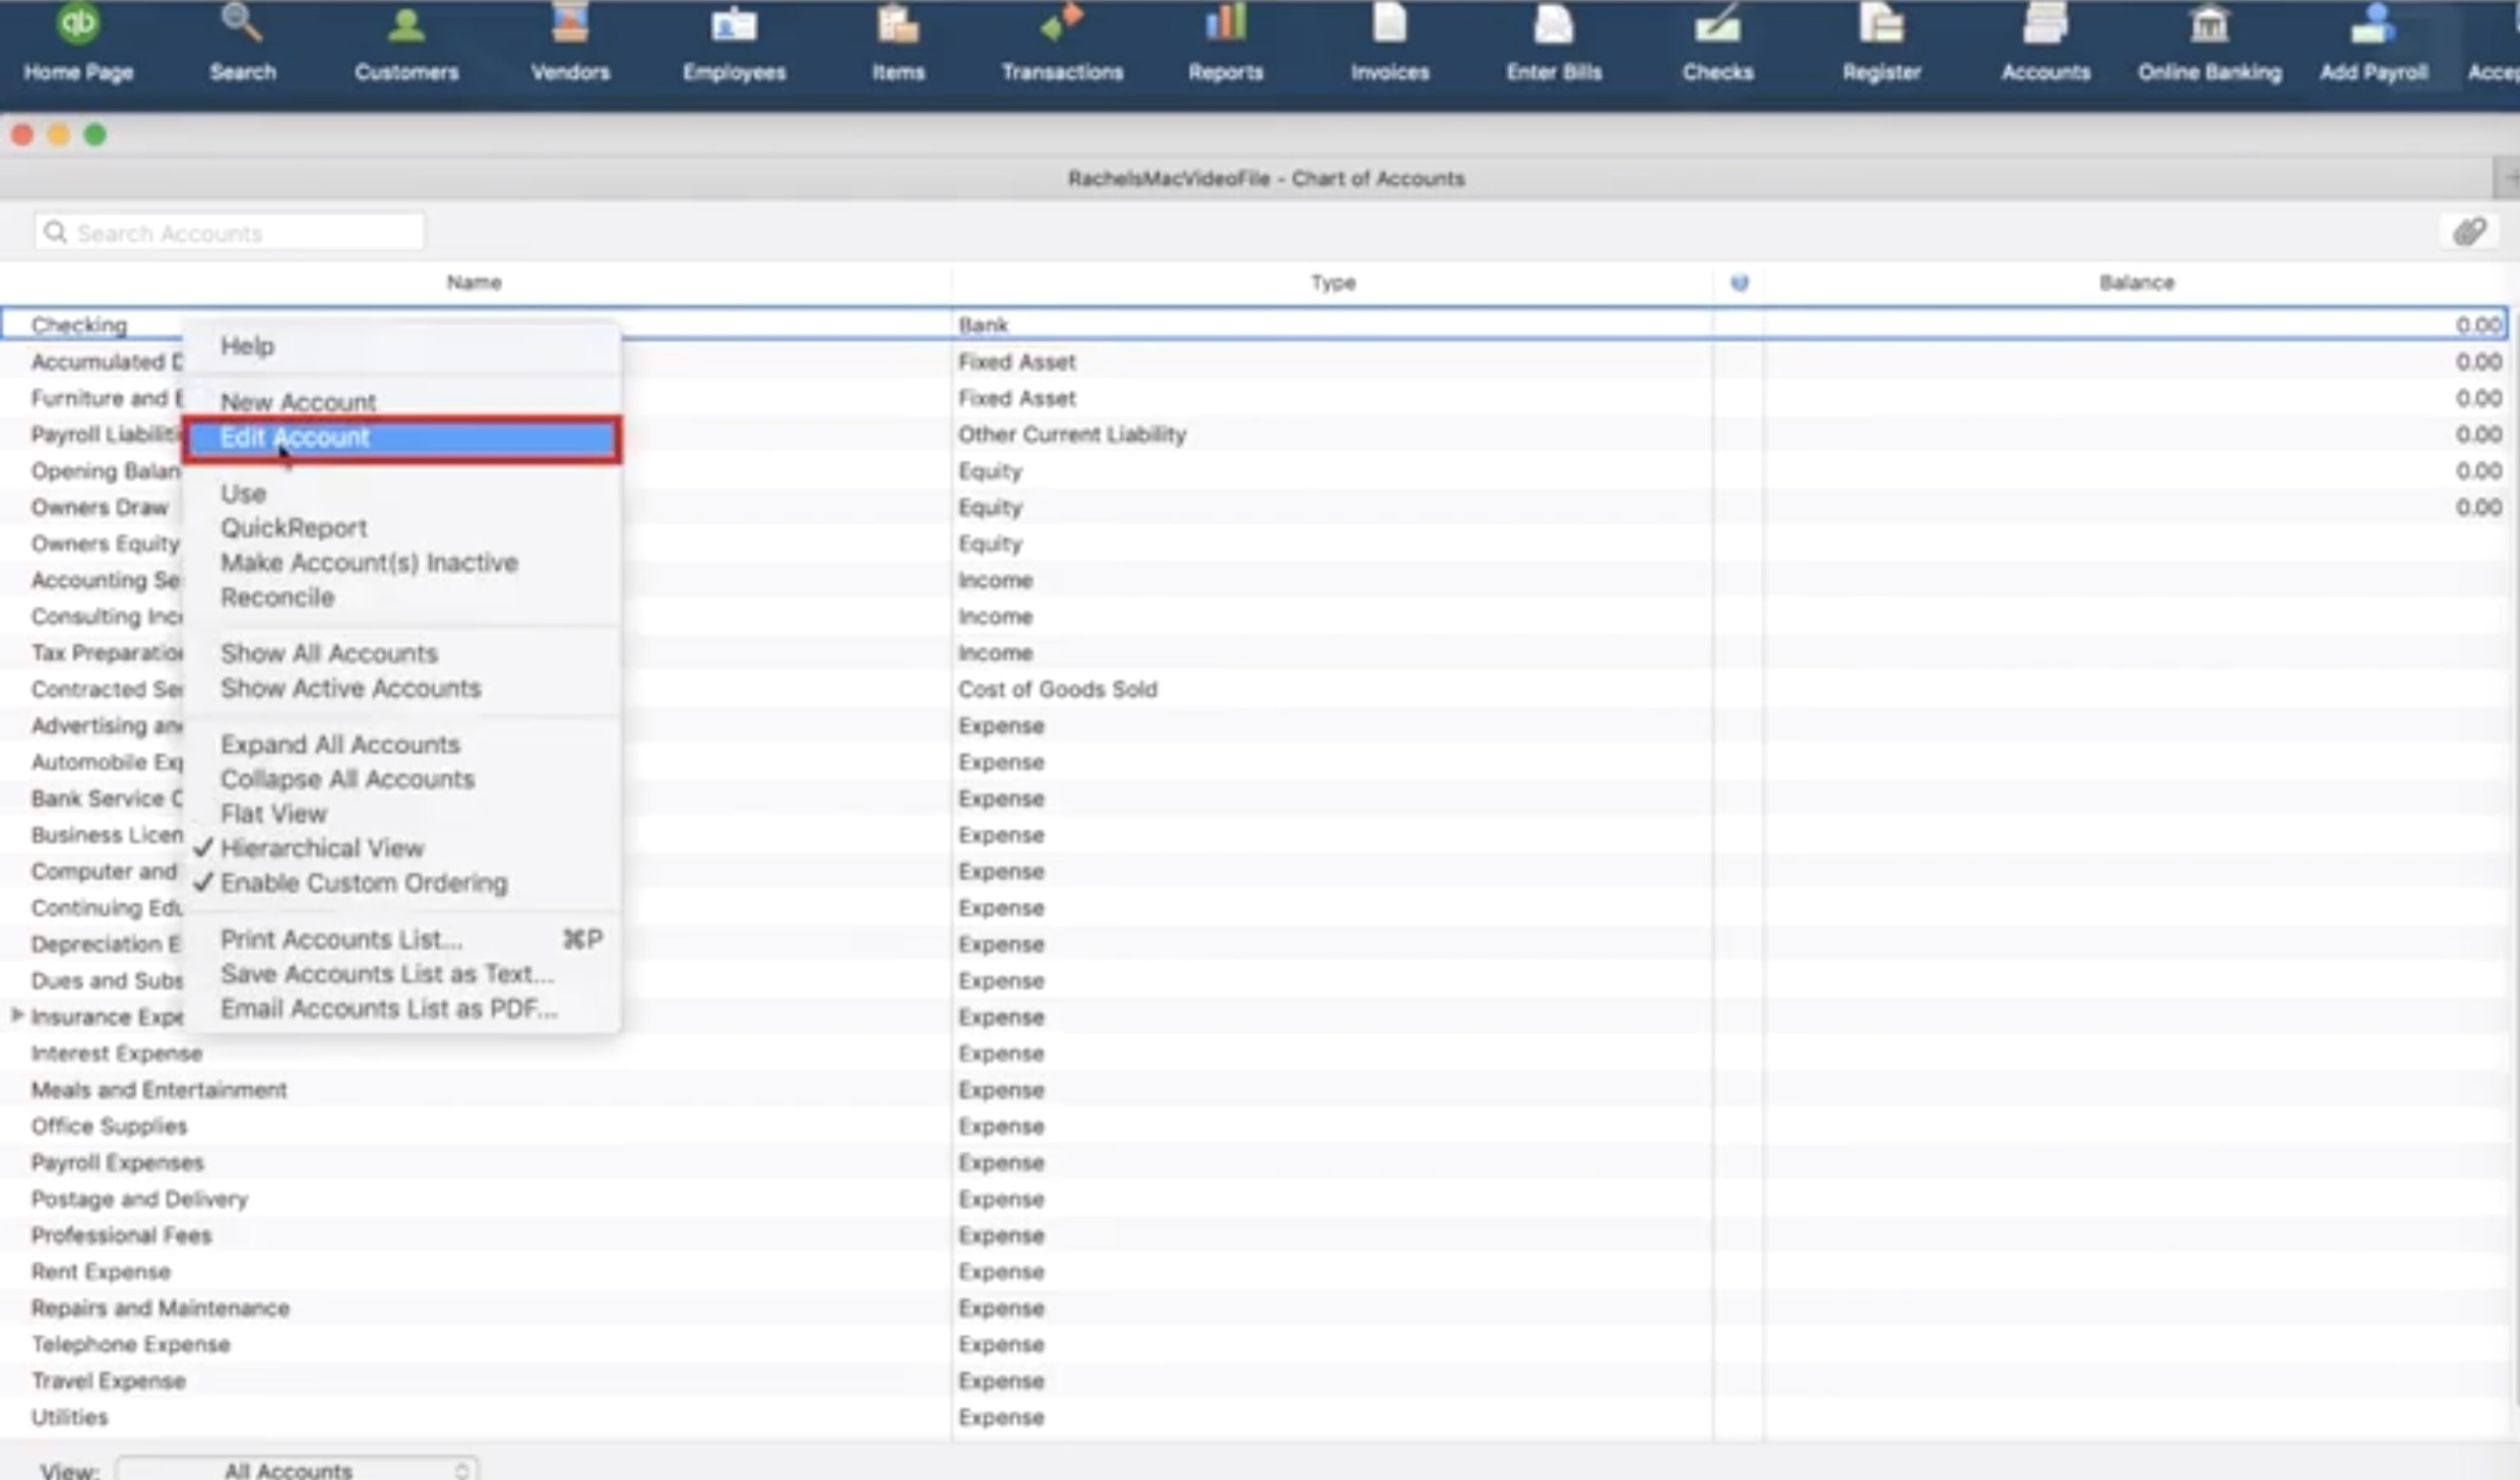
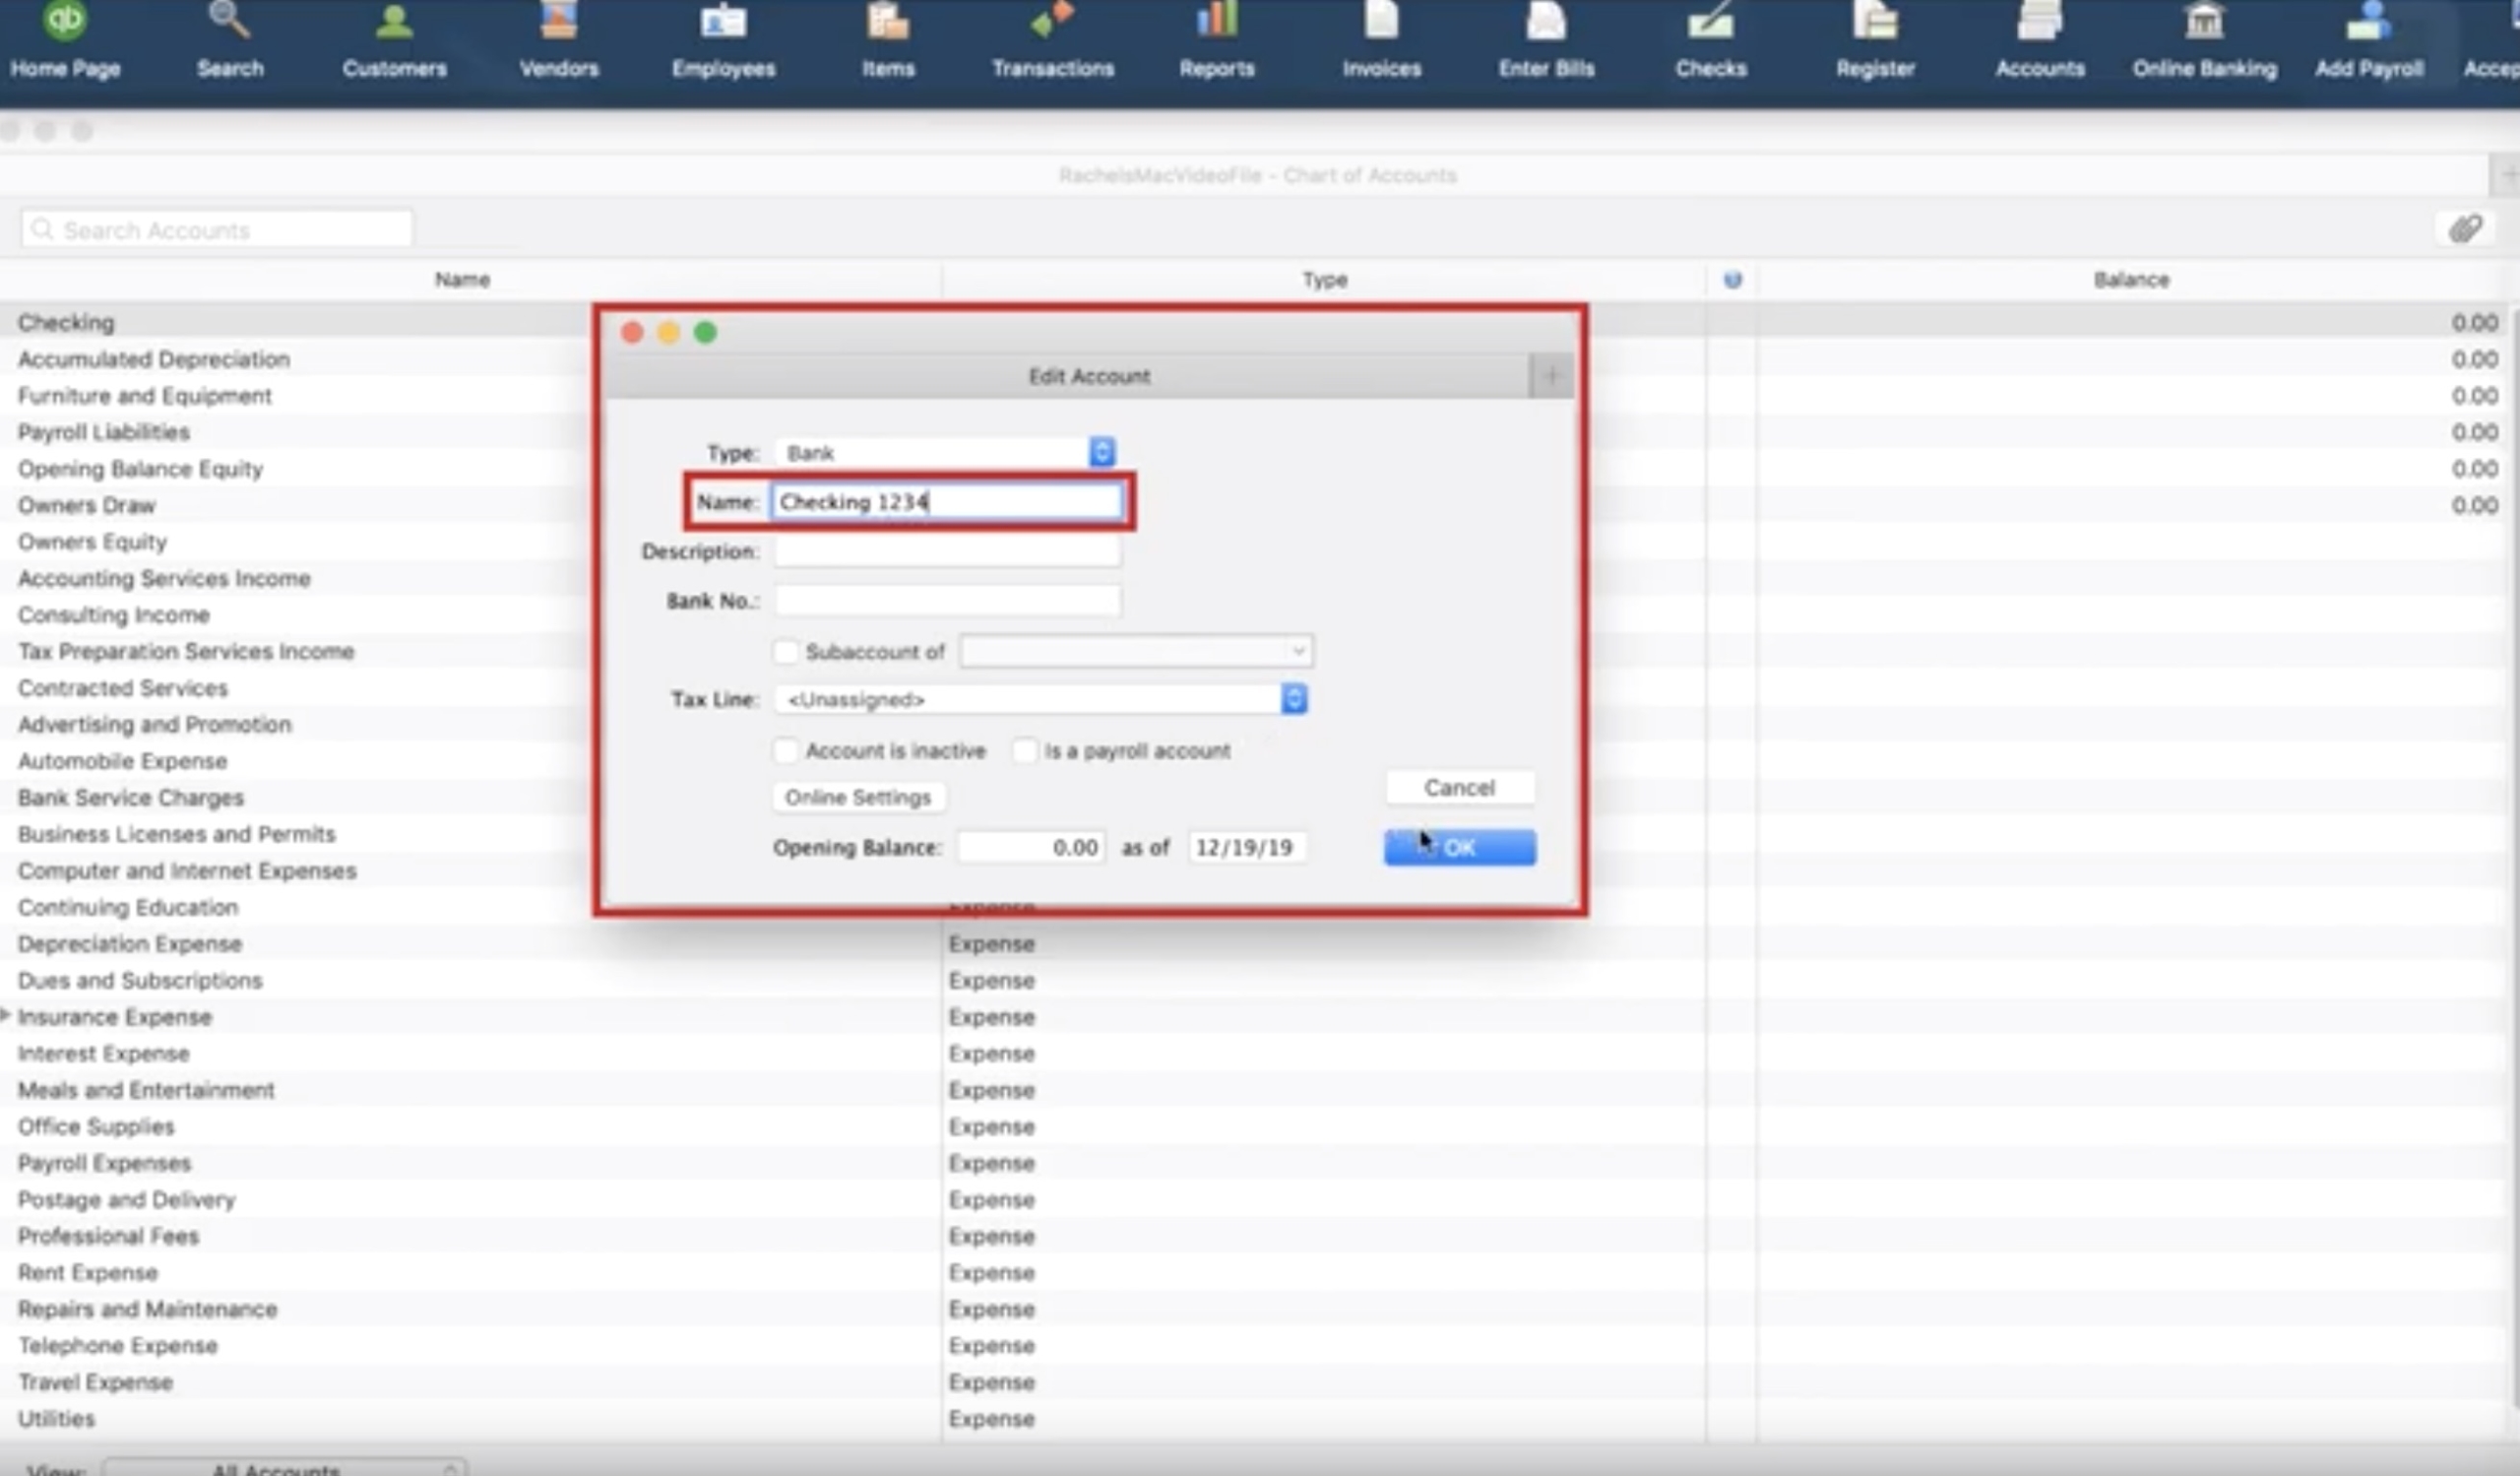
Now that we can see our new “Checking” account at the top of our list, we realize that we have two checking accounts and would like to rename this one to “Checking 1234.” To do that, let’s highlight the account and right-click it. In the menu that opens from right-clicking, click “Edit Account.”
Once the account editing screen is open, simply change the name and click Ok.
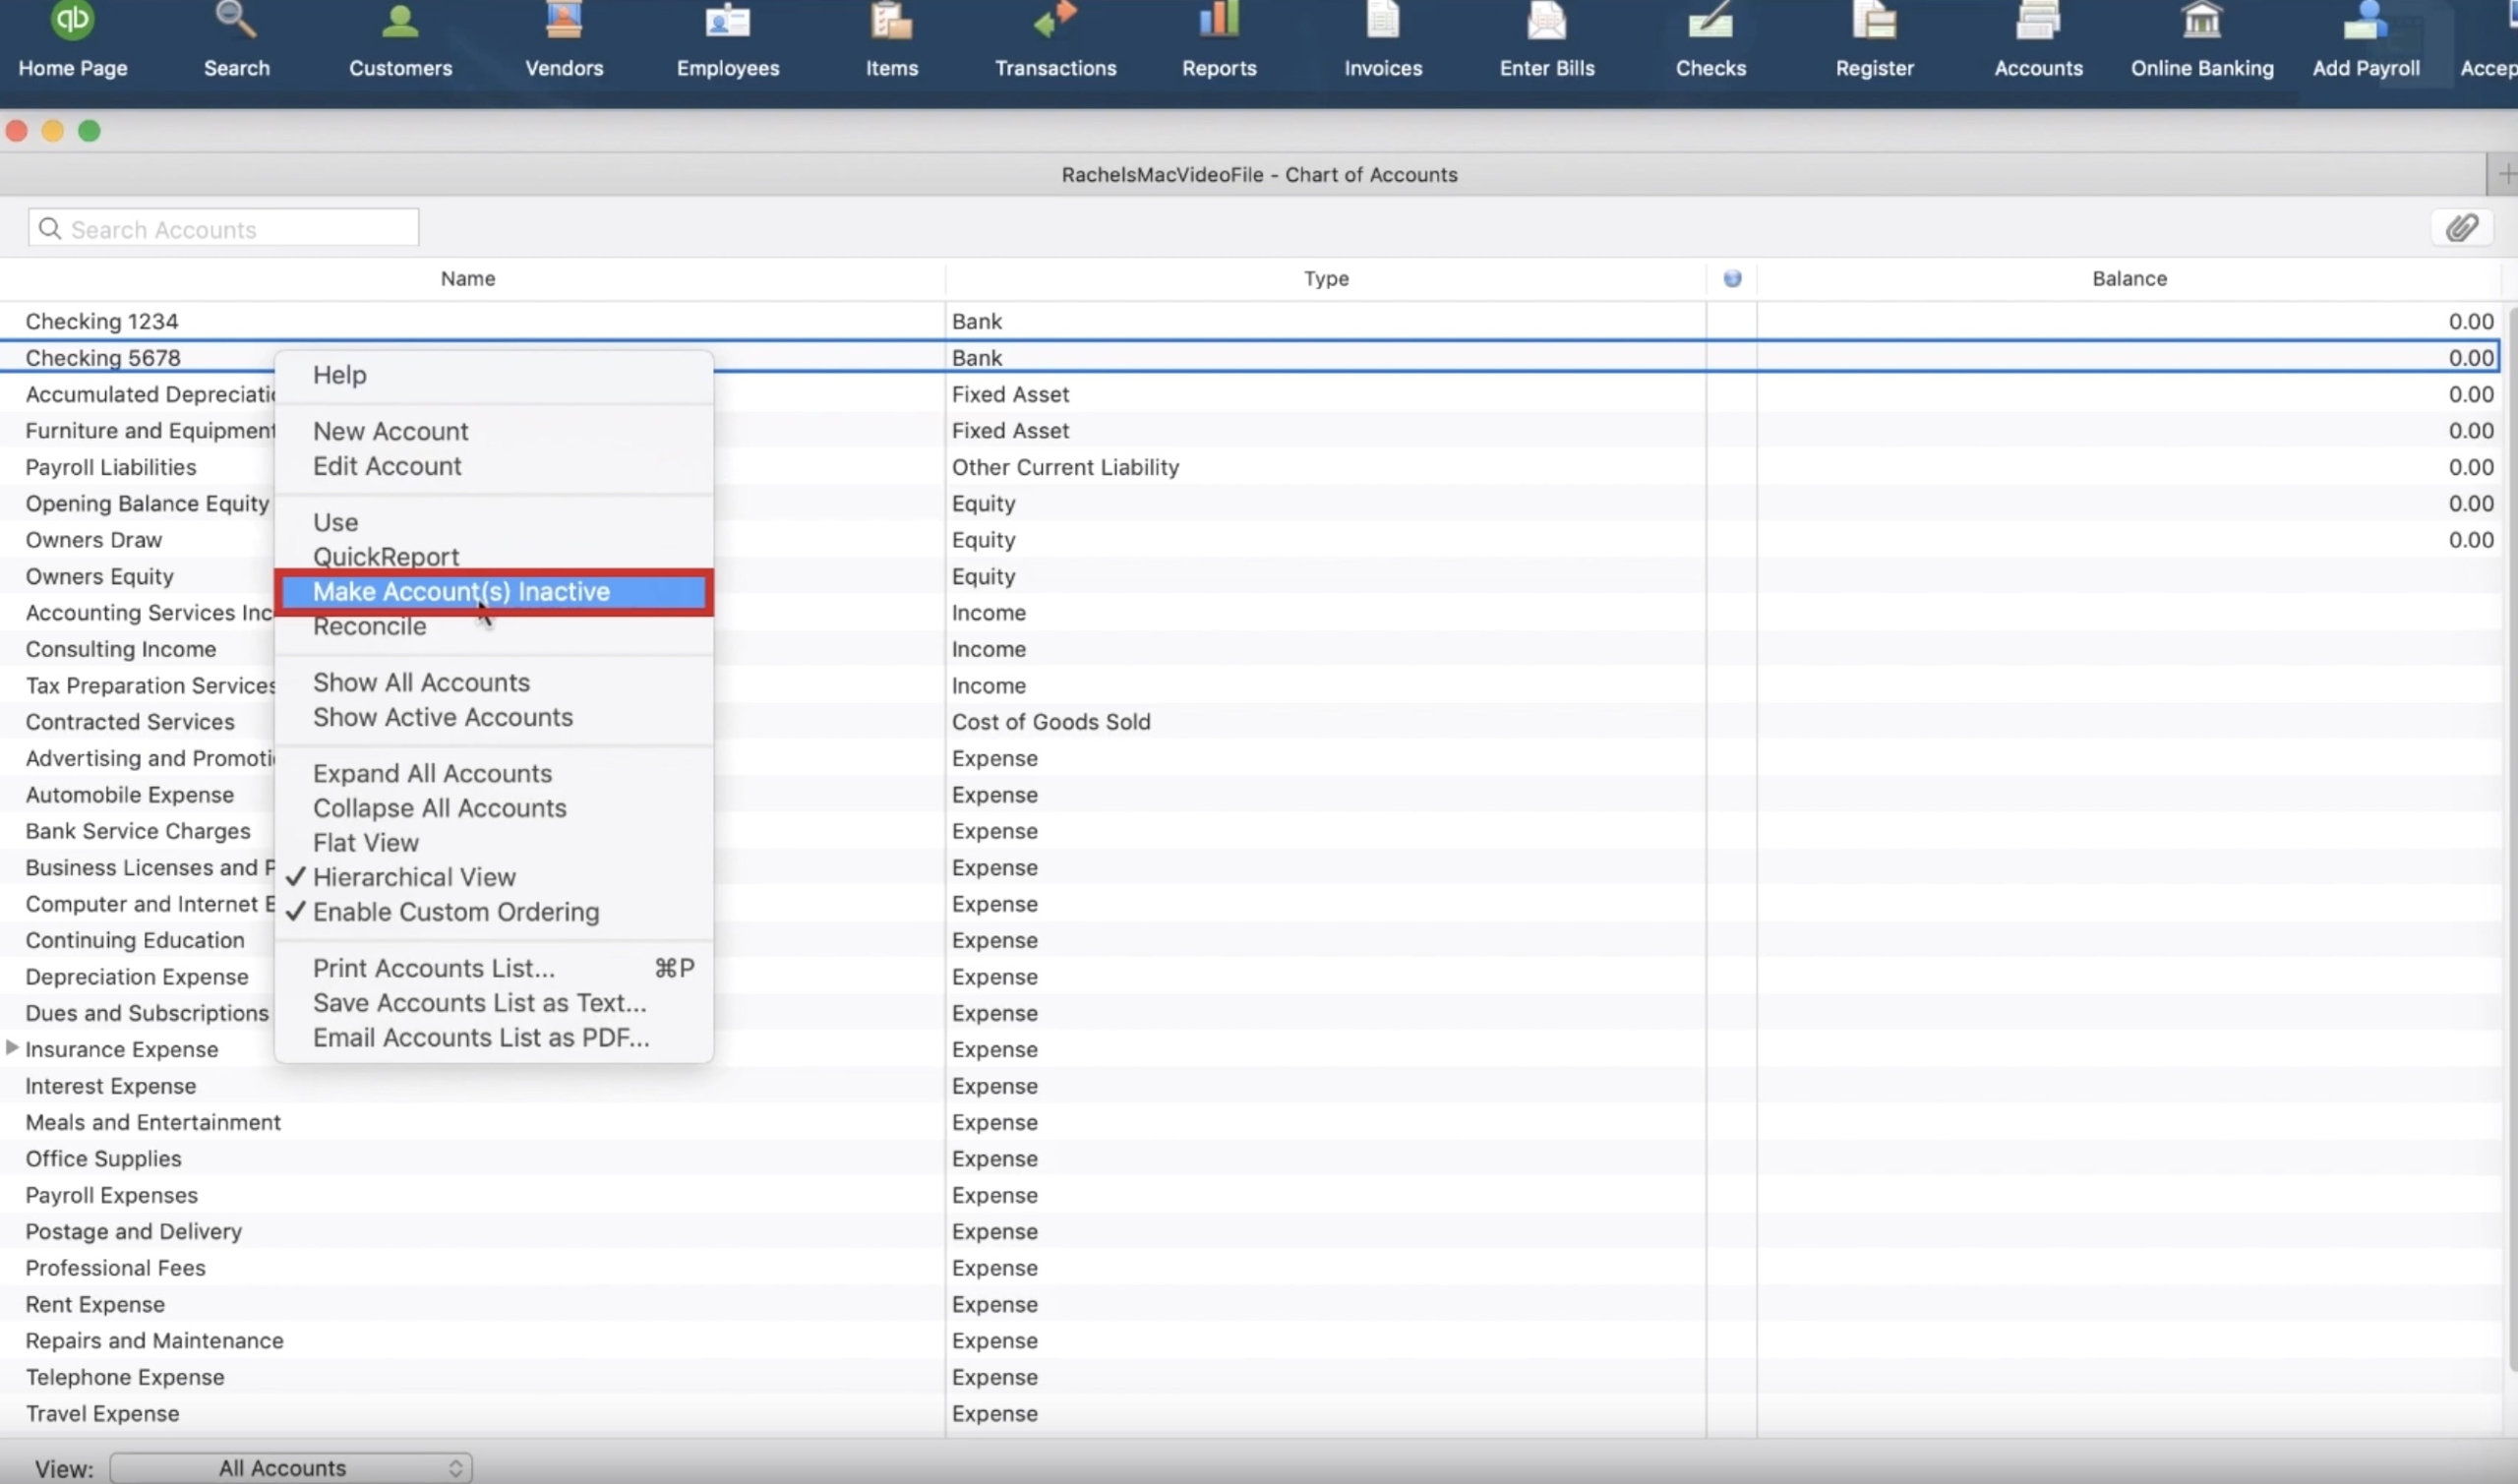
If down the road, we realize that Checking 5678 isn’t going to be used anymore, we can turn it off. To do that, right-click the account and mark it as inactive. Marking it as inactive won’t delete the account. This is useful because the history of the account will be preserved.
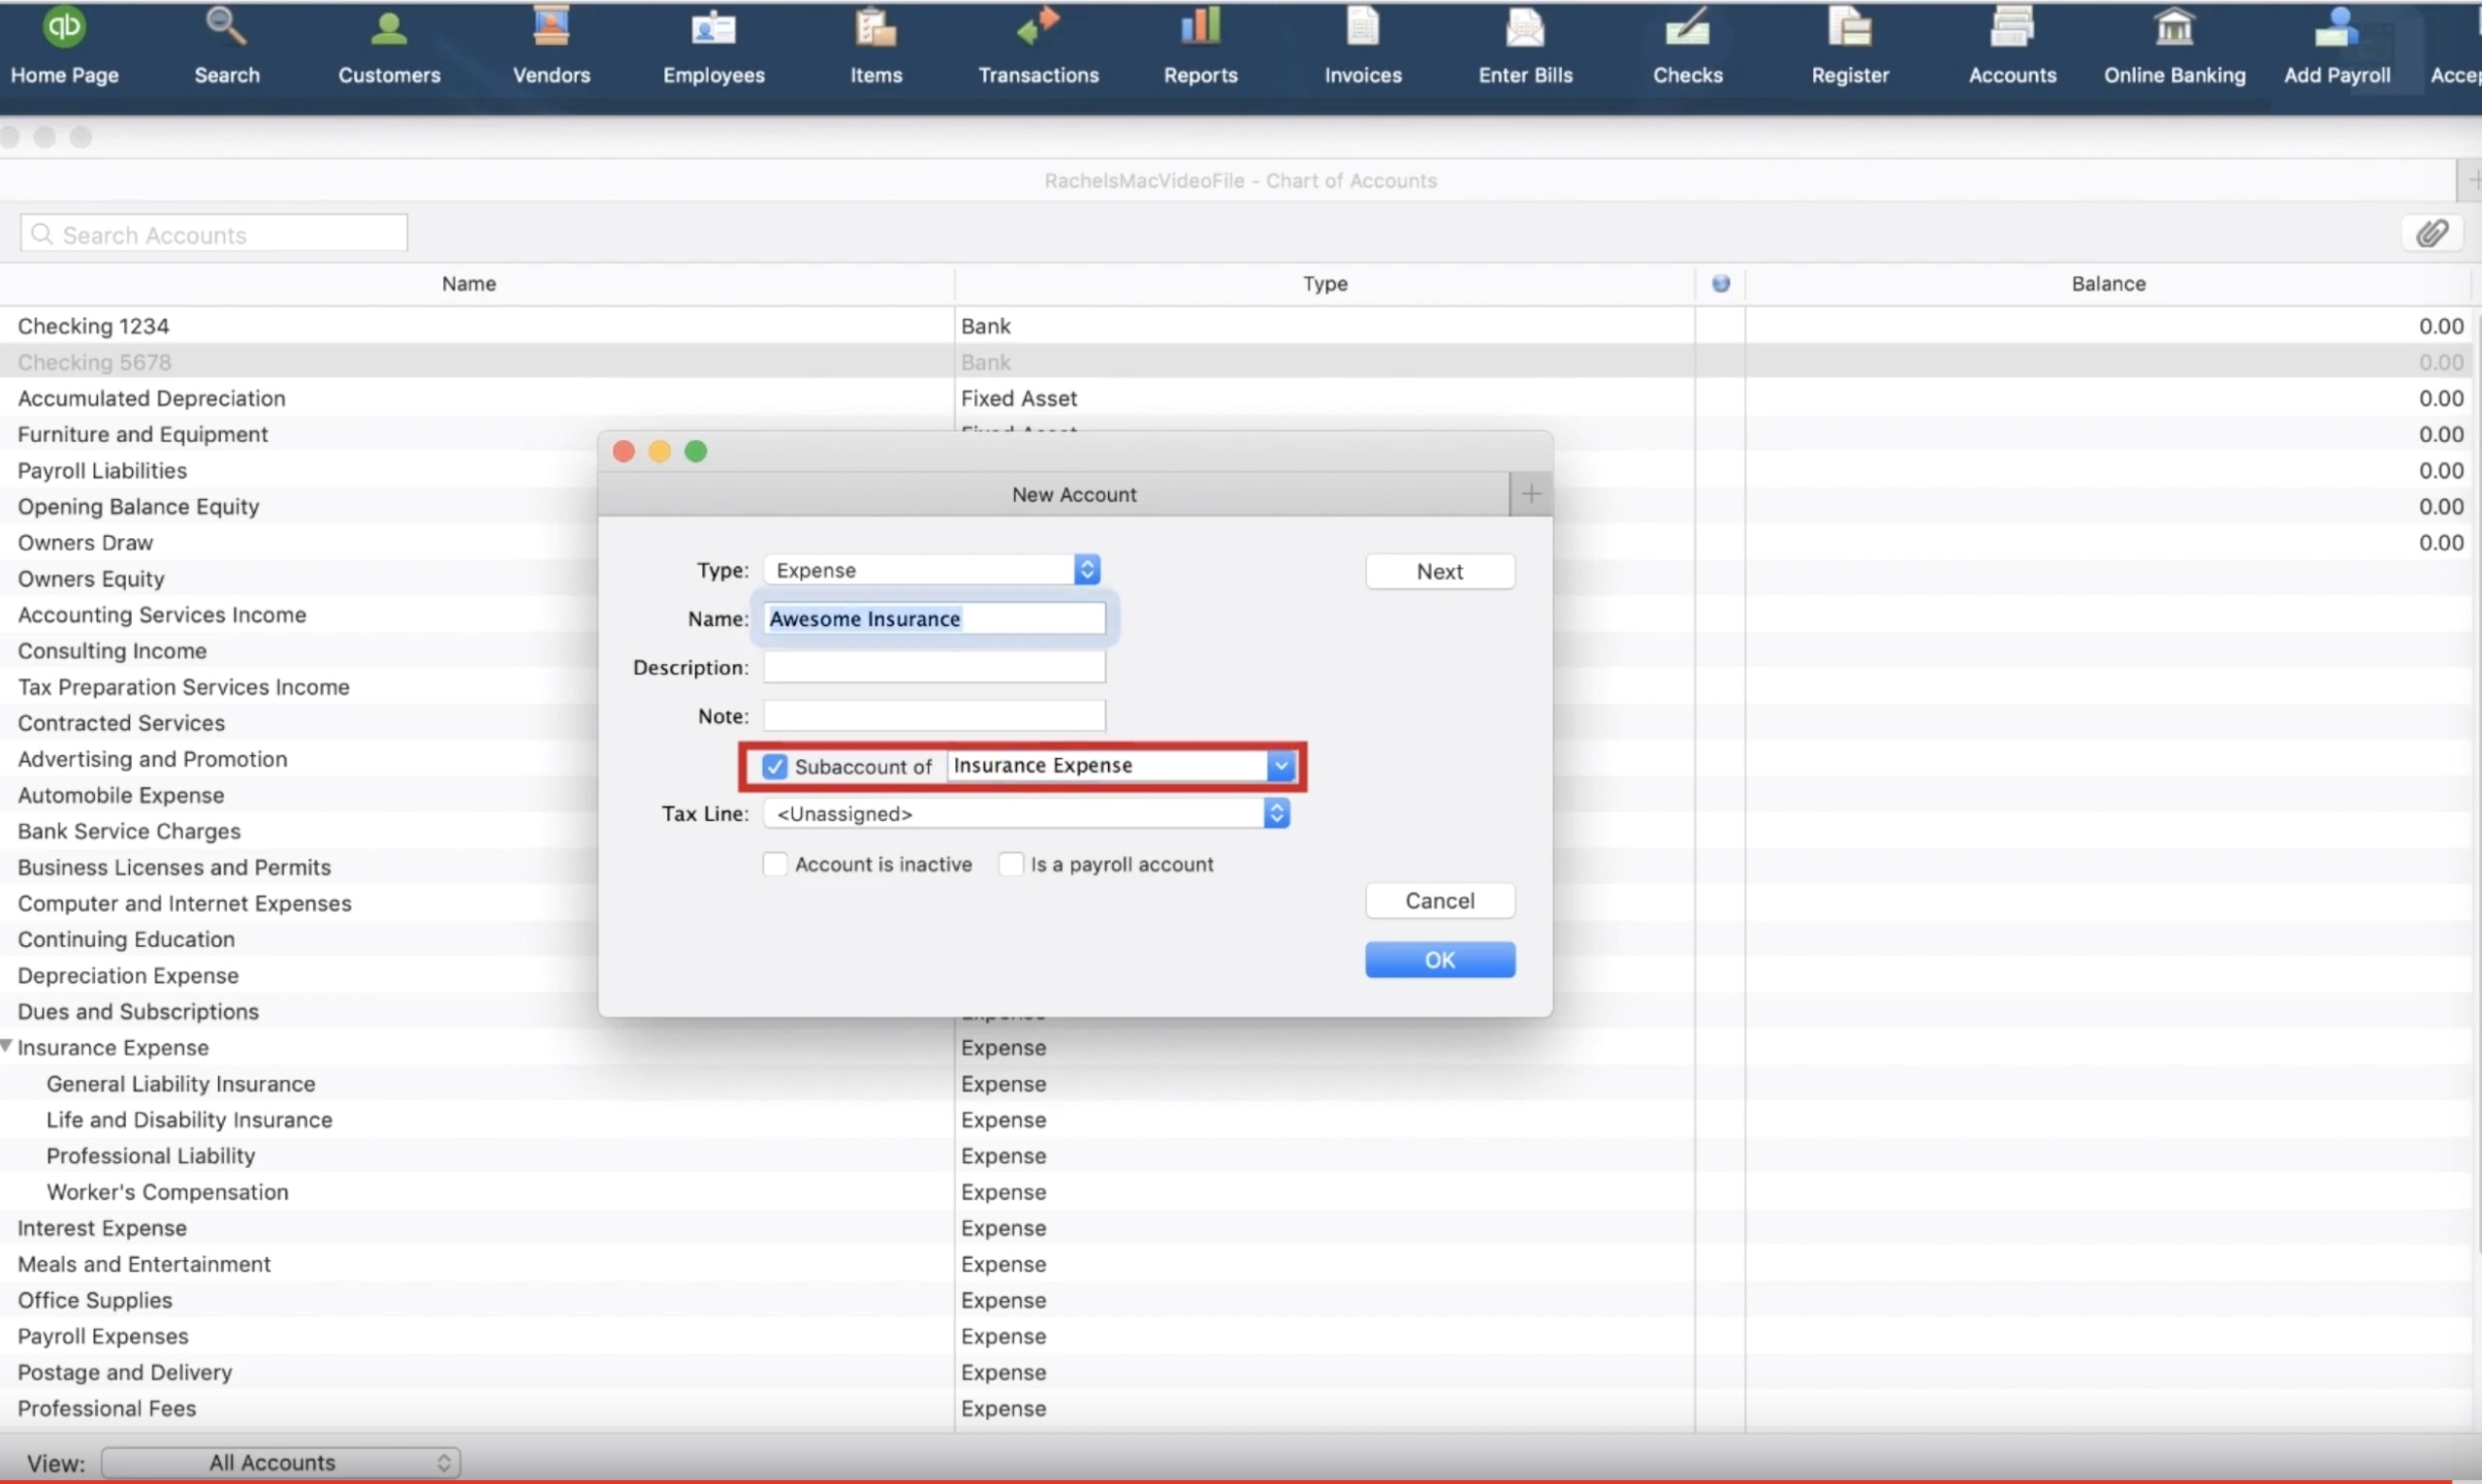
If we scroll down in our chart of accounts, we can see that Insurance Expense has a grey arrow next to it. That means we can expand the account and see the sub-accounts associated.
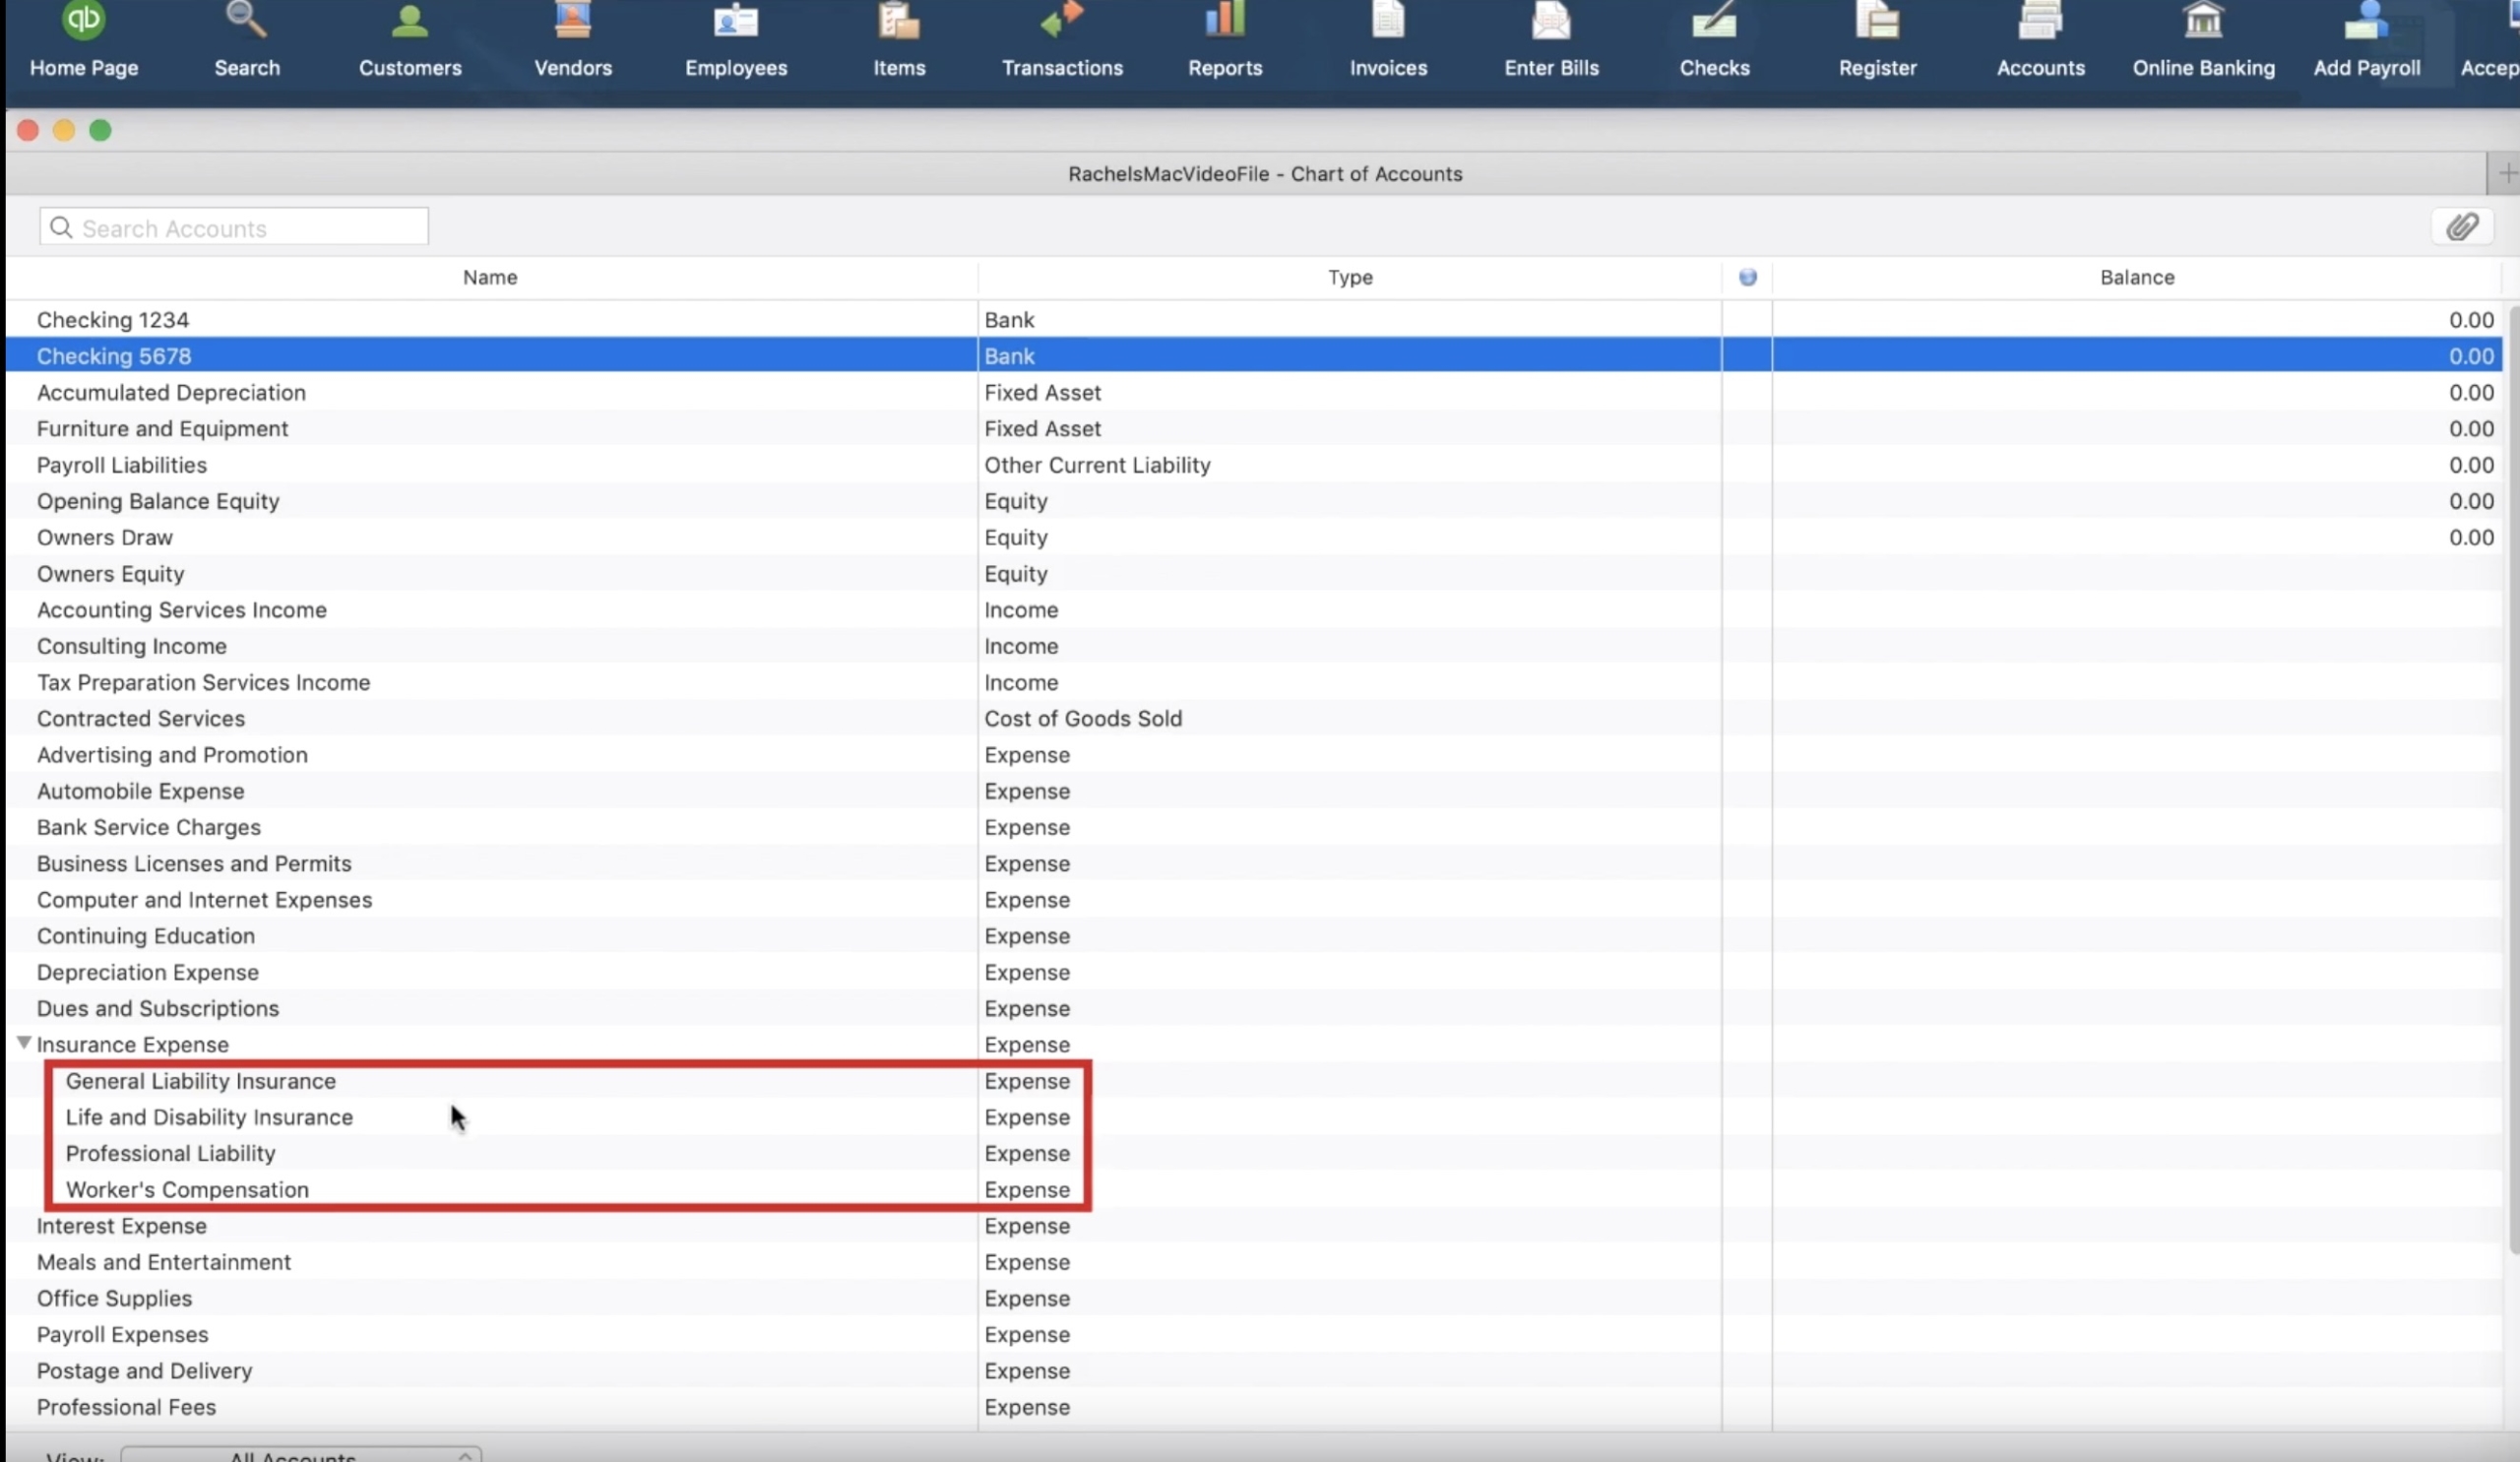
To replicate this behavior, we need to add an account and name it appropriately, reflecting a form of Insurance Expense. We’ll call it Awesome Insurance for this example, we’ll set the Type as Expense and assign it to be a sub-account of Insurance Expense. And finally, we’ll click OK to update the books.
And there you have it. You’re now on your way to becoming a wizard at updating and modifying your QuickBooks Chart of Accounts.
☕ If you found this helpful you can say “thanks” by buying me a coffee…
https://www.buymeacoffee.com/gentlefrog
If you would like to see a video walkthrough of all this information, check out our YouTube Video below.


3 Responses
When I open the Chart of Accounts, my checking account is “highlighted” with a green line. When i added the PPP checking account recently, that account now is highlighed instead of my usual checking account. How can I change it so when I open the Chart of Accounts, my usual checking account is highlighted?
I’m not sure I follow. Is the PPP at the very top of the list? Or is QB just picking one to highlight willy-nilly? Once I know more, I can try to recreate it. Or we can hop on Zoom for a 15 min call.
What is the note field in the Chart of Accounts? I don’t see where I can add it to the Account Listing Report.