In this tutorial, I’ll show you how to set up a brand-new QuickBooks Online account.
Quick Instructions:
- Select the type of QBO account you’d like to subscribe to.
- Use my affiliate link for a free 30-month trial and save 30% off your first 12 months!
- Create an Intuit account
- Enter your billing information
- Follow the step-by-step setup process
- Optional: Take a quick tour of QuickBooks Online
- Go through the setup checklist
Keep reading for a complete walkthrough with screenshots:
Discounted QBO Subscriptions
The QuickBooks website offers a free trial and a discount on the first few months of a subscription. These discounts change so check the site to see what’s currently available.
Using my affiliate link, you can get the free trial plus save 30% off the next 12 months. I will get a small cut, that helps pay for the free content: https://bit.ly/3gXpv3b
The QuickBooks Online pricing page shows you all the different plan options from Simple Start to Advanced. Pricing may be different than what’s in the image below.
Not sure which option is best for you? Watch my video, Choosing the Right QuickBooks Online Plan For You.
Once you decide which plan is right for you, click the Choose plan button.
Intuit Account Creation
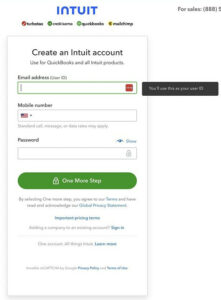
You’ll create an Intuit account before paying for your new QuickBooks account. To create your account, enter your email address and phone number, and create a password.
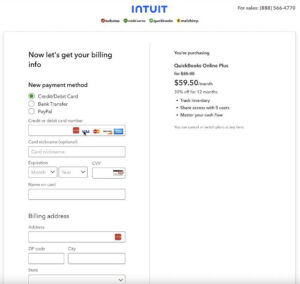
You’ll be taken to the payment screen when you click the One More Step button.
Get Started With QuickBooks Online
Firstly, QuickBooks will walk you through a setup process step-by-step. A lot of it can be skipped and set up later as needed.
It starts with your business name.
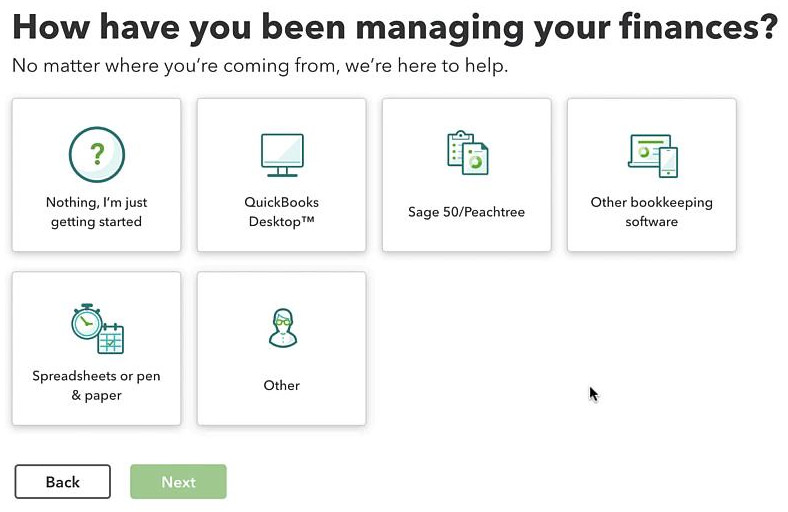
Next, they want to know how you’ve managed your finances, whether you’ve used different software, spreadsheets, etc.
Select whatever methods you’ve been using and click Next.
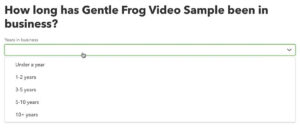
How long has your business been in business? Select the number of years from the drop-down and click Next.
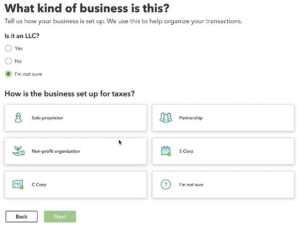
What kind of business is this? If you’re an LLC, select Yes and then Next. If you’re unsure, select I’m not sure, and you’ll be presented with different options.
Select the option that best fits your business, then click Next.
It’s okay if you select “I’m not sure.” This isn’t going to make or break anything. It just sets things up a little differently in the equity section of QuickBooks. Any of those things can be changed later if needed.
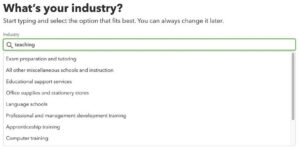
Next, you’ll enter the industry your business is in. You can start typing and you’ll get suggestions, select whatever works best for your business.
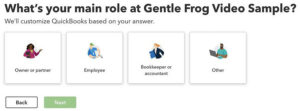
The next step, selecting your main role, gives the software an idea of what types of income you’ll have and what your business might need.
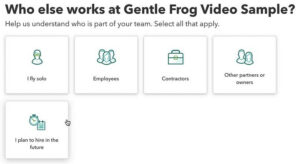
Next, it wants to know who else works at your business. Is it just you? Do you have employees or contractors? Select your situation and click Next.
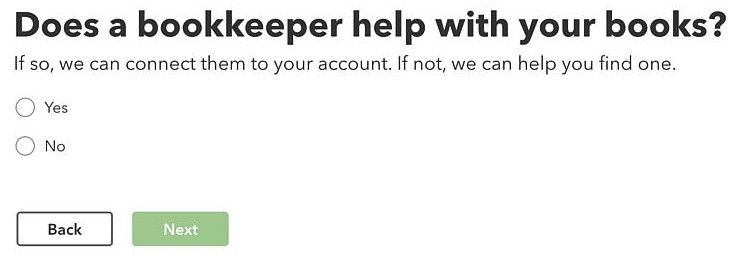
 Does a bookkeeper help with your books? If you have someone doing your bookkeeping, select Yes. Select No if you do it yourself. Then click Next.
If you are doing your bookkeeping yourself, you can always contact us for help or hire us to do your bookkeeping for you.
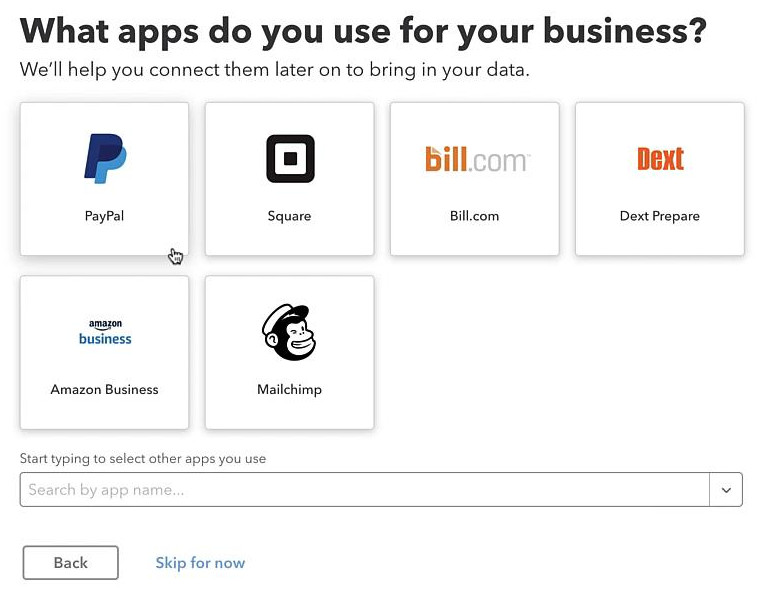
What apps do you use for your business? This gives you tiles for the most used apps that integrate with QuickBooks. There’s also a drop-down where you can select other apps.
You can click “Skip for now” if you don’t use any of these apps or want to do those integrations later.
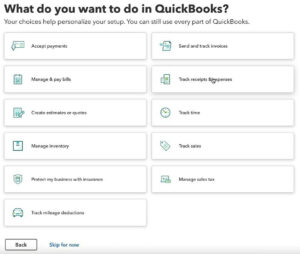
What do you want to do in QuickBooks? There will be a checklist once we get through the initial setup and open QuickBooks Online.
This question lets QuickBooks know what to include in that checklist. You can select as many things as you’d like and click Next or skip this step.
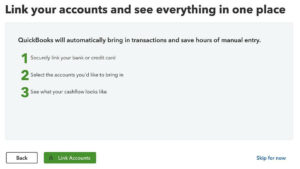
You can now link bank and credit card accounts. Click Link Accounts or skip and do this later.
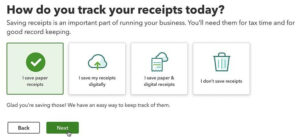
How do you track your receipts today? This question gives you different options on the next screen depending on your selection.
Once again, you can skip this step if you’d like and set this up later.
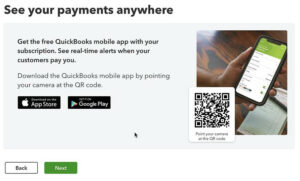
If you said you use paper receipts, you’ll see the “See your payments anywhere” screen. This gives you links to download the QuickBooks app.
The app lets you easily take pictures of your receipts and enter them into QuickBooks. Click Next to continue.
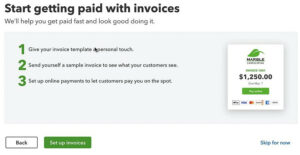
If you get paid with invoices, you can set this up on the “Start getting paid with invoices” or skip it and set it up later. I’m going to skip that section.
You’ll see the mobile app download screen again because the app lets you see payments. But only if you invoice through QuickBooks. Click Next to continue.
There are a couple more multiple-choice questions that I won’t bother showing you screenshots of.
“How confident are you that QuickBooks will help you do what you need?” and “How much progress have you made towards what you want to do in QuickBooks?” Answer these however you like and continue on…
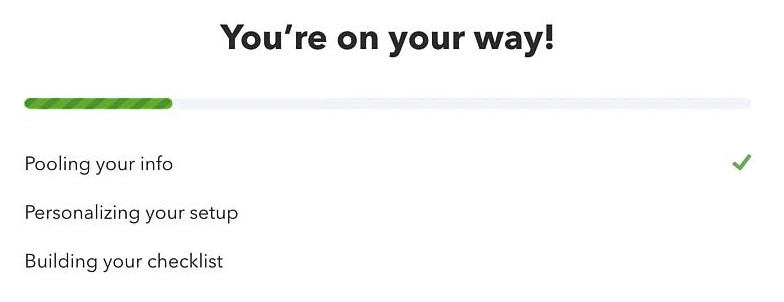
You’re now on your way to using QuickBooks Online!
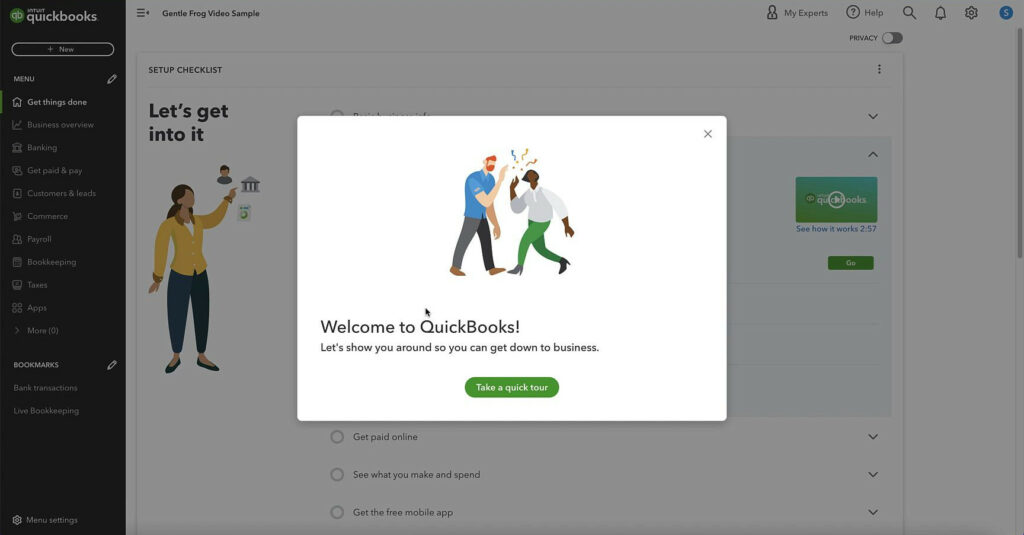
Welcome to QuickBooks!
You’re finally in QuickBooks Online. A pop-up asks if you’d like to “Take a quick tour.”
Feel free to take the tour; I will skip that part and move on to the Setup Checklist.
QuickBooks Online Setup Checklist
QuickBooks gives you a checklist to help you get your QuickBooks set up further.
Below is a quick overview of each section.
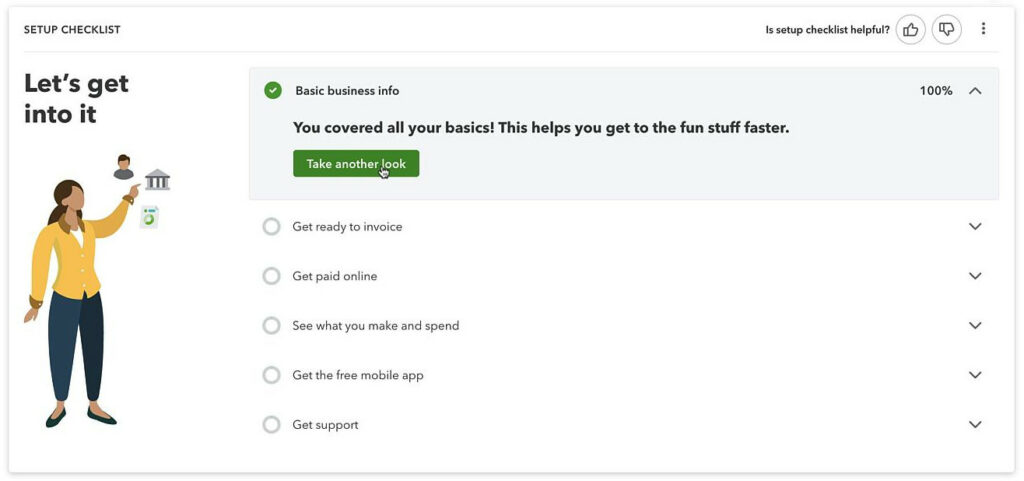
Basic business info
You’re dropped into the Checklist below Basic business info. That’s because we just finished that section.
If you click on it, you’ll see it’s checked off and shows as 100% completed. If you click the Take another look button, you’ll go back through the setup process we just went through.
Get ready to invoice
In this section, you’ll set up invoicing through QuickBooks Online. You don’t need to use QuickBooks for your invoicing. If you already use invoicing software, you can switch to QuickBooks Online or continue using what you’re using.
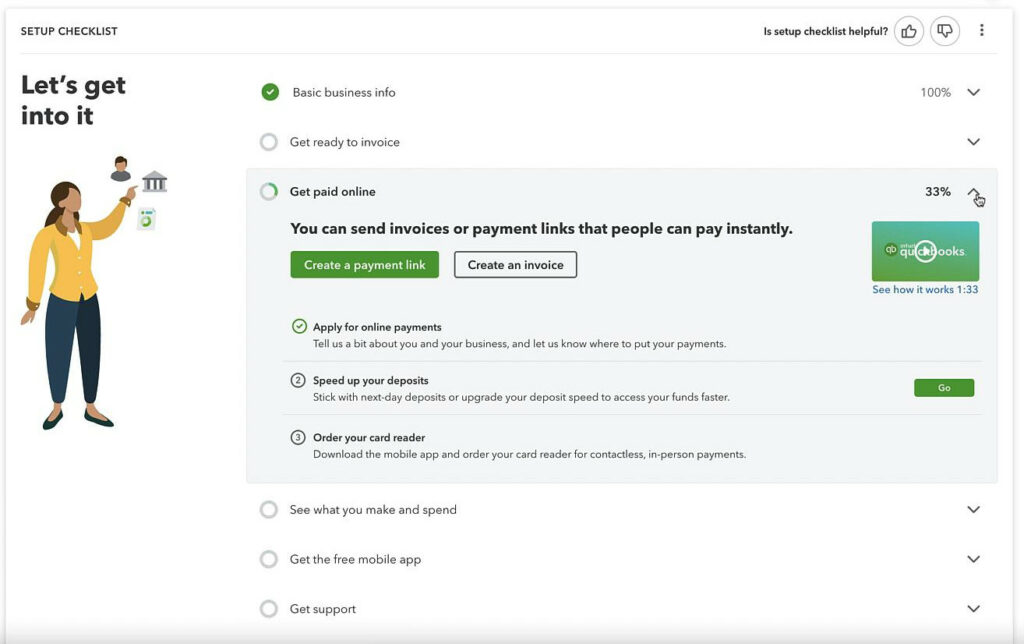
Get paid online
This section lets you create an invoice or get a payment link.
Payment links are for one-time use. It expires once you’ve been paid through the link. You can get paid by credit card, debit card, or ACH with payment links.
To use payment links, you must create a QuickBooks Payment account. This is a merchant account that’s separate from your QuickBooks Online account.
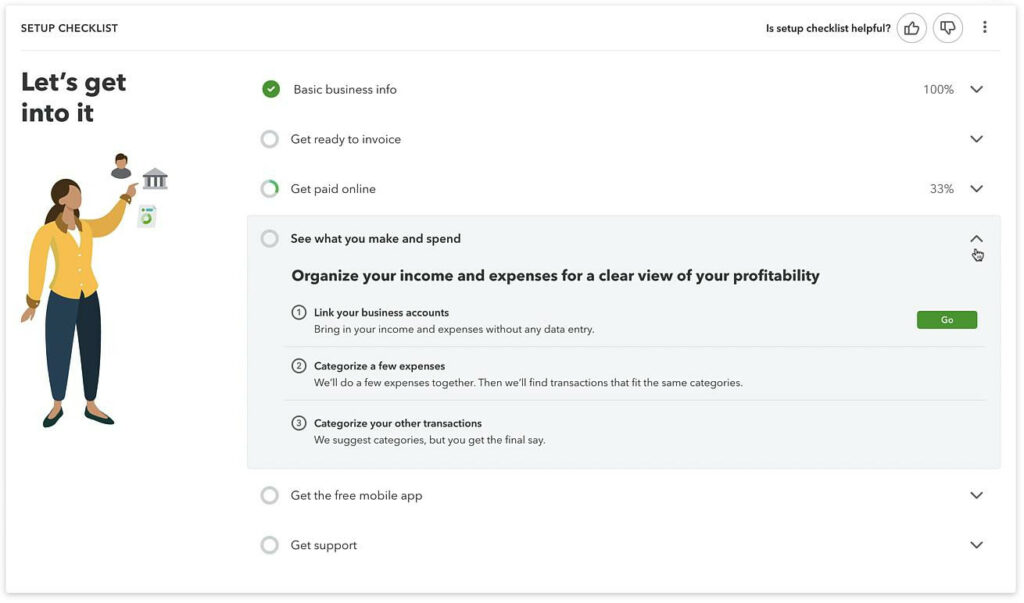
See what you make and spend
You can link your business bank accounts to QuickBooks. This allows QuickBooks to download transactions from your bank automatically.
Once you link your accounts, you can organize your transactions in the bank feed.
You can learn more about bank feeds in my blog post How to Navigate Bank Feeds in QuickBooks Online.
Get the free mobile app
If you haven’t already downloaded the mobile app, here’s another link to get it.
The app is helpful for scanning receipts and automatically tracking mileage.
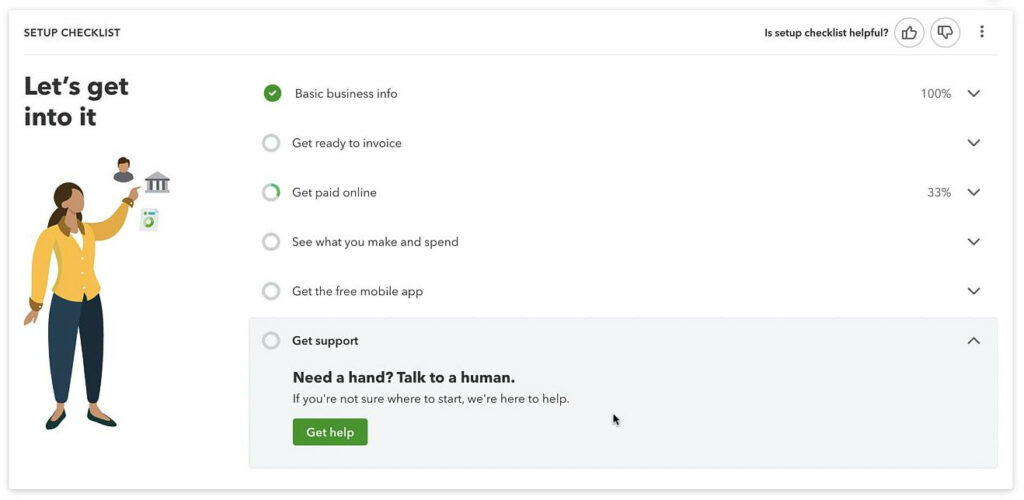
Get support
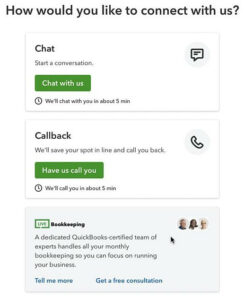
The last and final step is to get support. Because QuickBooks knows you’ll probably need some help.
If you click the button, you get a “chat” box that takes you to a page with options for connecting with QuickBooks support.
If you’re not able to get your question answered by QuickBooks support, Gentle Frog is always here to help: https://www.gentlefrog.com/meeting/
You now know how to set up your QuickBooks Online account.
Here are some additional blog posts you may find helpful:
- QuickBooks Online Left Side Navigation
- QuickBooks Online Account And Settings Overview
- How to Add An Accountant User to QuickBooks Online
☕ If you found this helpful, you can say “thanks” by buying me a coffee…
https://www.buymeacoffee.com/gentlefrog
Want to see a walkthrough? Check out the videos below.
If you have questions about setting up or working with QuickBooks Online, click the green button below to schedule a free consultation.


