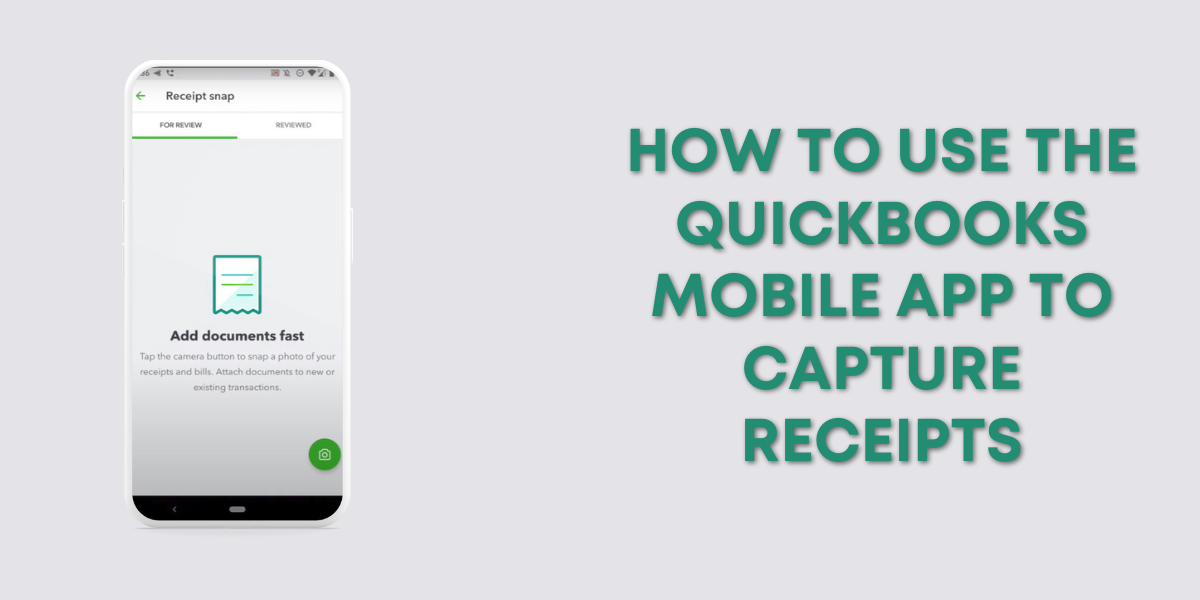
In this blog post, you’ll learn how to add a receipt to QuickBooks Online using Receipt snap feature of the mobile app. Then use that receipt to create an expense.
Quick Instructions:
- From within the QBO mobile app
- Click the menu icon
- Click Receipt snap
- Click the camera icon
- Follow on screen instructions until the app captures a photo
- Click the photo in the lower left corner
- Review the photo
- Click the Use this photo button
- In the success pop-up click Got it!
- Click the receipt in the FOR REVIEW tab
- Edit as needed
- Click Save
- Click Create expense from receipt
- Click Done
Keep reading for a complete walkthrough with screenshots:
Receipt Snap
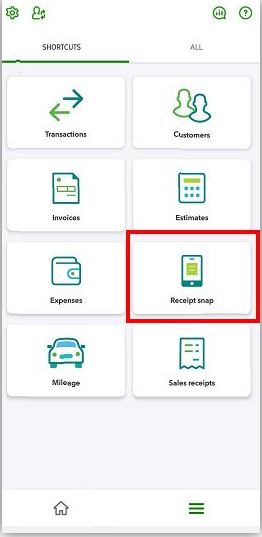
In the mobile app, click the menu icon, then select Receipt snap.
Click the camera icon in the lower right corner to open your camera.
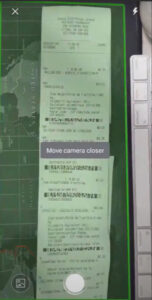
As you get the receipt into view on your phone you’ll see a green box. This is the app recognizing a receipt.
You may see instructions on the screen like “Move camera closer”, “Hold device level”, or “Hold steady” as the app tries to get a clear view of the receipt.
Follow the on-screen instructions. Receipt snap automatically takes the photo when it thinks it has a clear shot.
I used a post office receipt for this example. It’s very long with a lot of information. It took about 20 seconds of phone maneuvering for the app to snap a photo.
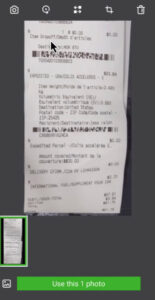
When it captures a photo it appears in the lower left corner of your phone screen. You can let it take multiple photos. Then click on that lower left image to open and review them.
Check to make sure that all the important information is legible. You can Zoom in and crop the image if necessary. If the photo looks good click the green button on the bottom of the screen to use the photo.
You’ll see a message letting you know the photo is uploaded and the app is extracting information from it.
You can click the camera icon to snap a photo of another receipt if needed.
Review Receipt
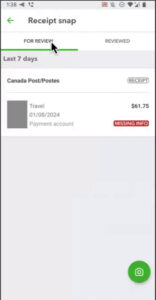
When the app has finished extracting the information from the receipt you’ll see the image under the FOR REVIEW tab.
The app will do its best to extract as much information as it can.
For me, it misidentified the type of expense and it has a MISSING INFO error.
Click on the receipt to open and review it.
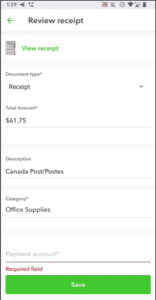
On the Review receipt screen, you can update information if needed and add anything that’s missing.
When everything is correct click the Save button.
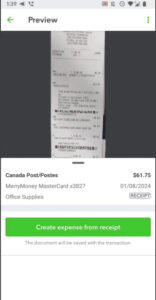
You’ll get to preview the receipt and information one last time before clicking the Create expense from receipt button.
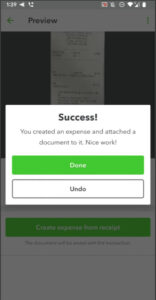
You’ll see a success message letting you know you’ve created an expense with the receipt. Click Done.
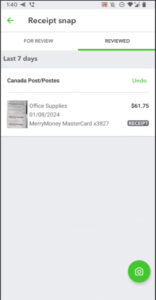
Reviewed
If you click the REVIEWED tab you will see the receipt you just entered.
You now know how to ass receipts to QuickBooks Online using the mobile app. Scroll down if you’d like to watch the video version.
☕ If you found this helpful you can say “thanks” by buying me a coffee… https://www.buymeacoffee.com/gentlefrog
If you have questions about using the QuickBooks Online mobile app click the green button below to schedule a free consultation.
