Small business owners spend most of their time in QuickBooks in the Bank Feed.
This is where you categorize transactions imported into QuickBooks from your bank.
If you’re not familiar with the Banking area check out my blog post: Getting Started with QuickBooks Online: Banking.
If you have a lot of transactions that long list can look daunting. But there’s a feature you may not know about. That can help you categorize your transactions a little faster: grouping.
Quick Instructions:
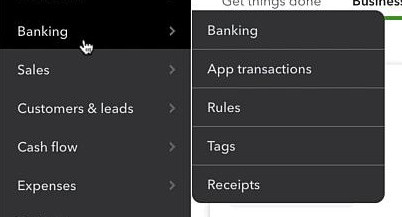
- Click Banking in the left-side menu
- Select a bank card
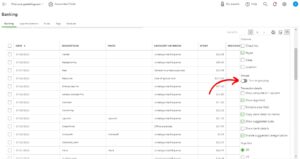
- Click the gear just above the transaction list and to the right
- Under Groups click the Turn on grouping toggle
Keep reading for a complete walkthrough with screenshots:
Bank Feed Grouping
To get to Banking click Banking in the left-side menu.
Select the card for the bank with transactions you’d like to categorize.
To the right, just above the list of transactions, is a gear icon. When you click that icon you’ll get a list of settings for the transaction list. Including a toggle to Turn on grouping.
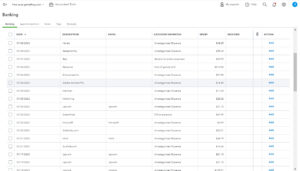
This is what the transaction list looks like with grouping off:
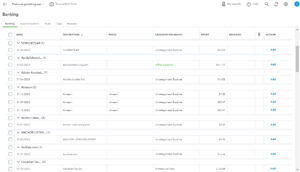
This is what it looks like when grouping by Description:
You can group by any of the following:
- Date
- Description
- Payee
- Category or Match
- Spent
- Received
- Class
- Location
- Check no.
You change the grouping by clicking the column heading. If you don’t see one of the columns listed above click the gear again and check it off under Columns in the settings.
Personally, I find grouping by Description to be the most helpful. This lets you see at a glance if you have transactions to one company/provider that you can categorize all at once.
You now know how to group transactions in the bank feed in Quickbooks Online.
☕ If you found this helpful you can say “thanks” by buying me a coffee… https://www.buymeacoffee.com/gentlefrog
Below is a video if you prefer to watch a walkthrough.
If you have any questions about the bank feed in QuickBooks online click the green button below to schedule a free consultation.

