Have you suddenly become your own bookkeeper? Managing your QuickBooks for the first time and not sure where to begin?
If your QuickBooks is already setup and your bank accounts synced then you’re in the right place.
Learn learn about:
- Work flow
- Money in/out
- How to review transactions in QuickBooks Online
I’ll show where to get started and best practices to keep your books in order.
Dashboard
When you sign in to QuickBooks Online the first thing you’ll see is the Dashboard. The dashboard shows you an overview of your business. Including income, expenses, bank accounts, and more.
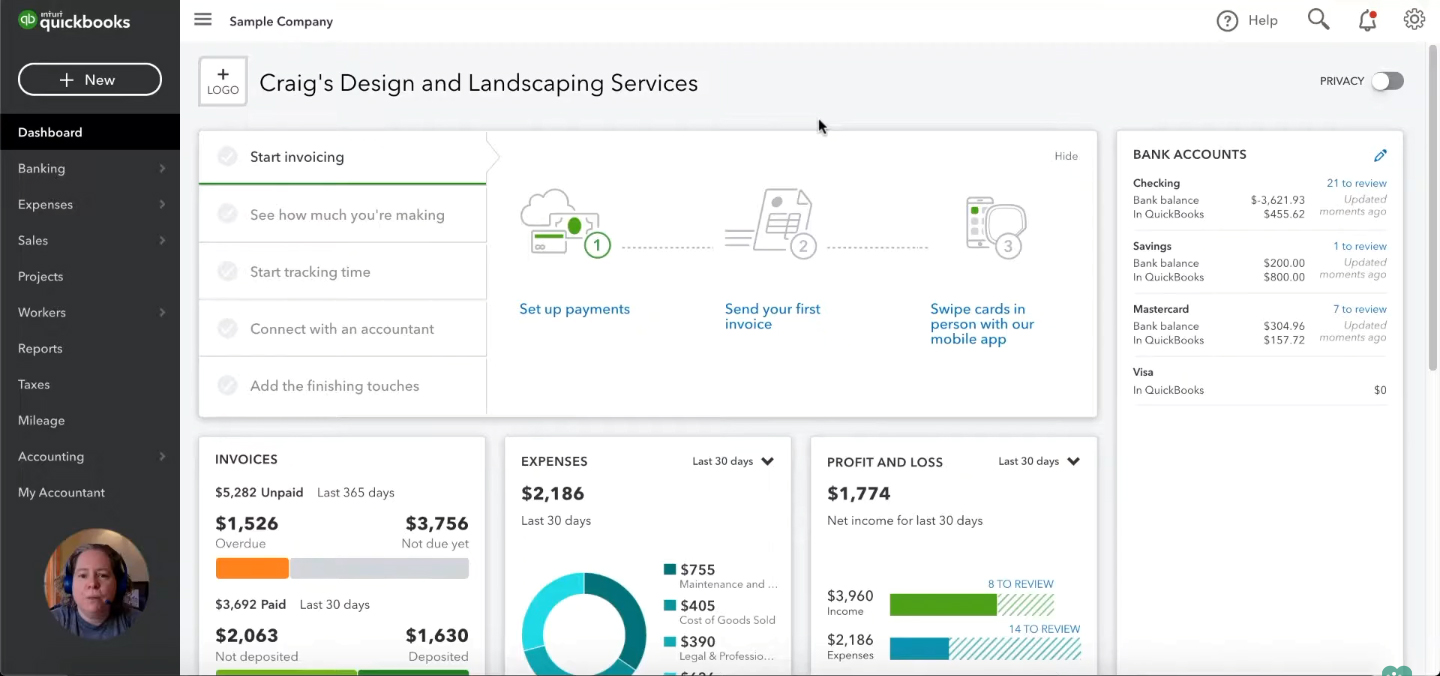
Feel free to click around the dashboard and check out the various information it provides.
I won’t be doing a full overview of the dashboard in this tutorial. Instead, I’d like to focus on how most people are using QuickBooks. To record money in and money out.
Workflow
When I begin working with clients I first like to go over a workflow to make sure no they don’t make mistakes.
The workflow begins by recording money in and money out.
Then there’s a check to make sure no transactions got missed or duplicated. Finally, there’s another check to make sure the transactions are in the right categories.
It can be more complicated than that. But, if you begin with just making sure money in and money out correctly recorded you’ll be on the right path.
Money In and Money Out
When a bank account is connected to QuickBooks it provides a one-way sync. The data comes from the bank into QuickBooks and then sits in a holding spot for you to process.
This is the “money in/out” a list of what you’ve received or spent.
These transactions reported by your bank need to be properly categorized. Then added to the register.
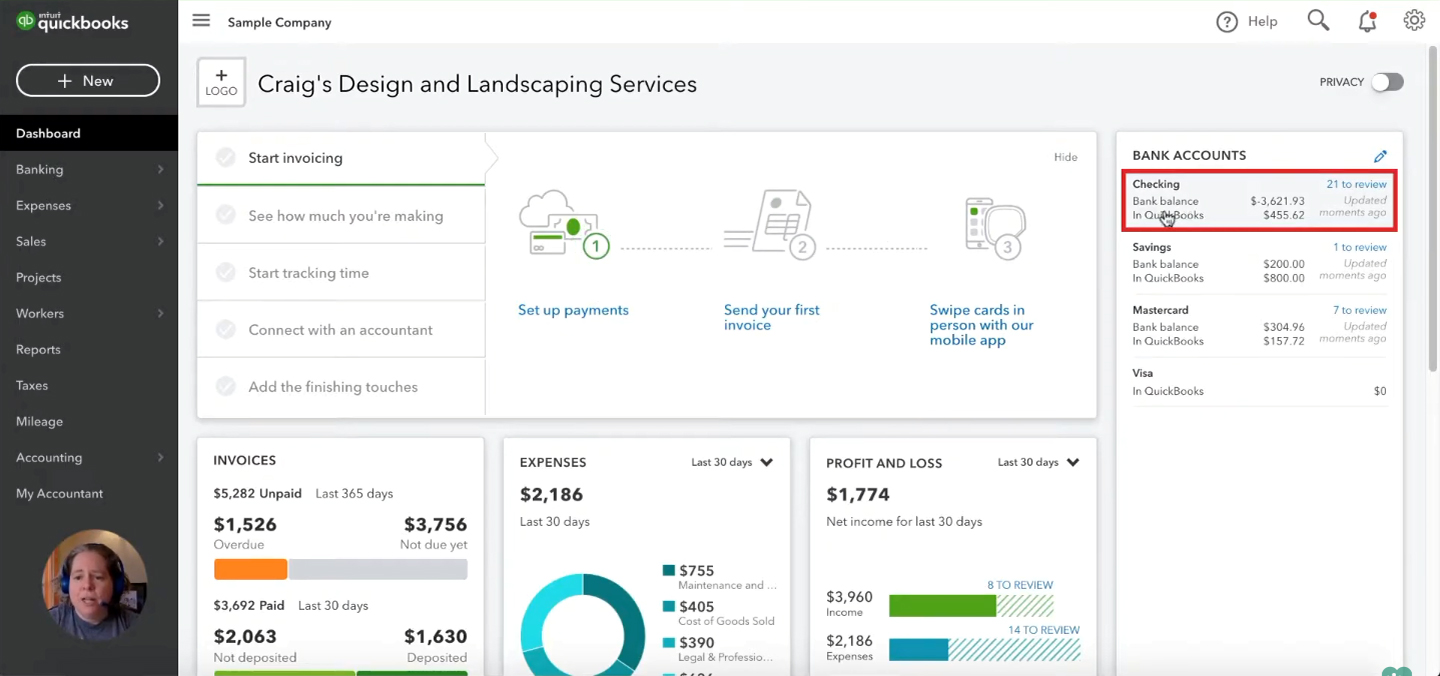
There are two ways to get to this section where you can see these transactions.
From the dashboard under BANK ACCOUNTS on the right-hand side you can click the account you’d like to work in.
If you’re not on the dashboard you can click on Banking -> Banking in the left-hand menu.
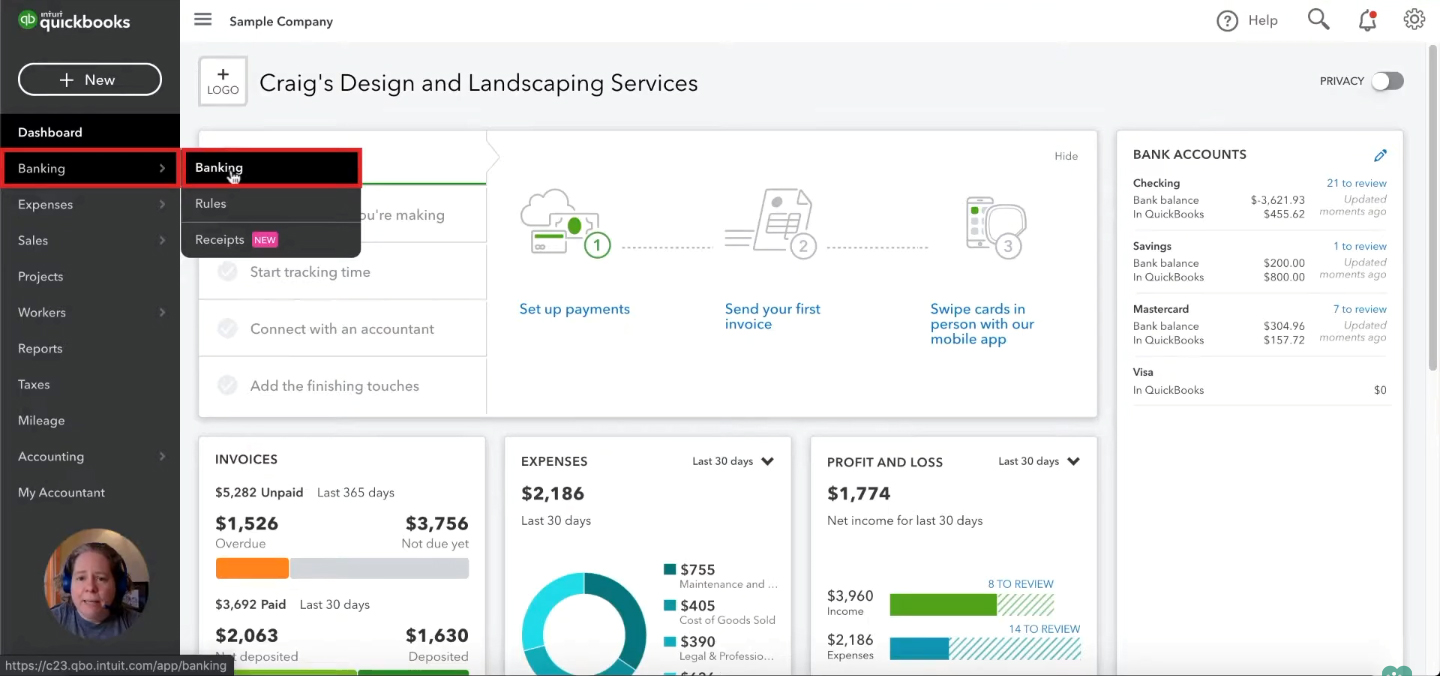
Either of these methods will bring you to the banking section of QuickBooks Online.
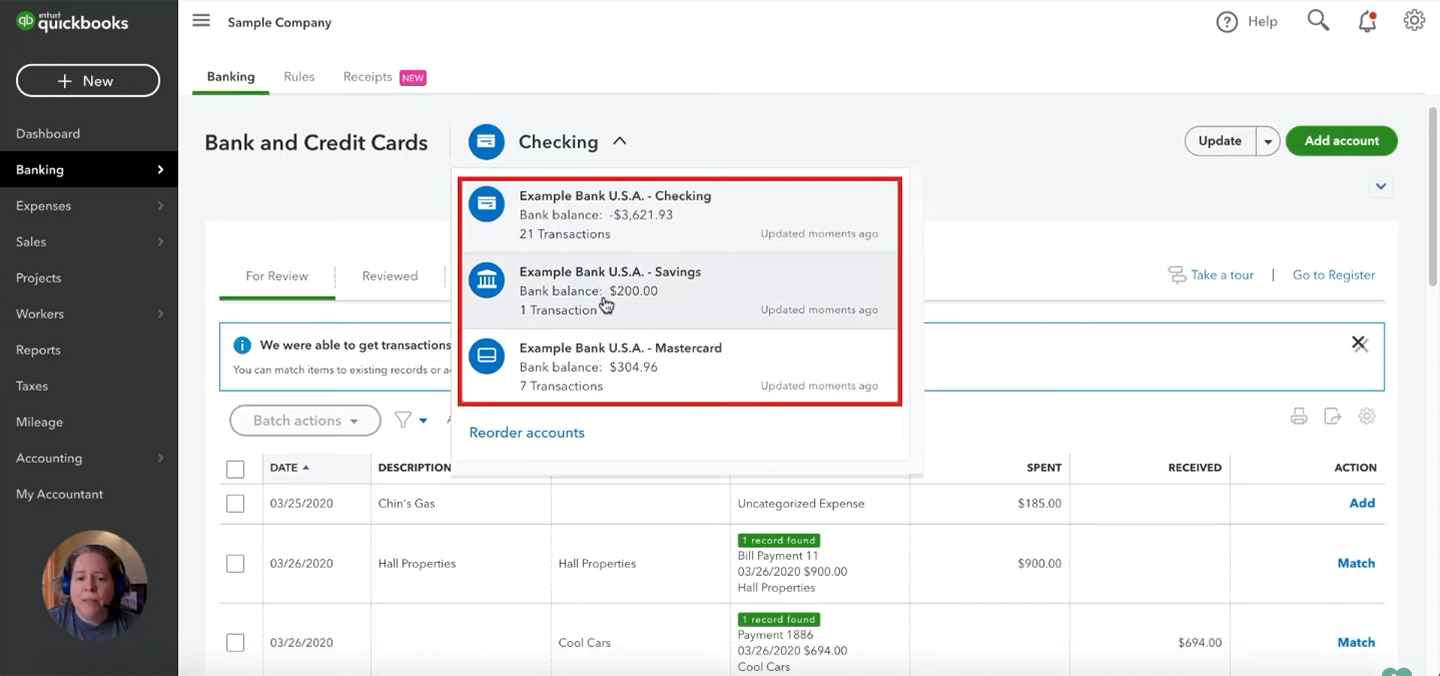
Here you’ll see the bank accounts you have connected to QuickBooks. When you have an account selected you’ll see you all the transactions imported from that account into QuickBooks.
The bank accounts can appear on the screen in two different ways. You may see a view that looks like this, where there’s a dropdown you use to switch between bank accounts:
Or it may look expanded like this: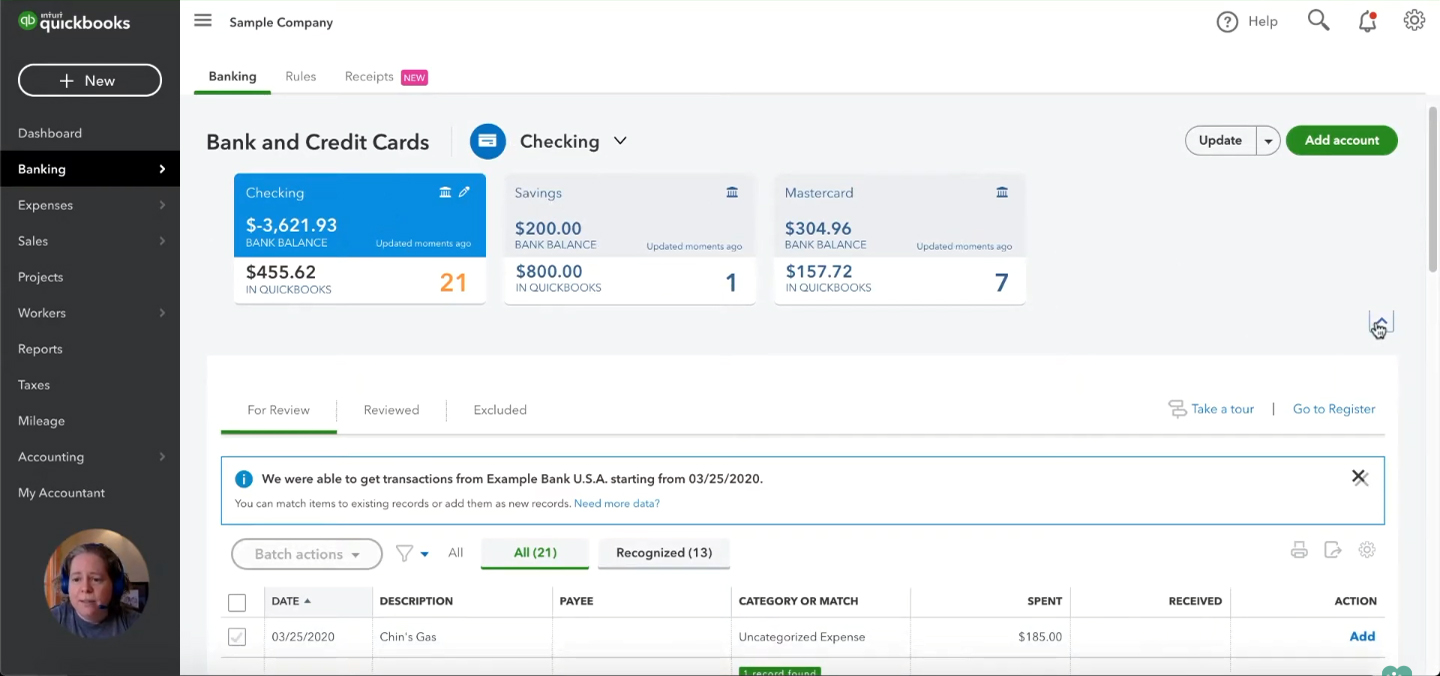
I prefer the expanded version.
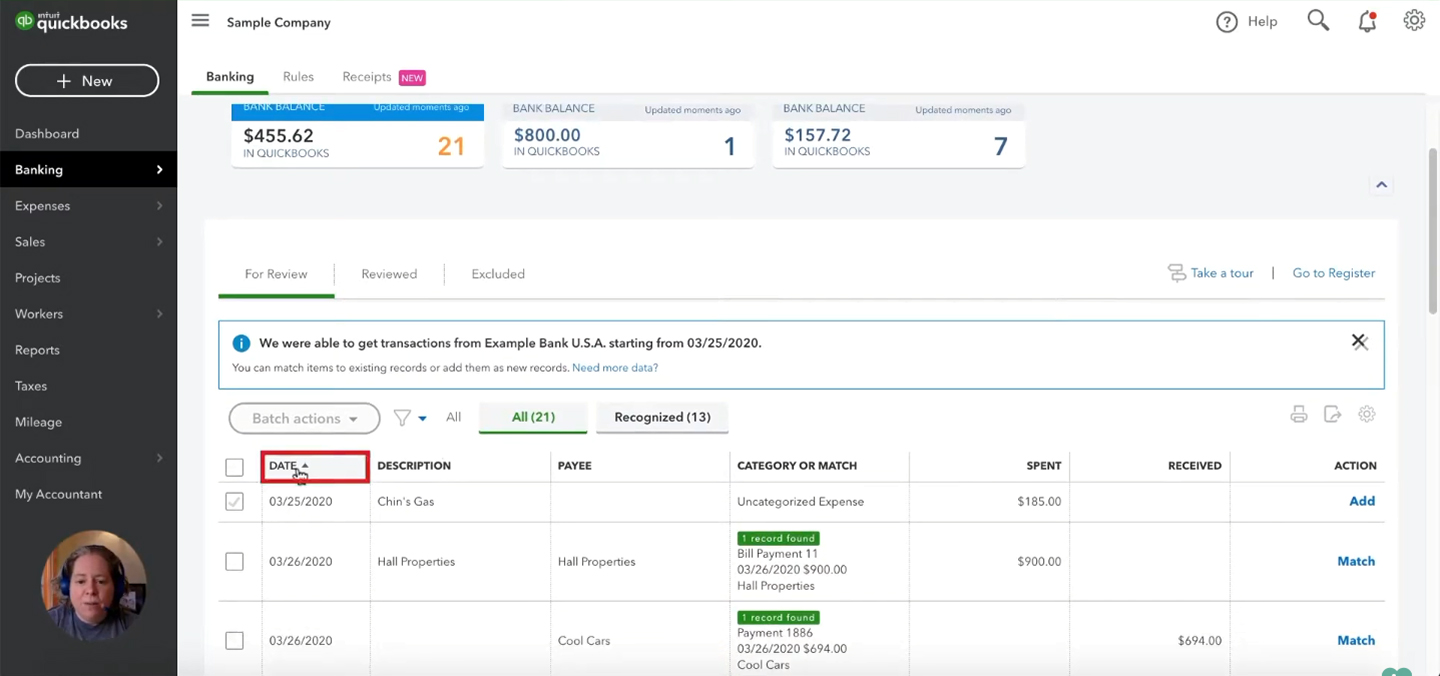
The first thing I want you to do on this page is to click on the DATE. Make sure the oldest transactions are at the top of the list.
In this example, there are 21 transactions to process.

Twenty-one is not a big deal. In the real world, you might have a backlog of a hundred or more transactions. That could be overwhelming and not doable in one sitting. But, if you start with the oldest you’ll always be working towards getting caught up.
Let’s go over the columns on this page.
Date
This the date that the transaction showed up on your bank statement.
Description
This is the description that of the transaction as it appears on your bank statement.
Payee
This column shows the person or business that you spent money with or who sent you money. QuickBooks won’t force you to fill this in but if you want to do your accounting right you should fill this field in.
Category or Match
QuickBooks will make category suggestions, often very poorly. I suggest reviewing the category for every transaction and making sure it’s correct.
Spent / Received
This is where the amount of the transaction will appear. And, whether it was spent from the account or received into the account.
Action
This is what you click on when after reviewing the transaction. This moves it out of the “For Review” section and into the register.
Reviewing a Transaction
Let’s go over reviewing a transaction. I’ll start with the one at the top of my list for Chin’s Gas.
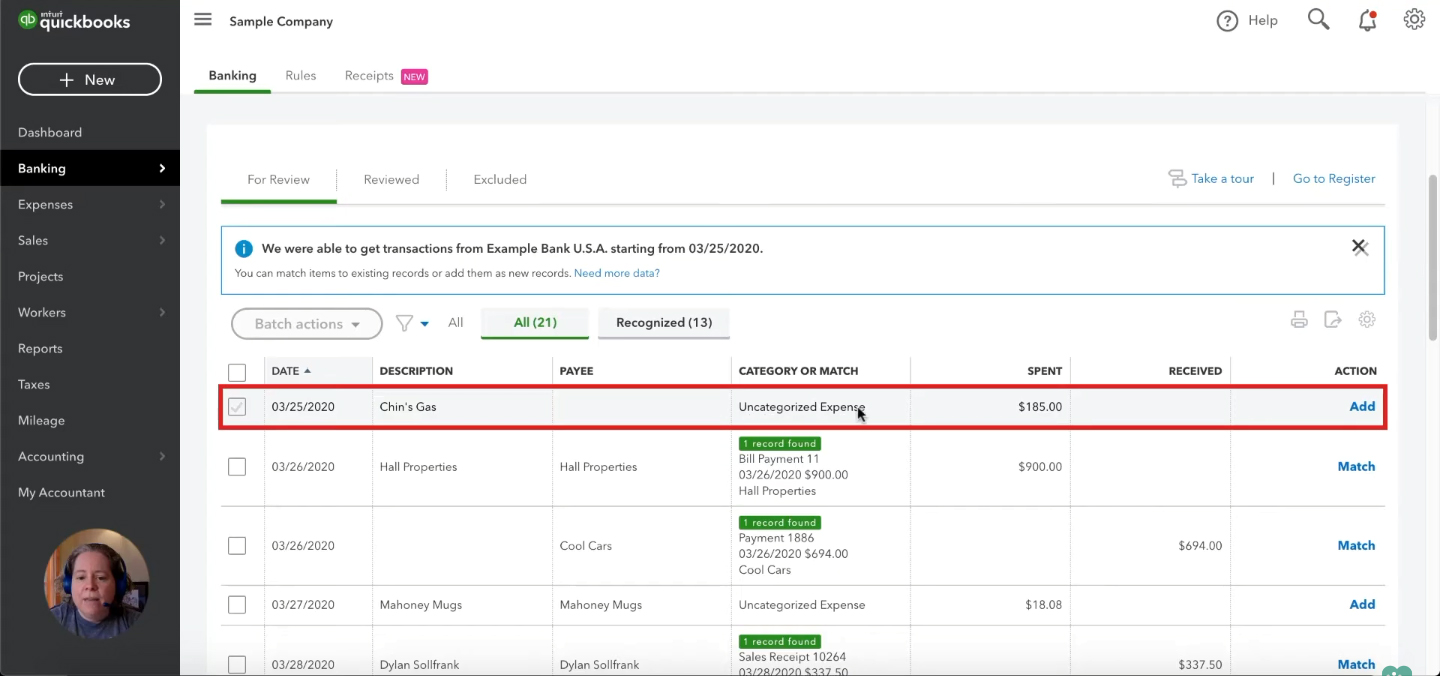
If I click anywhere on that transaction it will expand and allow me to edit the transaction.
The first box you’ll see “Vendor/Customer” is where you enter the Payee.
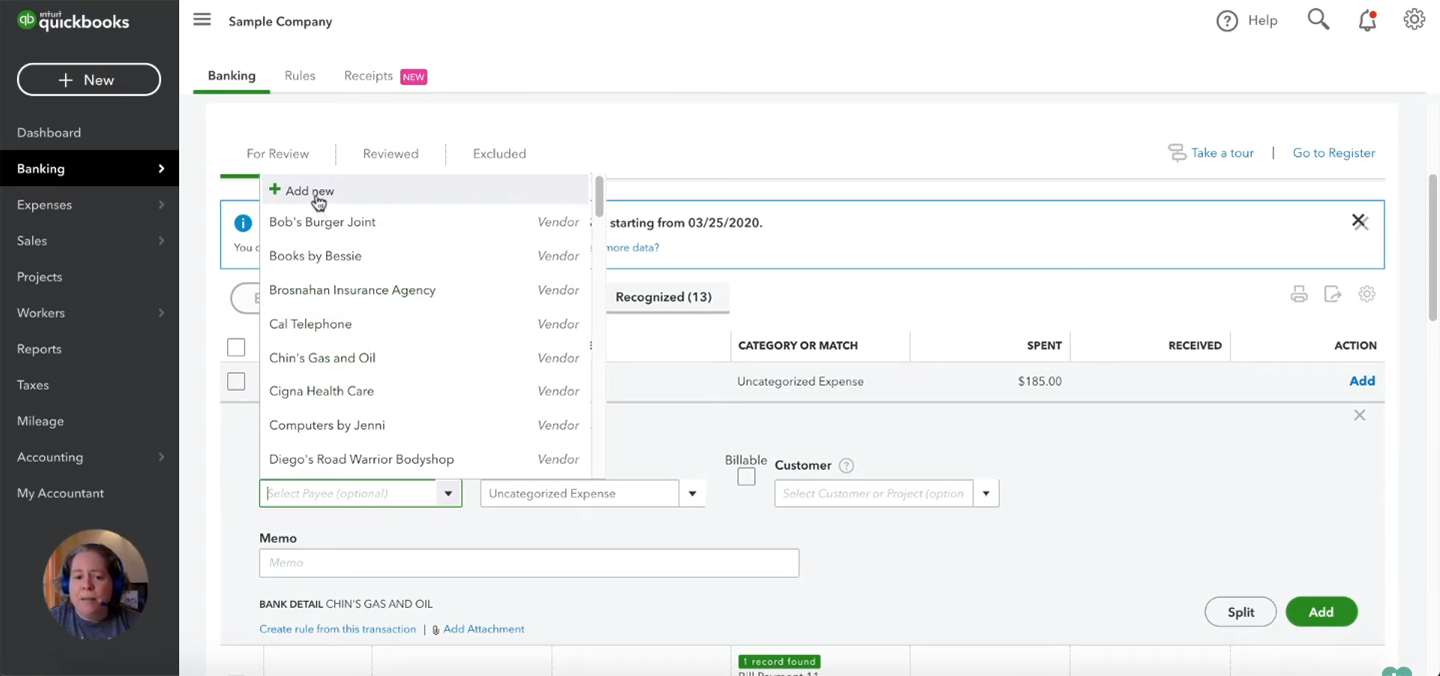
If the money was spent you’ll see vendors at the top of the list. If the money was received you’ll see customer’s first.
If you don’t see the vendor/customer you want you click “Add new” at the top to add them.
For this example, I’ll pick “Chin’s Gas and Oil.”
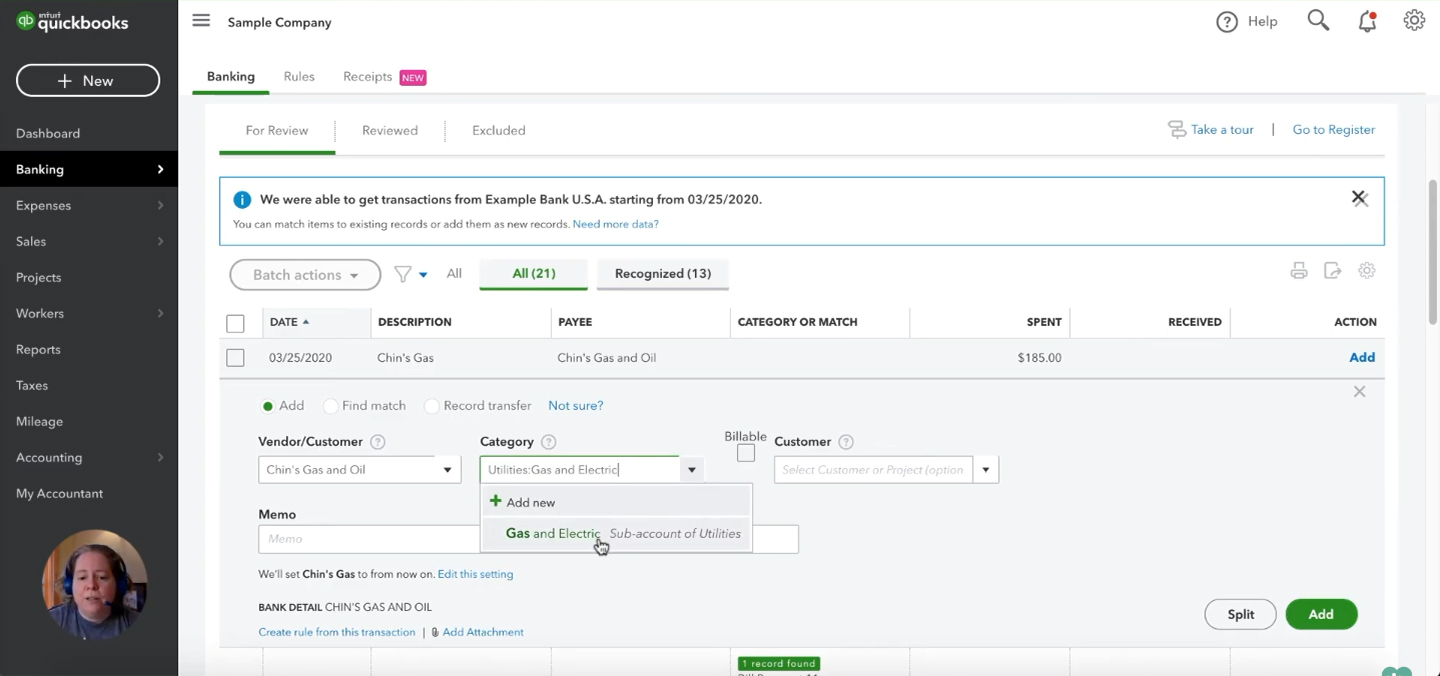
Next is the Category box. The category is how you tell QuickBooks why you spent or received this money.
One thing you never want to do is select the account your in as the category. For example, I’m in a checking account. I would not choose “checking” for the category, this doesn’t make any sense.
For this example, I’ll pick “Utilities: Gas and electric” for this transaction’s category.
If you’d like to enter any notes about the transaction you can do so in the Memo field.
Once you’re satisfied with the transaction you can click the green “Add” button.
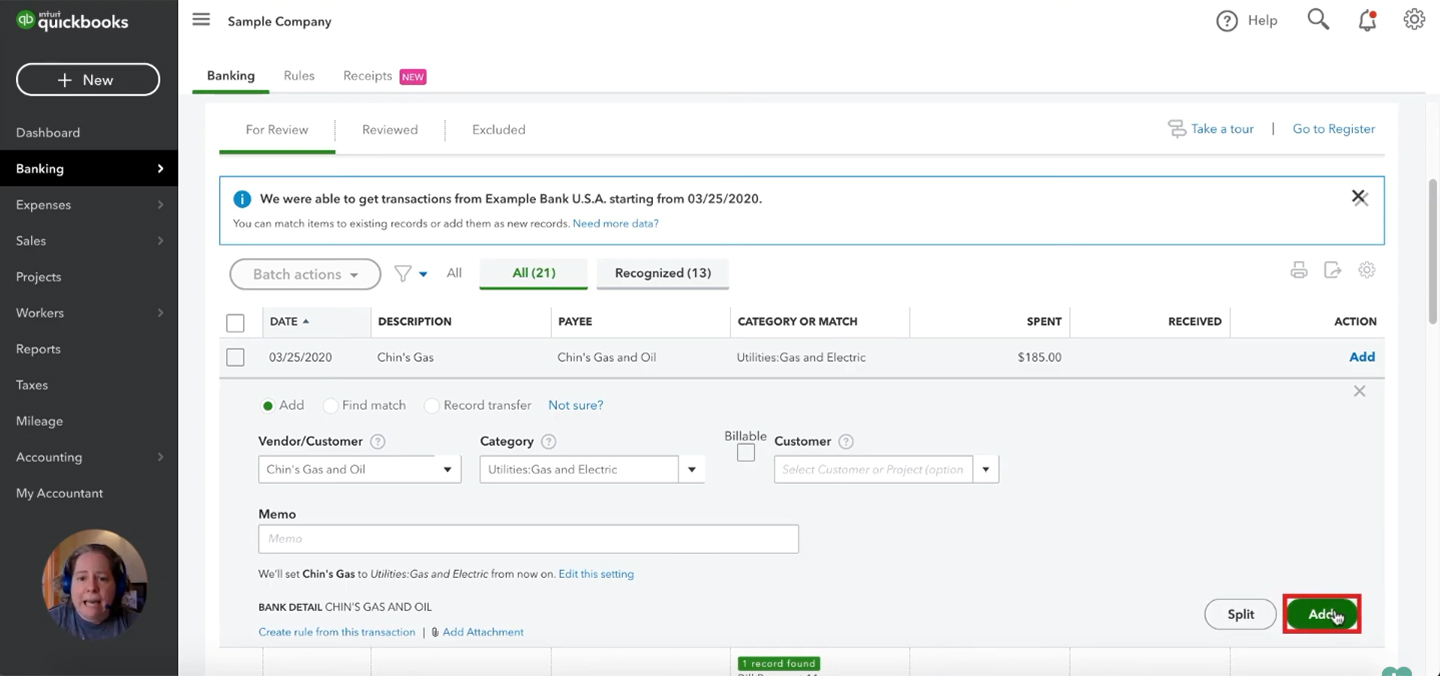
Once you click that button the transaction gets removed from your For Review list. It’s then added to the register. .
The money gets deducted from your checking account. Not in real life, that’s already happened. Finally, the expense or income on your Profit and Loss report gets updated accordingly.
That’s the end of part one. In the next part we’ll go over reconciling your bank accounts.
☕ If you found this helpful you can say “thanks” by buying me a coffee…
https://www.buymeacoffee.com/gentlefrog
If you’d like to watch me walk through this process check out the video below.