
A common mistake people make when using QuickBooks Online is accidentally recording bill payments as both a bill and an expense.
In this tutorial, you’ll learn how to fix this so your books are correct.
Quick Instructions:
- Open the Expense
- Click the Add link to the right to convert the Expense to a Bill Payment
- Click the Save and Close button
Keep reading for a complete walkthrough with screenshots:
Fixing Bills Entered as Expenses
Here’s an example where I have a Hubdoc bill that was also entered as an expense:
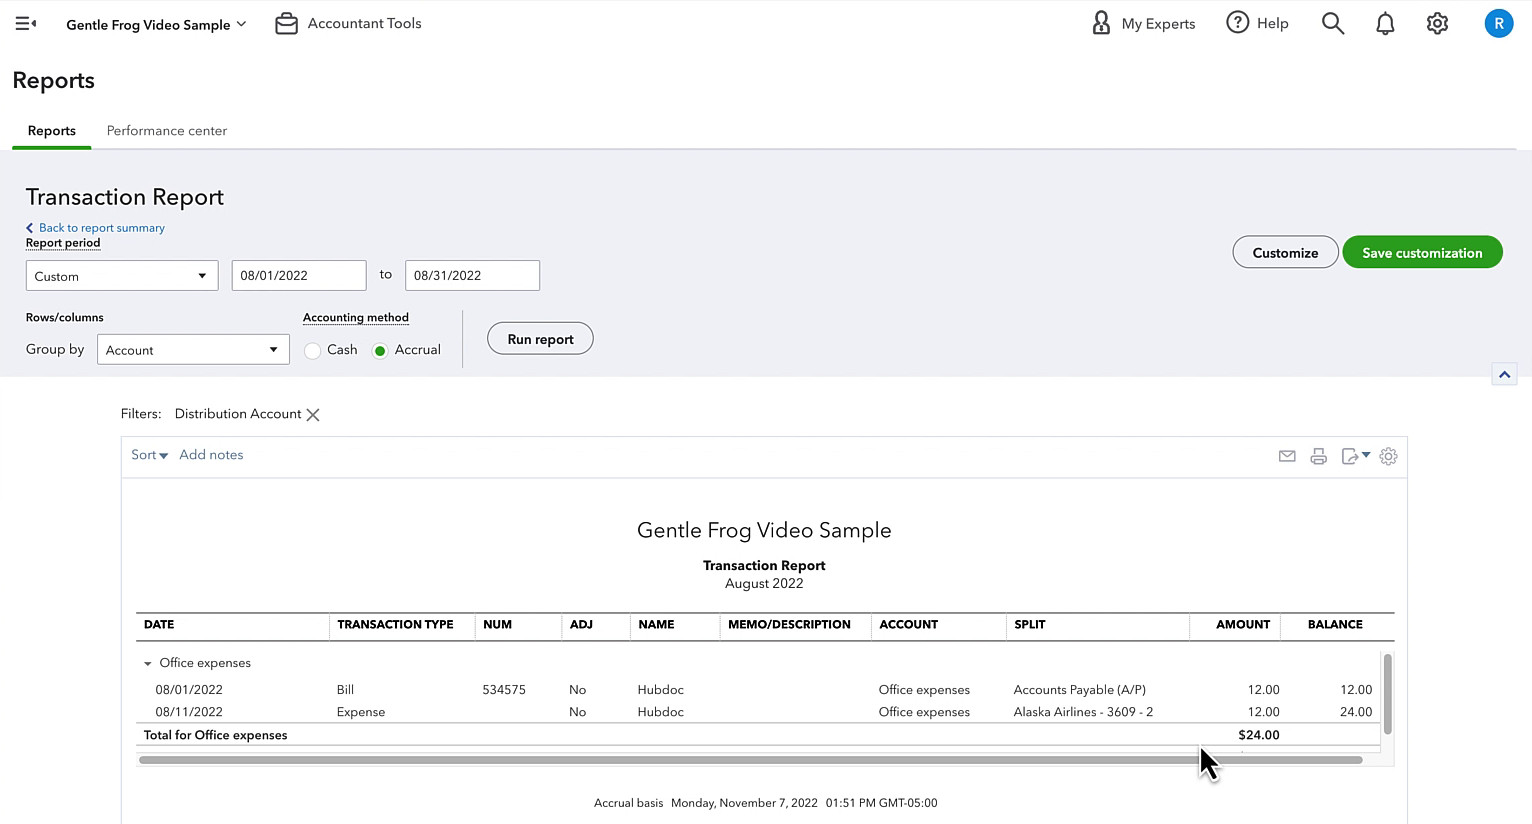
In this example, I noticed the Office Expenses account was too high in my Profit and Loss. I clicked on Office Expenses to view the Transaction Report (screenshot above).
To fix this, I can click on the expense in the Transaction Report.
In the upper right corner of the Expense, click the Add link.
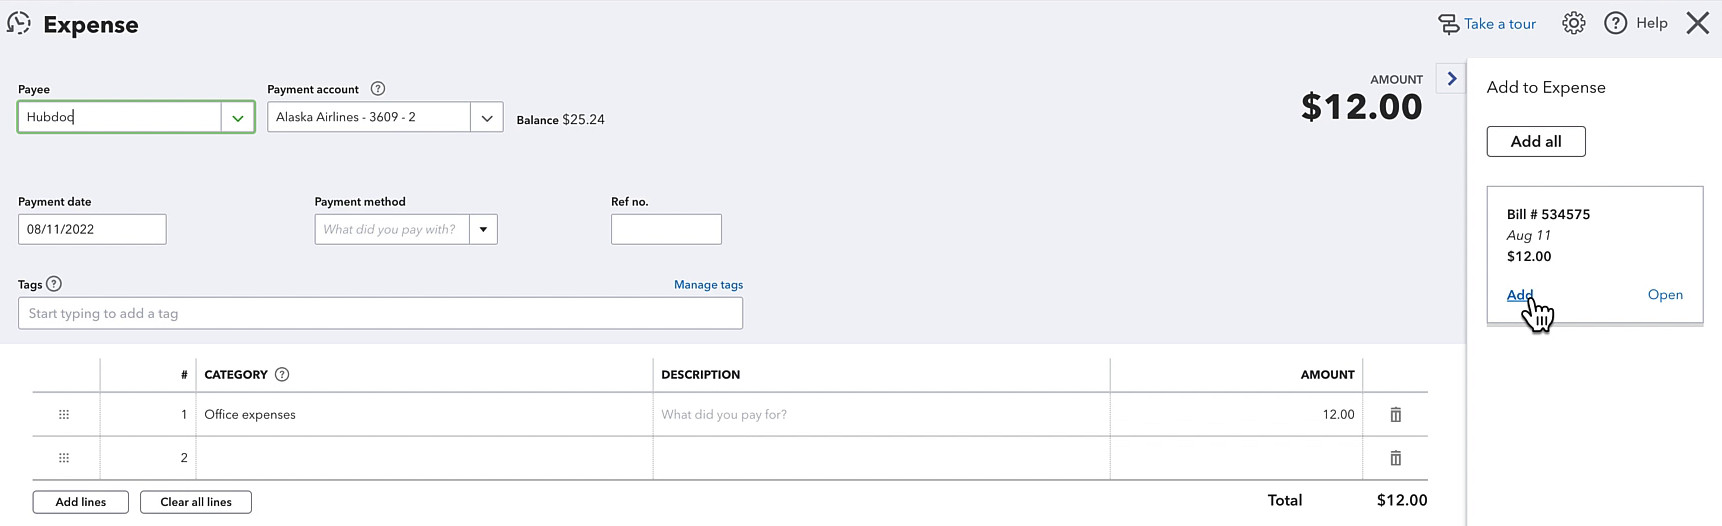
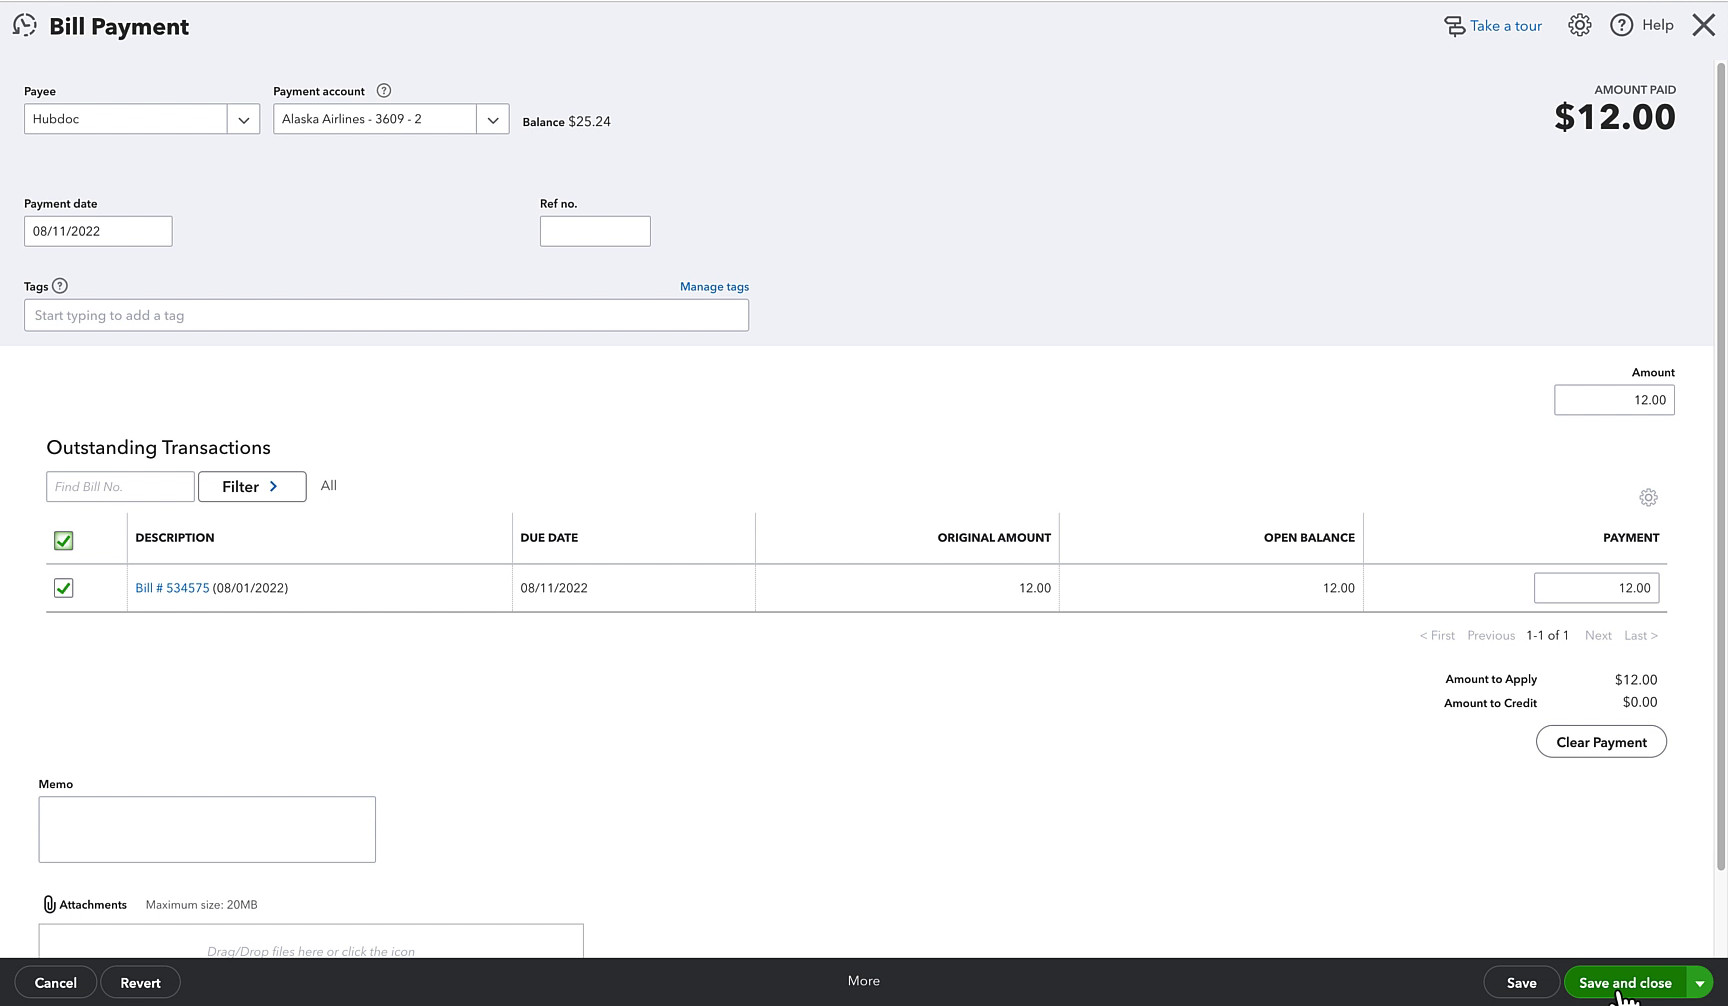
This will replace the expense with a Bill Payment. From here, click the Save and Close button.
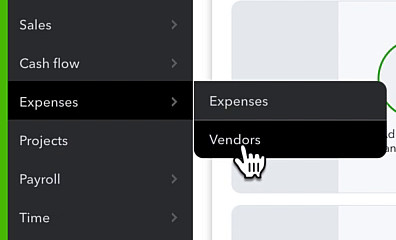
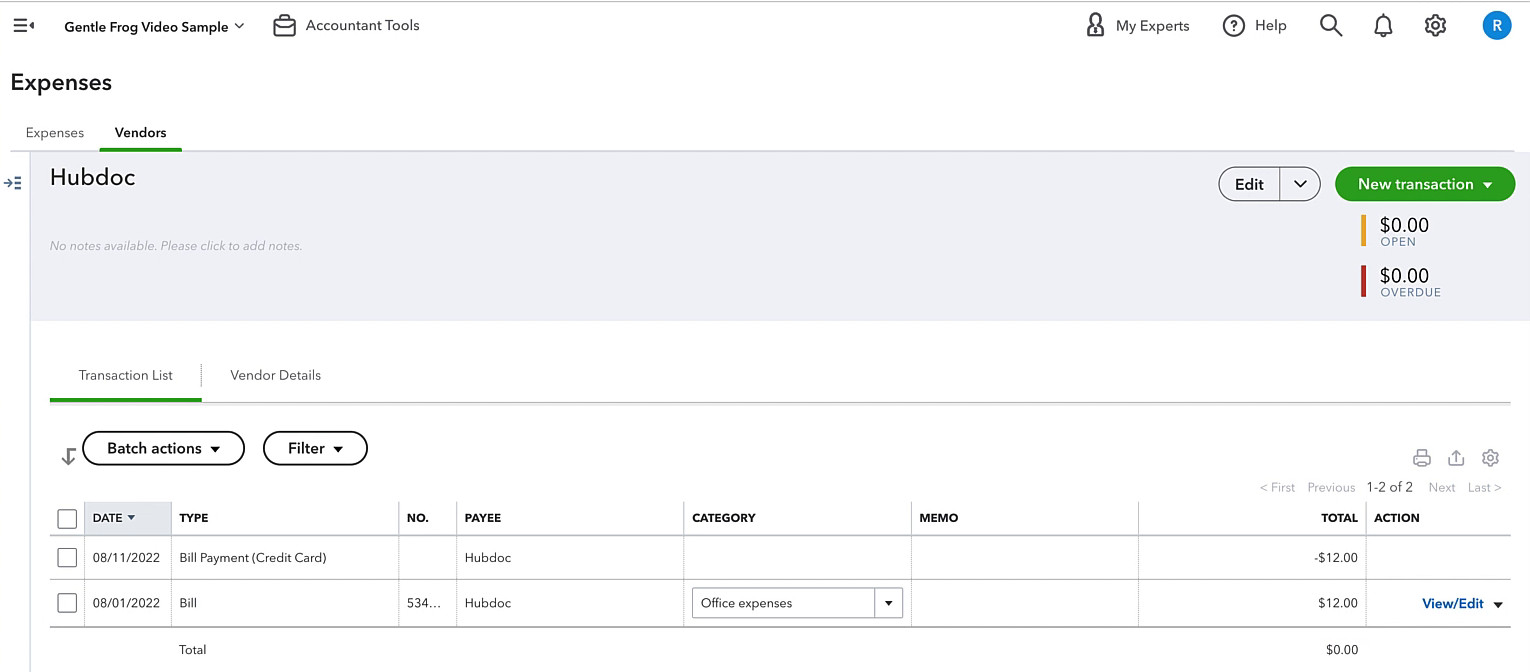
Another way to find a bill entered as an expense is to click Expenses -> Vendors in the left-hand menu.
Click on or search for a vendor. Both the bill and expense will appear in the expenses list.
Here’s an example:

Like the instructions above, click on the expense. Click Add to convert it to a Bill Payment, then click Save and Close.
Here’s an example where that’s been done. I now have a Bill and Bill Payment:
You now know how to fix a bill entered as a bill and expense in QuickBooks Online.
☕ If you found this helpful, you can say “thanks” by buying me a coffee… https://www.buymeacoffee.com/gentlefrog
Below is a video if you prefer to watch a walkthrough.
If you have questions about fixing errors like this in QuickBooks Online, click the green button below to schedule a free consultation.


6 Responses
In the upper right h. corner of the expense screen there is no buttons saying “add”. So I cannot proceed as you say.
Hi Jeff,
If you don’t see the “add” on the right then there’s no bill to attach to this expense. You may have something else going on. You can schedule a 15-minute meeting with Rachel and the two of you can take a look at it together and figure out what’s going on: https://www.gentlefrog.com/meeting/
-Jess
I have made a mistake and entered bills as expenses and it is a load of work, now when I upload the bank it duplicates my transactions, pls help me change the expenses to bills?
Hi Michelle,
Did you follow the instructions in the blog post? It explains how the process, there’s also a video to watch: https://www.youtube.com/watch?v=jeOkmE2cC94
-Jess
Also how do you charge if you give me a bit training on quickbooks online?
You can see the pricing and schedule a training appointment on the meeting page: https://www.gentlefrog.com/meeting/
-Jess