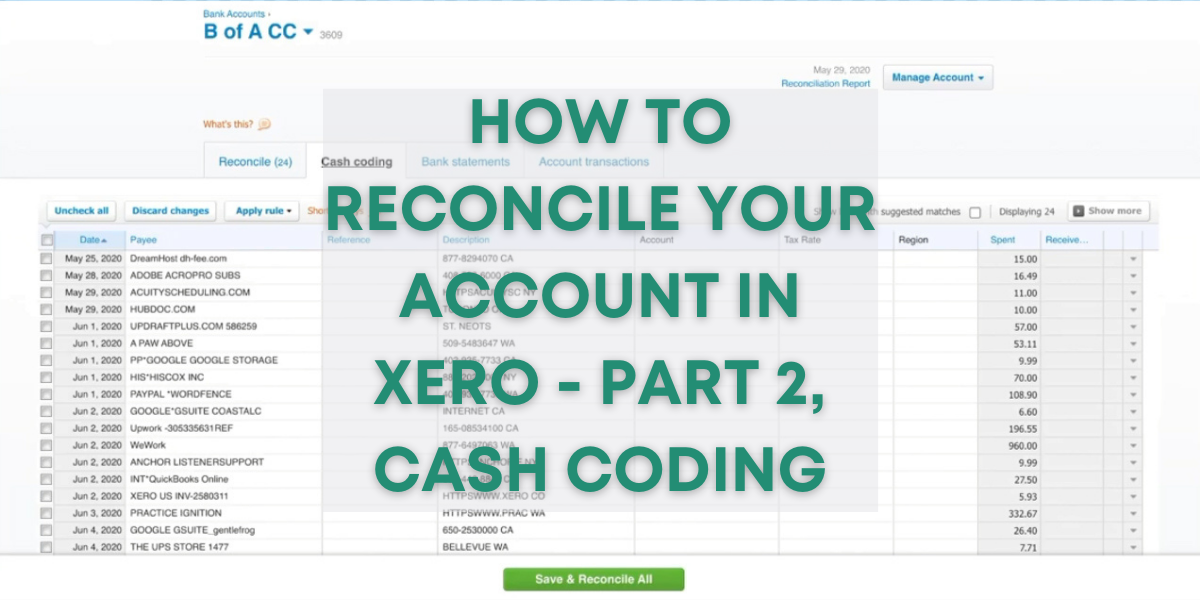
This is the second part of a Xero training on reconciling your account. In this part, I’ll show you how to use the Cash Coding method.
Click here to read part one.
Quick Instructions:
- On the dashboard click a blue Reconcile link in a bank accounts tile
- Click the Cash coding tab at the top of the screen
- Edit fields for items in the list
- Payee (optional to edit)
- Account
- Tax Rate (updates automatically)
- Check off all items you’ve edited and want to reconcile
- Click the green Save & Reconcile Selected button on the bottom of the screen
Keep reading for full instructions with screenshots.
Let’s continue our reconciling from Part 1 using the Cash coding tab. This tab is at the top of the screen to the right of the Reconcile tab.

This is a different method that you can use to reconcile your transactions.
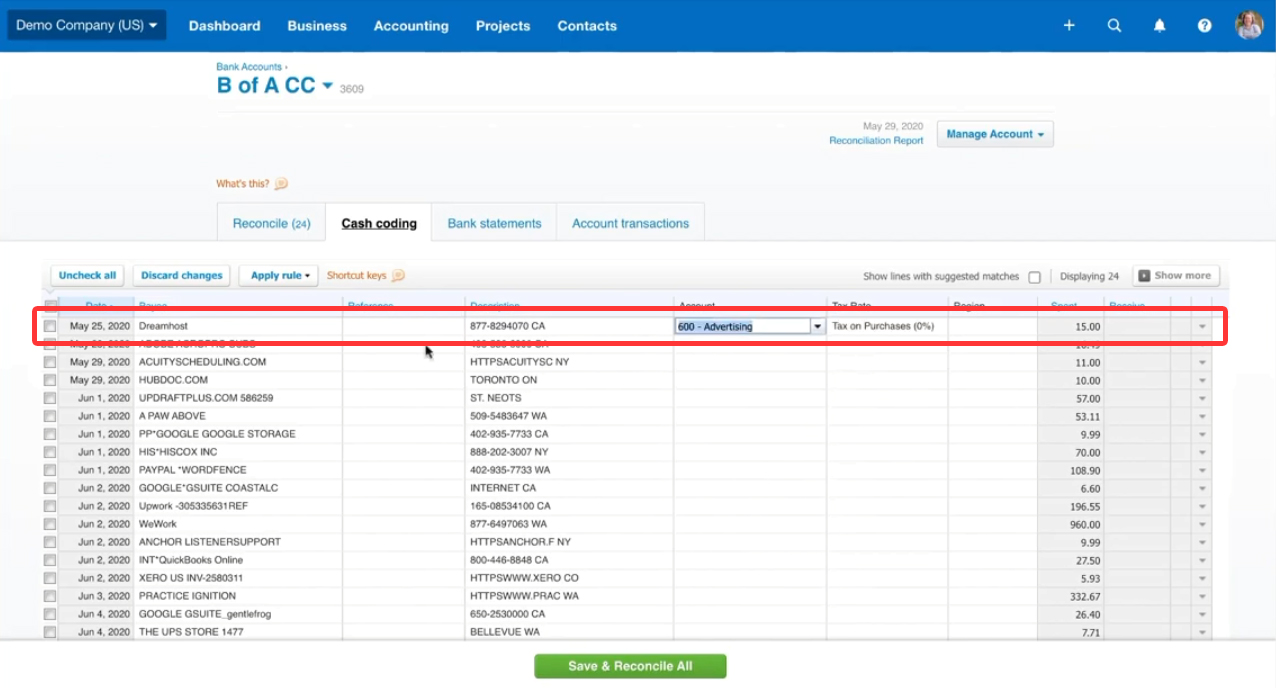
On this screen, you’ll see a list of your transactions looking like a spreadsheet.

You can click on any of the fields in this list to edit them. I’ll start with the first item on my list, a DreamHost expense.
First I’ll update the Payee field and removing the extra text and changing it to just “Dreamhost.” Under account, I’ll click the drop-down menu. Then select an expense account for this transaction. The Tax Rate field is automatically filled in after I select the account type.
Once you’ve edited several items click their checkboxes to the left.
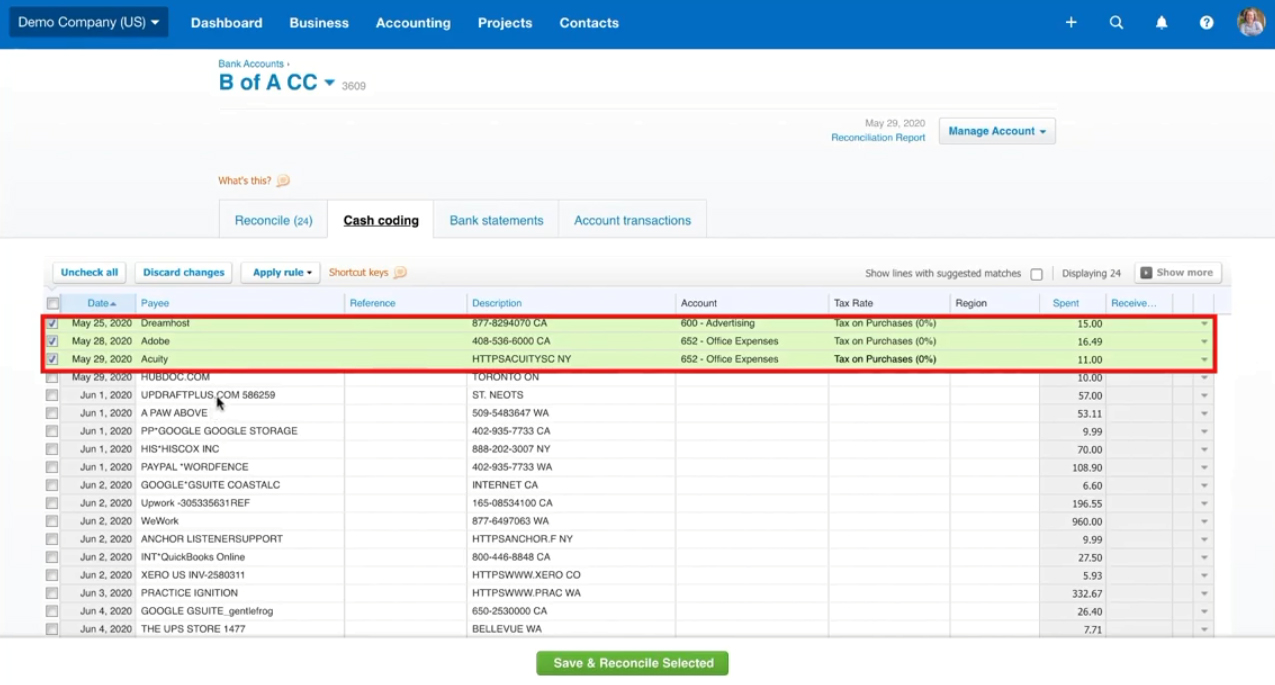
Then click the green Save & Reconcile Selected button on the bottom of the screen.
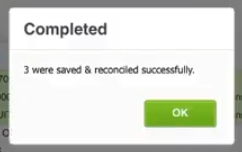
A pop-up will appear letting you know how many items you reconciled.
You now know how to reconcile your accounts in Xero. If you have any questions about reconciling accounts in Xero please ask them in the comments.
☕ If you found this helpful you can say “thanks” by buying me a coffee…
https://www.buymeacoffee.com/gentlefrog
If you’d like to watch me walk through this process check out the video below: