If you’ve hired contractors or freelancers and paid them more than $600 you’ll need to file a 1099-NEC or 1099-MISC.
But how do you find these various vendors in QuickBooks?
In this blog post, you’ll learn three different ways to help you identify your 1099 vendors so you don’t miss any when you file your taxes.
Quick Instructions:
1099 Transaction Detail Report
- Click Taxes -> 1099 filings in the left-side menu
- Click the green button
- Click Continue. Or enter your Tax ID, click Save then Continue
- Check off any payment types associated with your business
- Select the appropriate account from the drop-down
- Click Next
- Click Save and finish later
- Click Reports in the left-side menu
- Search for the 1099 Transaction Detail Report
Profit and Loss Report
- Click Reports in the left-side menu
- Open the Profit and Loss report
- Change the Report period to the dates for the tax year
- Click Run report
- Scroll to the bottom of the report
- Click the number to the right of NET INCOME/LOSS
- Click the Export icon and select Export to Excel
- Open the exported Excel file
- Delete any income in the report
- Look through the categories and highlight any you’d want to take a closer look at
- In the highlighted categories highlight any cash or cash equivalent payment types
- Go back through and summarize the highlighted information for use in your 1099s
Expenses By Vendor Summary Report
- Click Reports in the left-side menu
- Search for the Expense by Vendor Summary report
- If your report contains Not Specified click the total to the right, go through the transactions add vendor names if needed
- Sort by Total in descending order
- Print out the report
- Draw a line separating those who received less than $600 and those who received more than $600
- Take a closer look at any vendors above the line to see if they qualify for a 1099
Keep reading for a complete walkthrough with screenshots:
1099 Transaction Detail Report
The 1099 Transaction Detail Report is a report built into QuickBooks Online that’s supposed to show you which vendors you should send 1099s.
I say “supposed to” because this report does not automatically display vendors that should get 1099s. There is a step you have to take first.
You’ll need to follow these steps to make the 1099 Transaction Detail Report work. Even if you’re not using QB to file your 1099s.
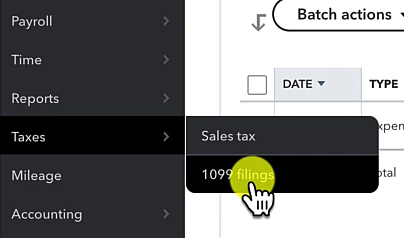
Click Taxes in the left-side menu then 1099 filings.
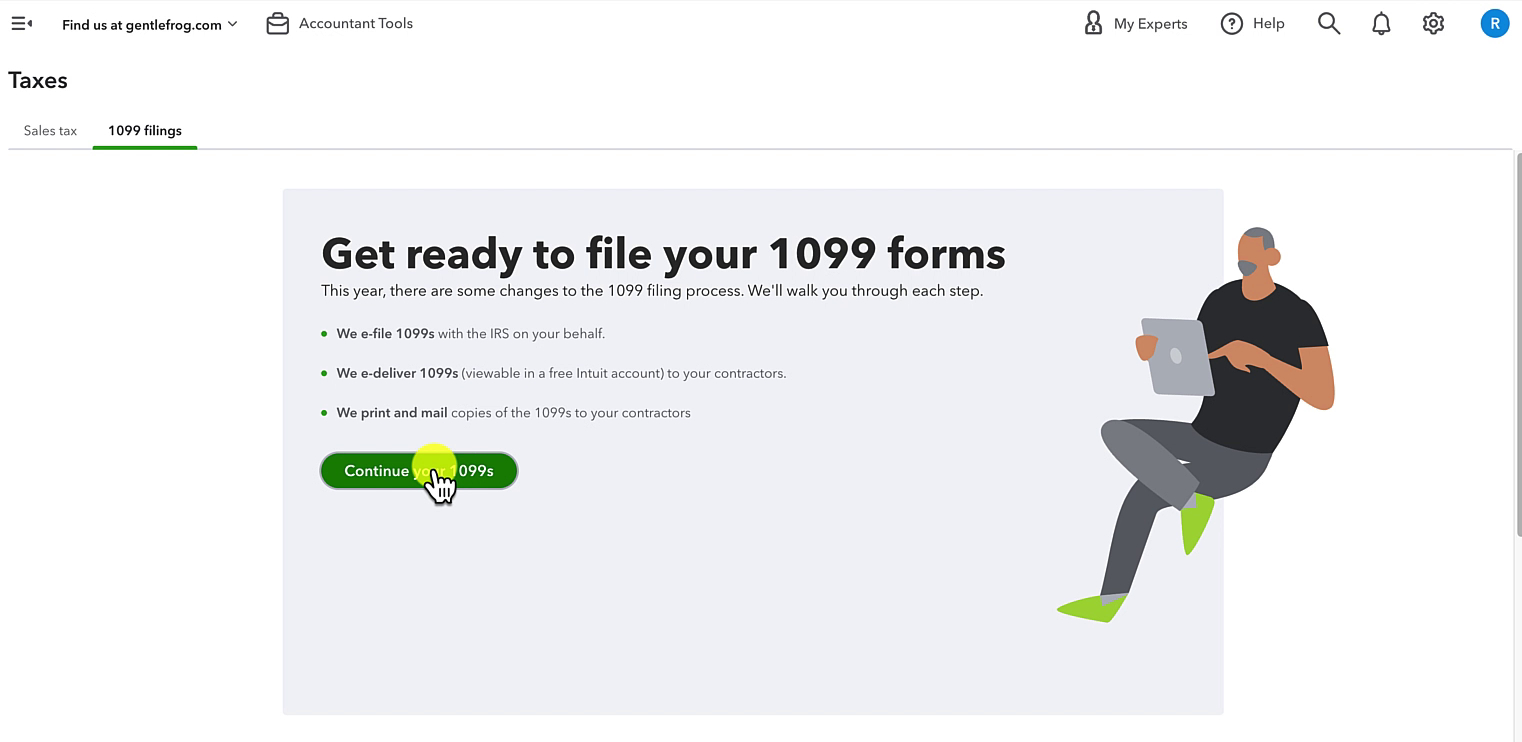
Click the Continue your 1099s button.
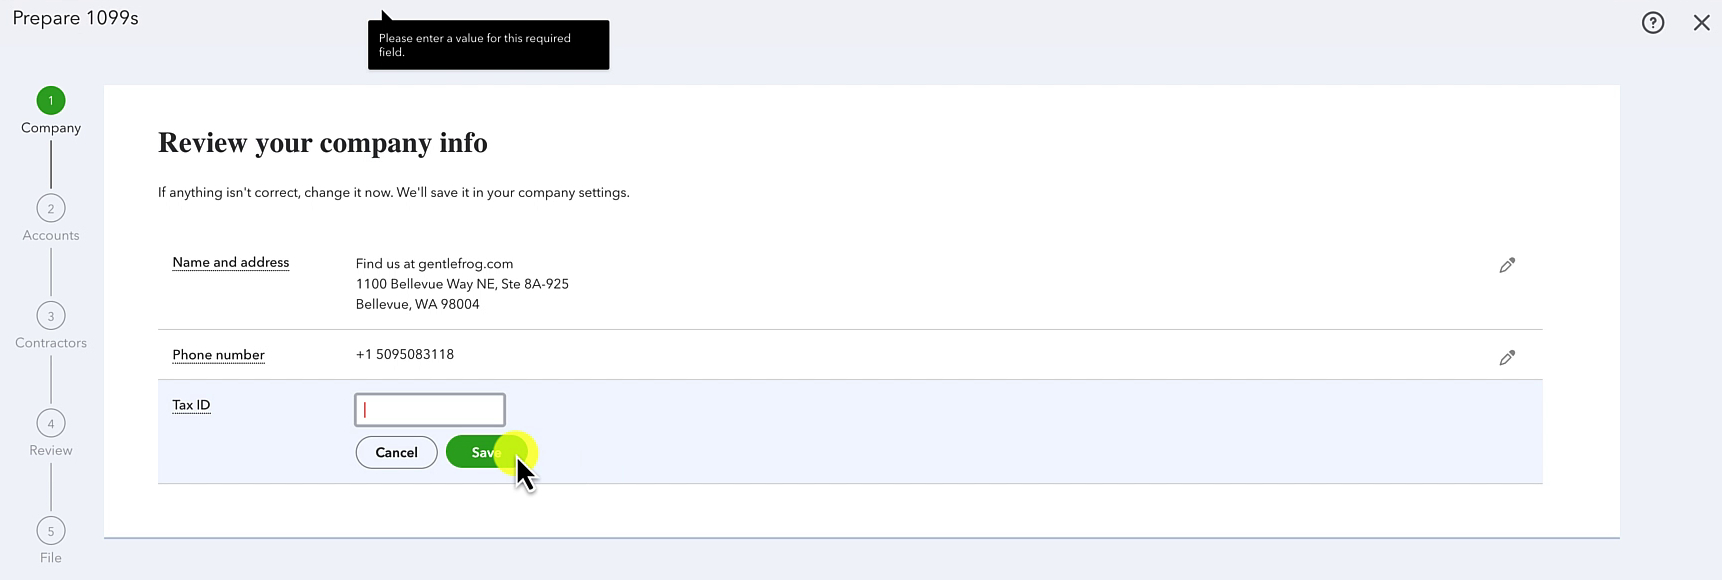
If you’ve entered your Tax ID into QB you’ll click Continue. If not enter your Tax ID, click Save then Continue.
On the Categorize payments to contractors screen, you’ll select what you want to keep track of.
Before continuing you may want to familiarize yourself with the IRS 1099 instructions.
When you check off anything in this list a drop-down will appear where you can select which accounts to associate with it.
I suggest you go through the whole list and check anything associated with your business.
For this example, I’m only going to check off Non-employee compensation (1099-NEC). I’m selecting the account “Professional Fees” to associate with this. (You might call this something completely different in your QuickBooks).
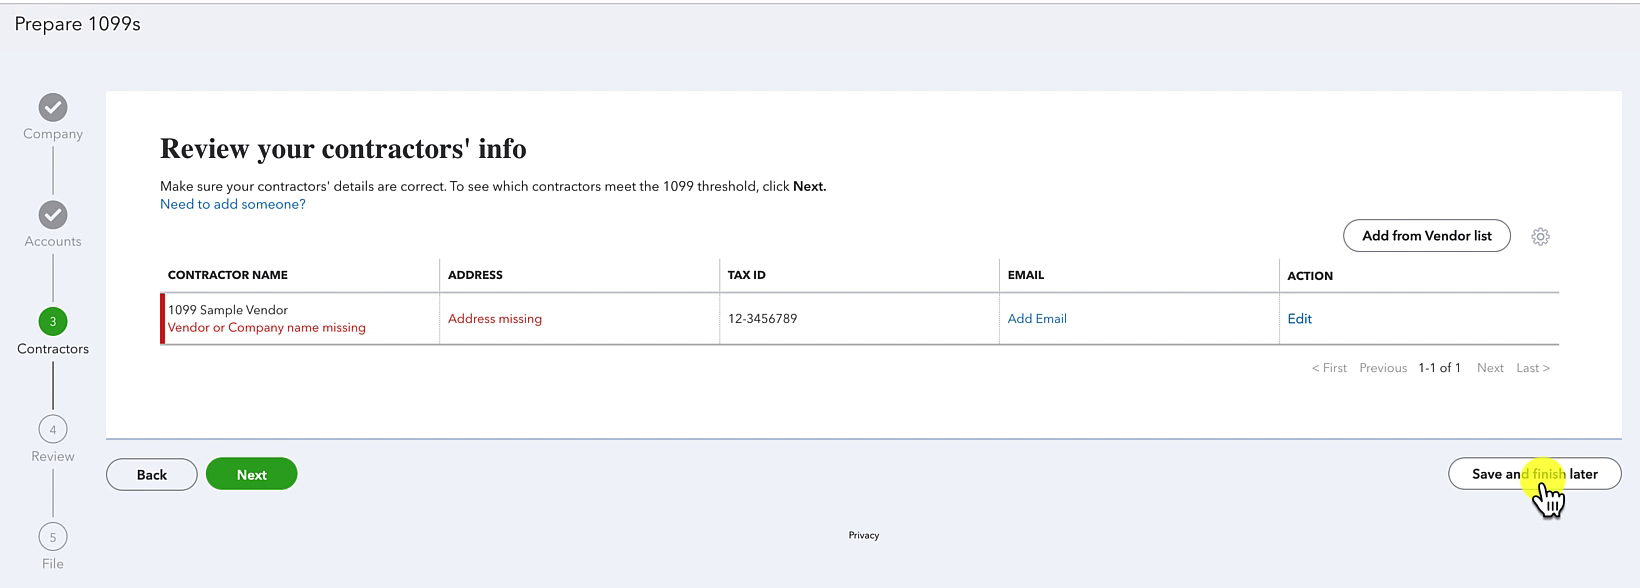
When ready click Next.

We don’t need to worry about the rest of the setup as we’re just getting our report to work. So on the next screen, you can click the white Save and finish later button.
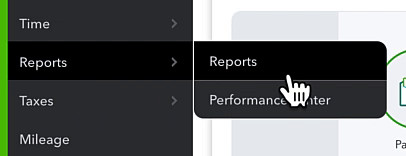
Your 1099 Transaction Detail Report will now “work.” To view it click Reports in the left-side menu.
Use the search box to find the 1099 Transaction Detail Report.
You’ll now be able to see any vendors that meet the threshold for receiving a 1099.

Identify 1099 Vendors Using the Profit and Loss Report
For this method, you’ll download the Profit and Loss report and then use Excel to find the data you need.
Let’s click Reports in the left-side menu.
On the Reports open the Profit and Loss report.
Change the Report period to the appropriate dates for the tax year. Then click Run Report.
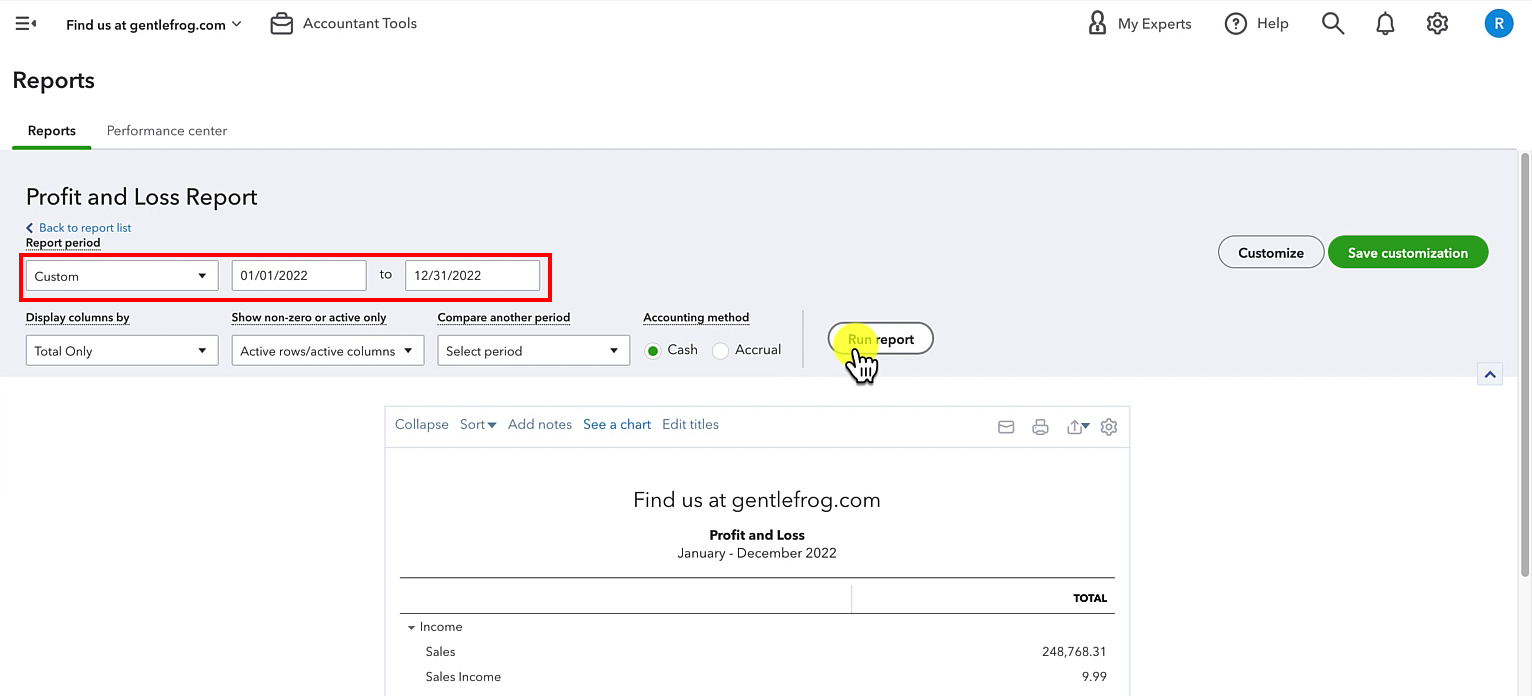
To make sure you don’t miss anything scroll to the bottom of the report and click on the number for NET INCOME/LOSS.

This will open the Profit and Loss Detail report. To download this report click on the icon in the upper left that looks like a box with an arrow coming out of it. Select “Export to Excel.”

Open the exported Excel file.
You can delete any income in the file because your 1099s are only issued for money spent, not money received.
Now you’ll want to take a look at the categories and try to determine if a 1099 would apply.
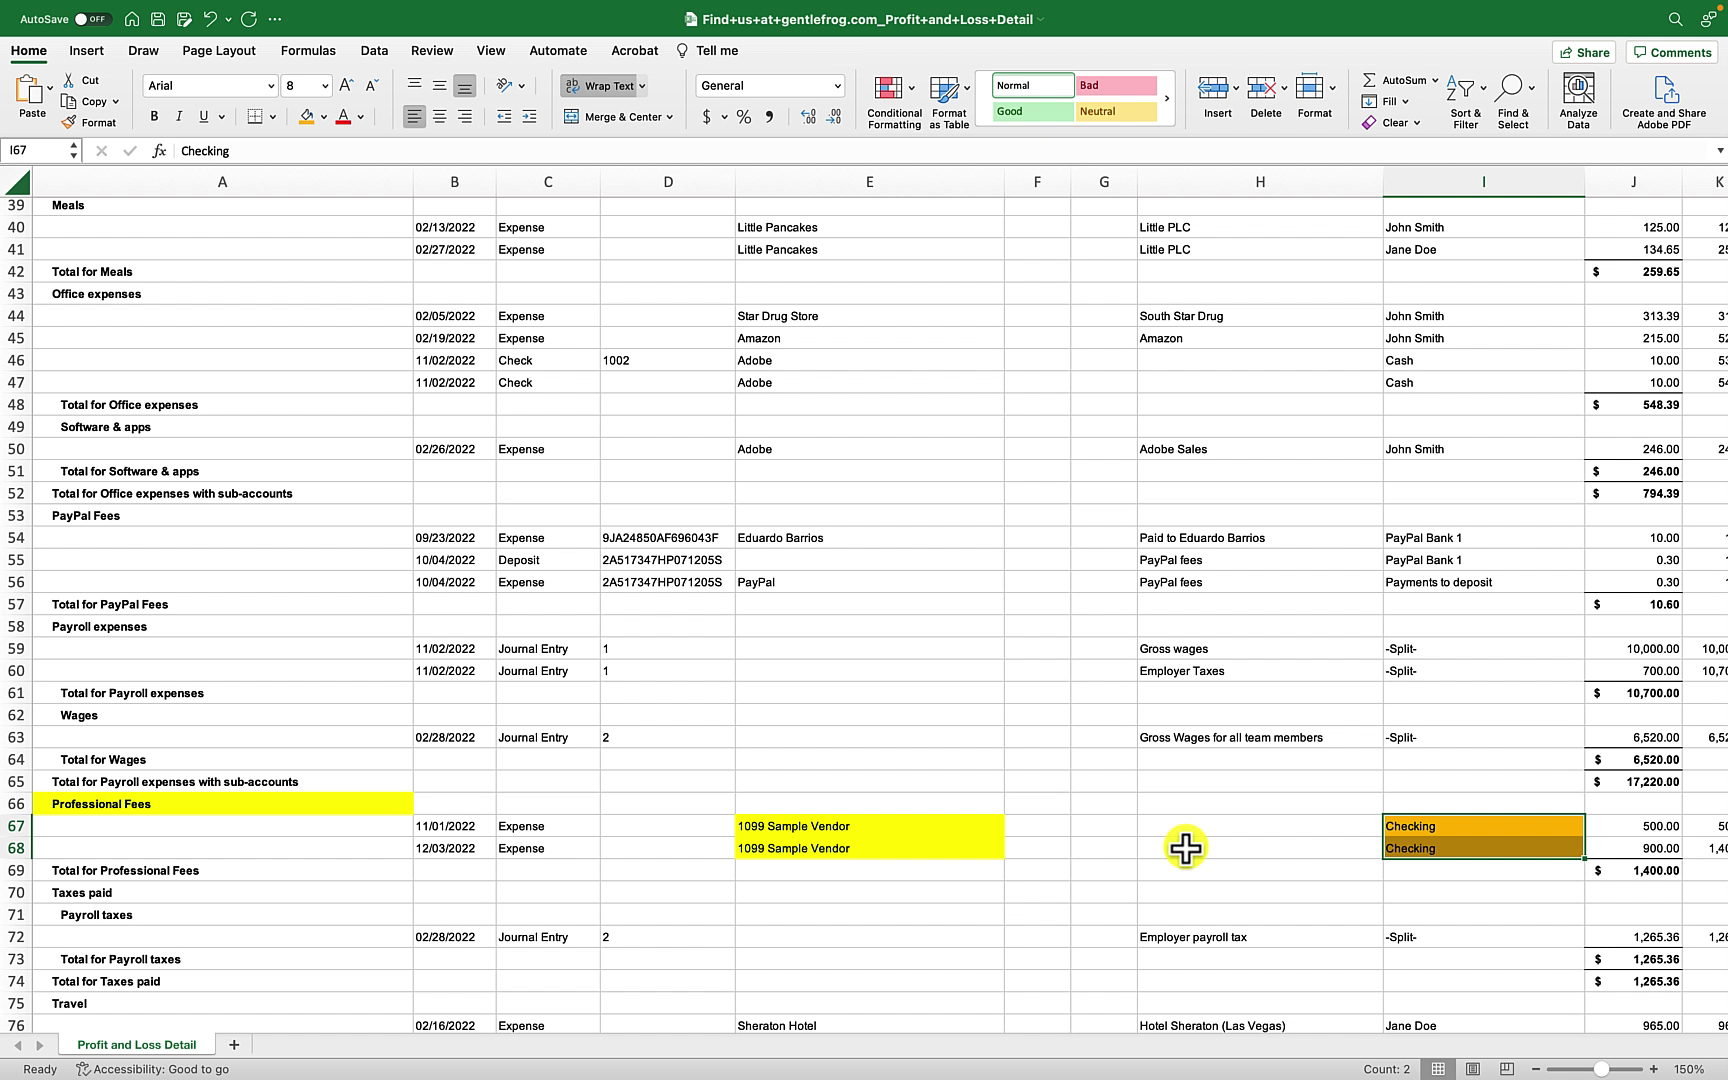
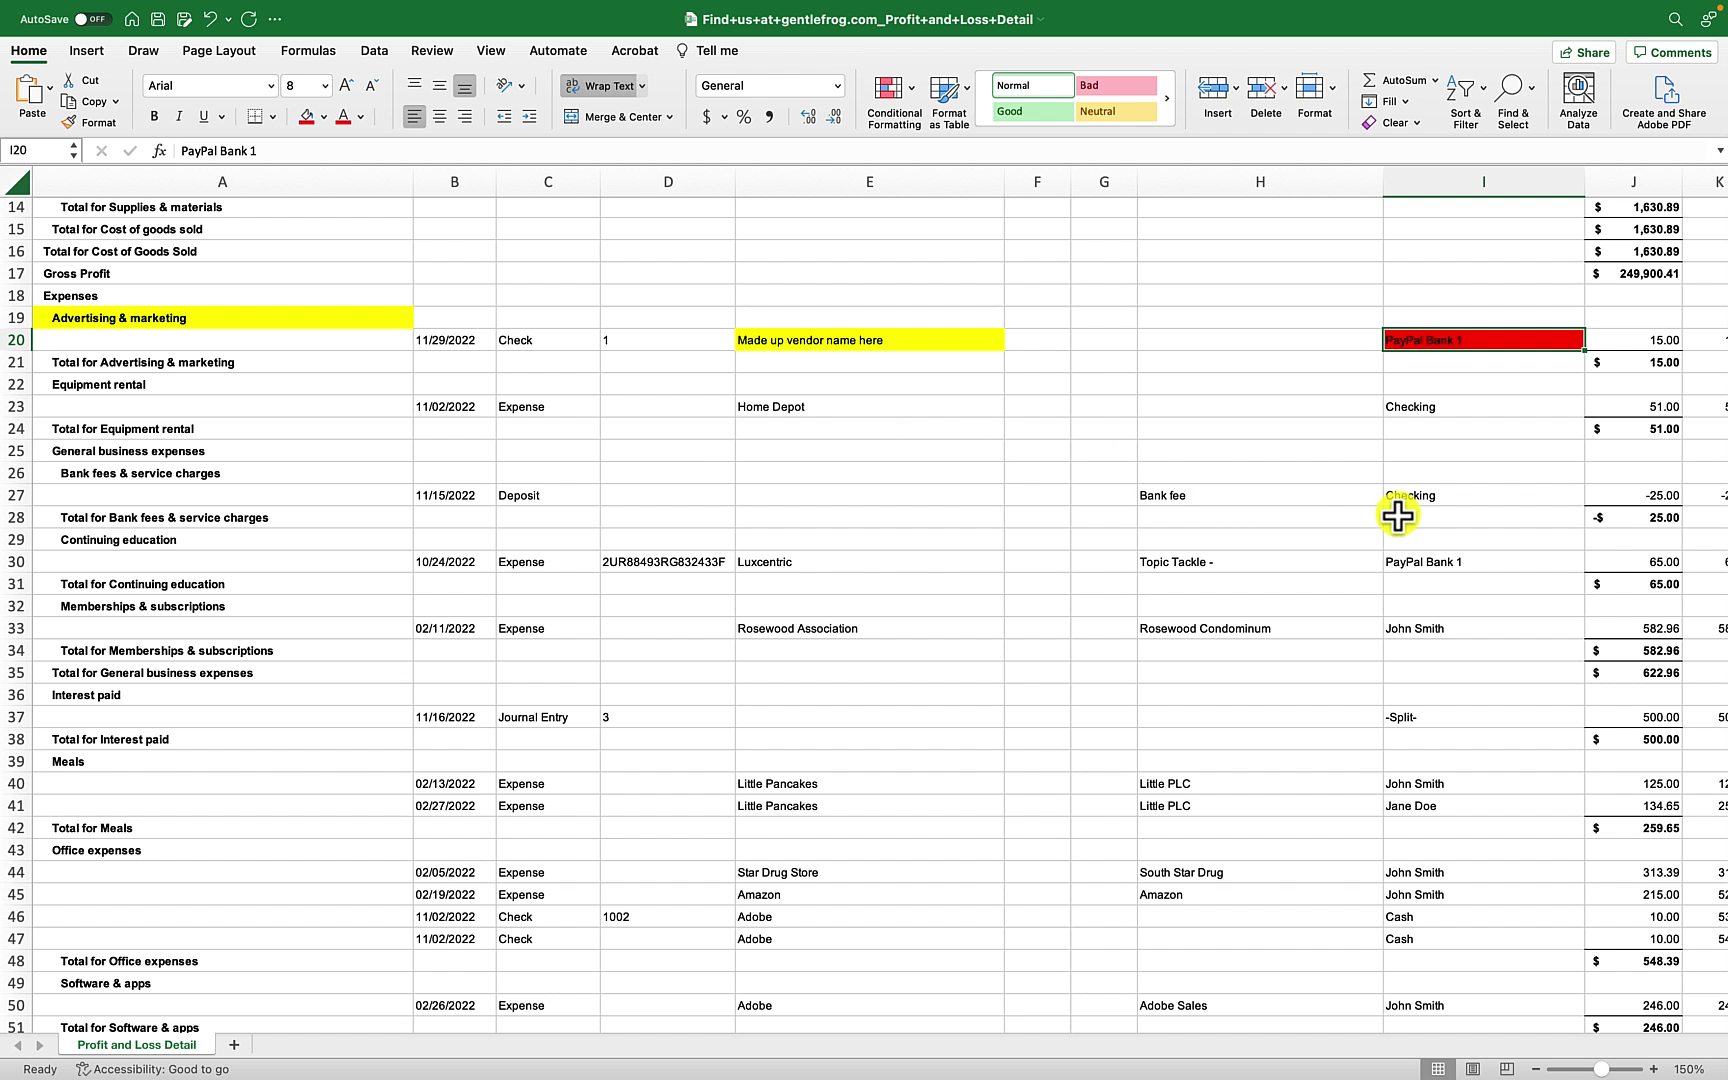
In my example, I’m going to go through and highlight any categories I want to go back and take a look at.
Next, I’m going to go back over what I highlighted and see how it was paid. If it was paid with cash or a cash equivalent I will highlight it in a different color. Here’s an example:
You may have expenses that were paid in ways that wouldn’t require a 1099. I have one in my example labeled paid by “PayPal Bank 1.” PayPal will issue 1099s for me so I highlight it in red so I know I can skip it.
Once you’ve gone through the entire report you can summarize the information in any way you like to use for creating your 1099s.
This is a great method to double-check and make sure no 1099 vendors were missed.
Identify 1099 Vendors Using the Expenses by Vendor Summary Report
This is another method that you can use to find possible 1099 vendors.
Click Reports in the left-side menu.
Search for “Expenses by Vendor Summary.”
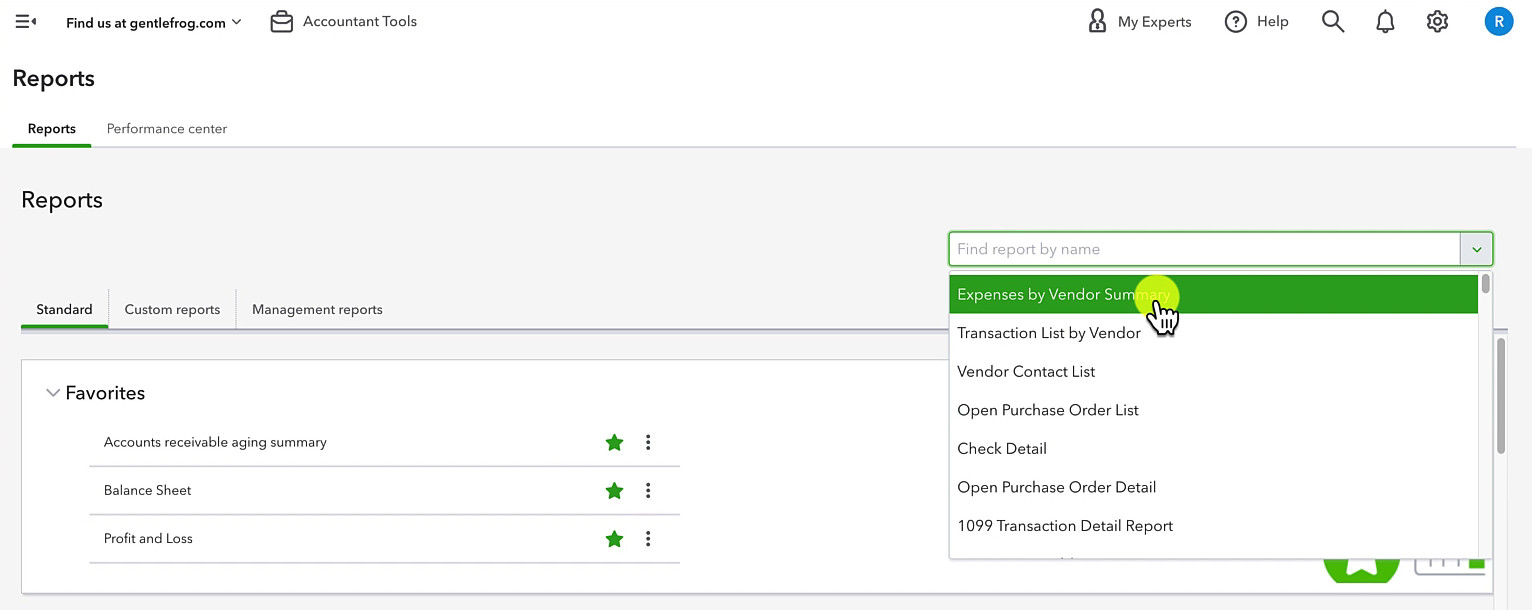
This report shows you a list of your vendors with the total that you’ve paid them on the right.
You only need to issue 1099s to vendors you paid more than $600. To make them easier to find you can sort this list.
Click the Sort drop-down in the upper-left and select “Total in descending order.”

I like to print out this report and draw a dividing line that separates vendors who received less than $600 from ones who received more than $600.
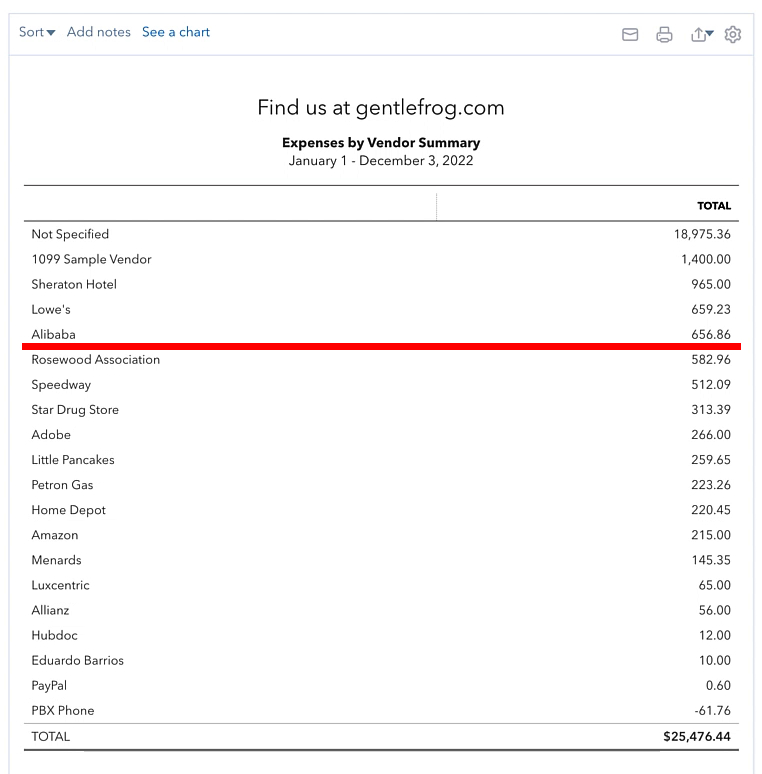
This does not tell you who needs to get a 1099. It does tell you which vendors you should take a closer look at.
You can click on the TOTAL number to the right of any vendor to view their transaction report. As you look through the transactions you can cross-reference them with the 1099 instructions to determine if those transactions qualify.
This is also a great way to find any transactions that have no vendor selected. You’ll find these under “Not Specified.”
I highly suggest you go through these and add a vendor name to any transactions that would have a vendor associated with them.
To do this click on the TOTAL number to the right of “Not Specified” to open the Transaction Report.
Click on a transaction and on the transaction’s screen add the name of the vend in the NAME field. Then click Save and close.

That transaction will no longer appear on the Not Specified Transaction Report.
I suggest going through any “Not Specified” transactions before you check for 1099 vendors.
You now know three different methods for finding 1099 vendors in QuickBooks Online.
☕ If you found this helpful you can say “thanks” by buying me a coffee… https://www.buymeacoffee.com/gentlefrog
Below are videos if you prefer to watch a walkthrough.
If you’d like help finding 1099 vendors in QuickBooks Online click the green button below to schedule a free consultation with us.