This blog post is me walking through the setup process, showing you where I got confused so you don’t have to.
Setup Guide
I started setting up a Square account at some point in the past.
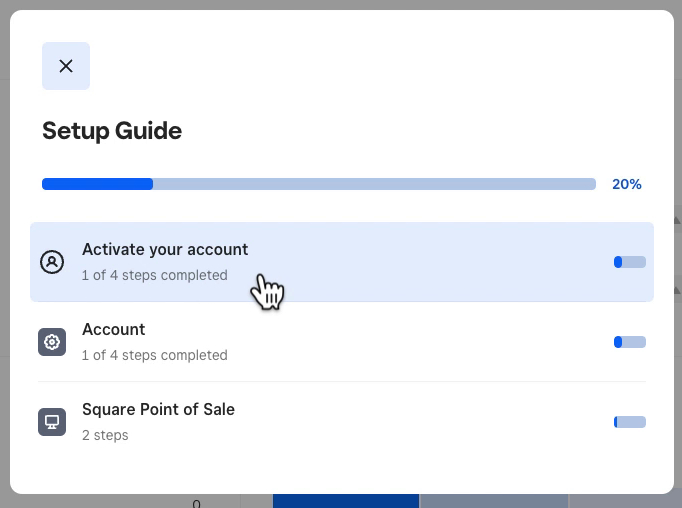
To continue the setup, I click the blue arrow to the right on the gray bar, which tells me I’m 20% set up.
This opens up the Setup Guide.
It has three options to click on:
- Activate your account
- Account
- Square Point of Sale
It shows that I’ve completed one step for both Active your account and Account.
To continue, I click on Active your account.
This opens the Active your account pop-up, which has four steps:
- Verify Your Identity
- Link Your Bank Account
- Schedule Transfers
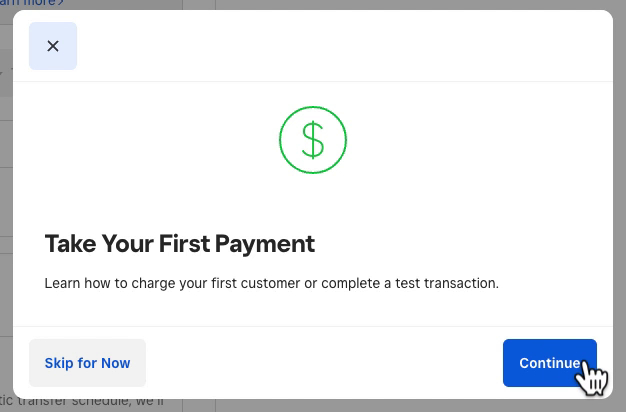
- Take Your First Payment
Link Your Bank Account
I can see that I’ve already verified my identity. The next step is Link Your Bank Account.
This is one of the places I found confusing.
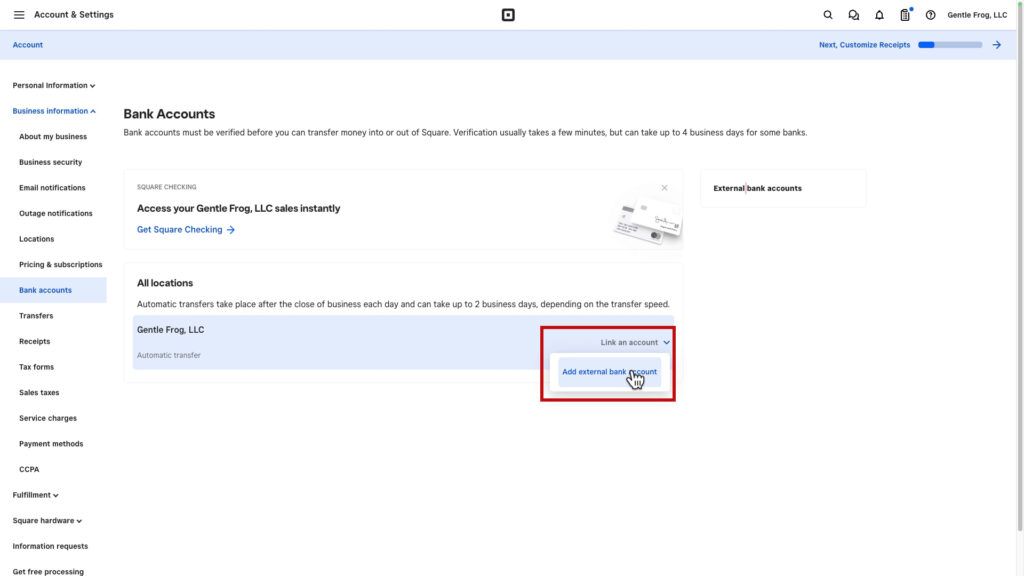
There’s an External Bank accounts block on the left. But clicking it does nothing.
You need to click the Link an account drop-down under All locations. Then click Add external bank account.
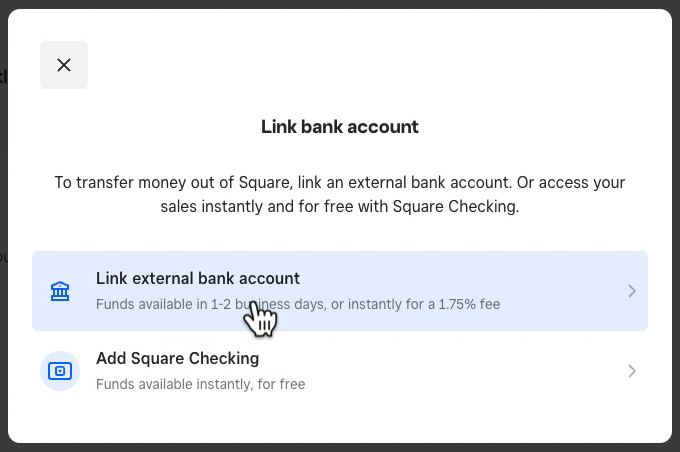
You’ll see one more pop-up. They really want you to sign up for a Square checking account. I just want to add my existing bank. Click Link external bank account to continue.
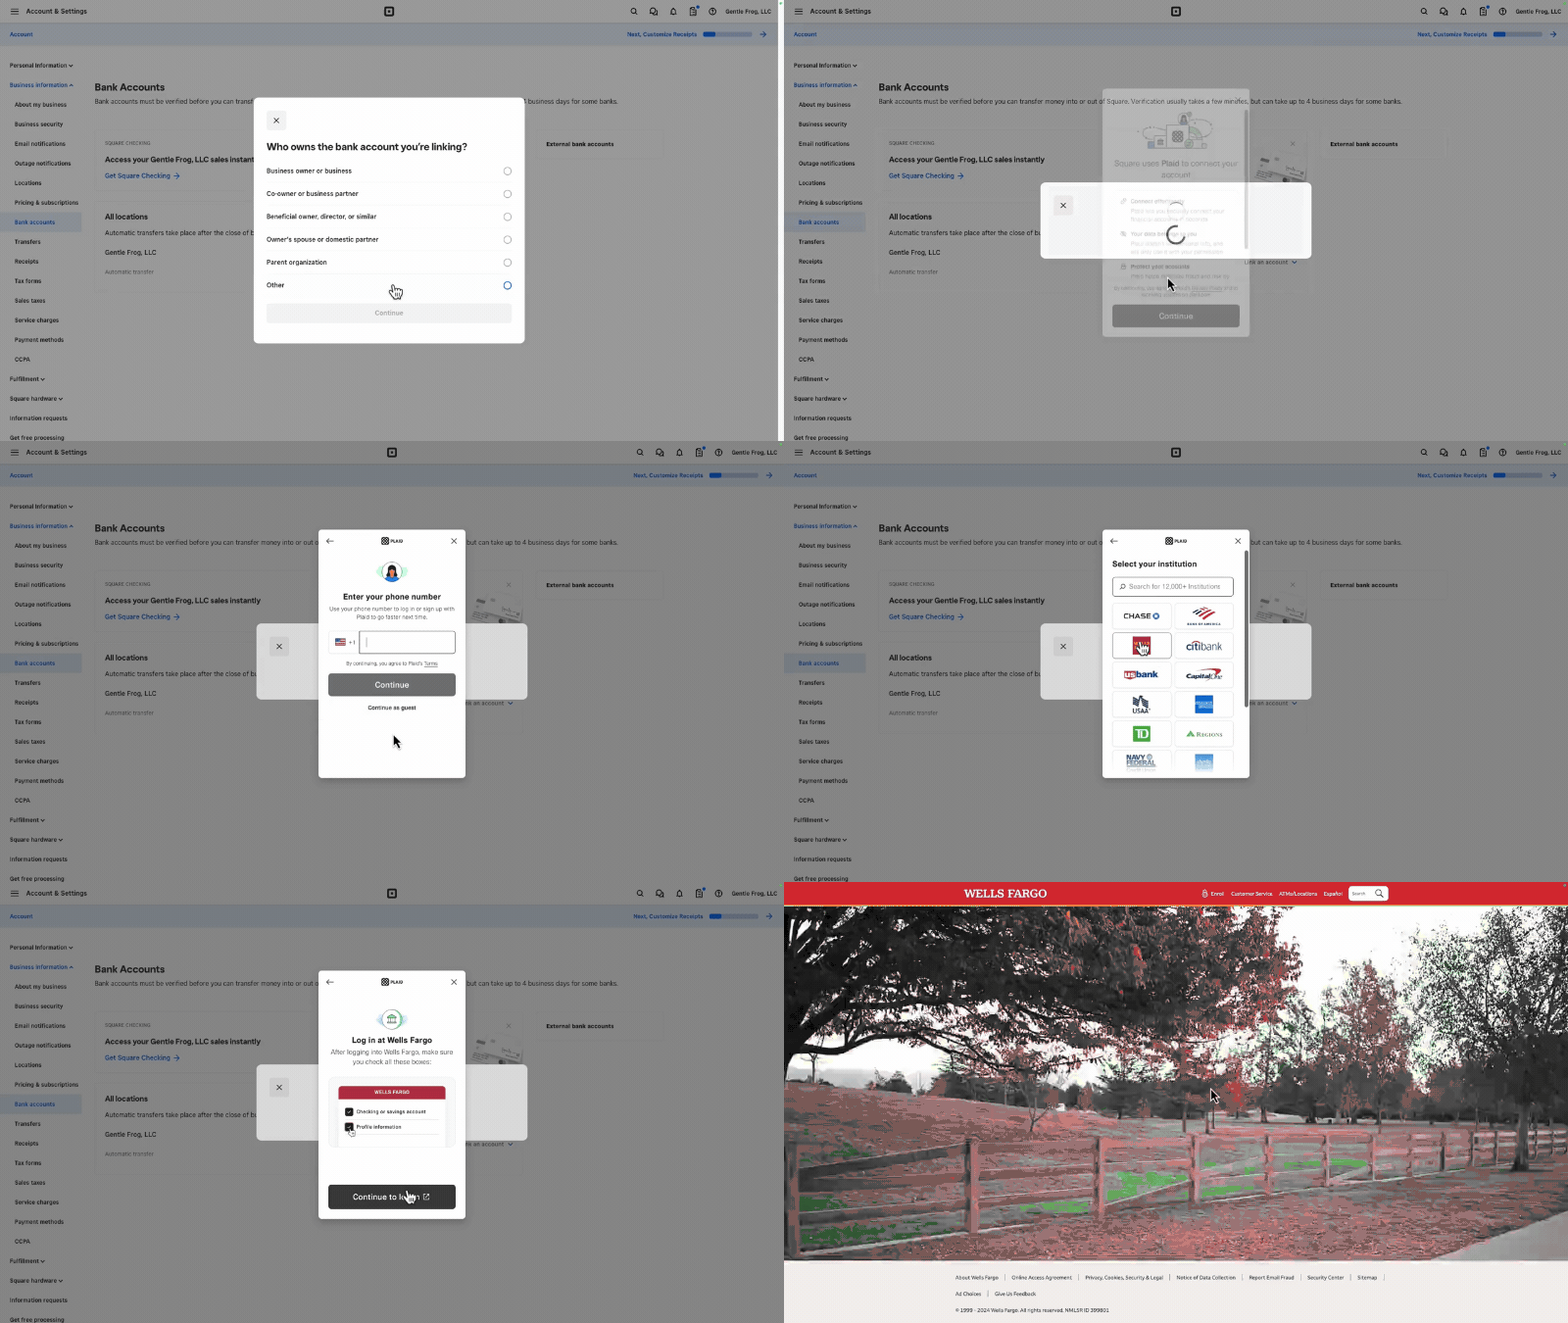
Another pop-up informs you that they use Plaid to link your bank account. If you don’t like that, you can do it manually. I’m fine with that, so I clicked Continue.
You’ll now go through a series of pop-ups asking about and connecting your bank account.
The system will then forward you to your bank to log in.
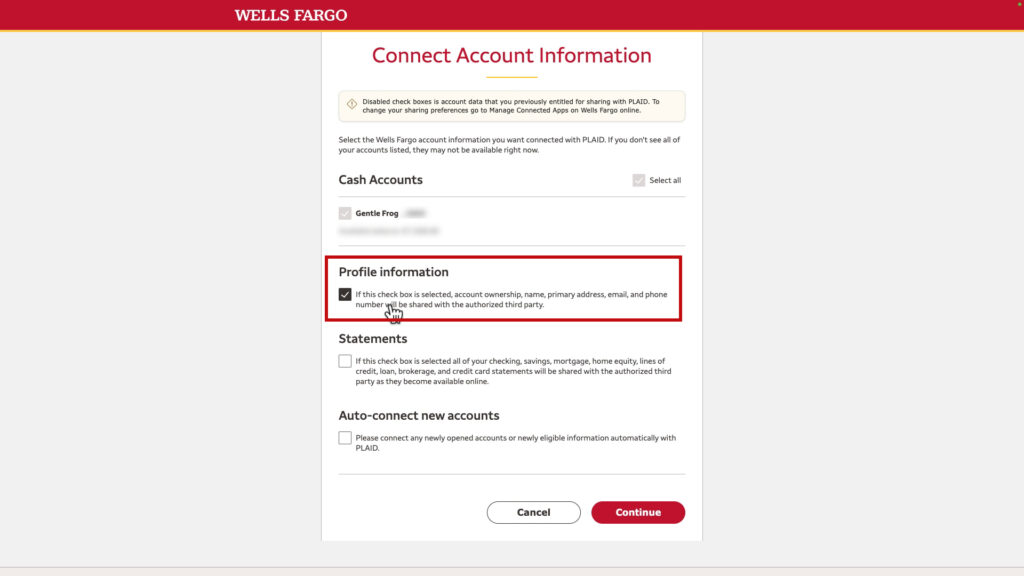
I’m connecting a Wells Fargo account. There’s a profile information section that you have to check. I found this out the hard way when I didn’t check it, and it didn’t work. I’m pointing this out because other bank accounts may have something similar.
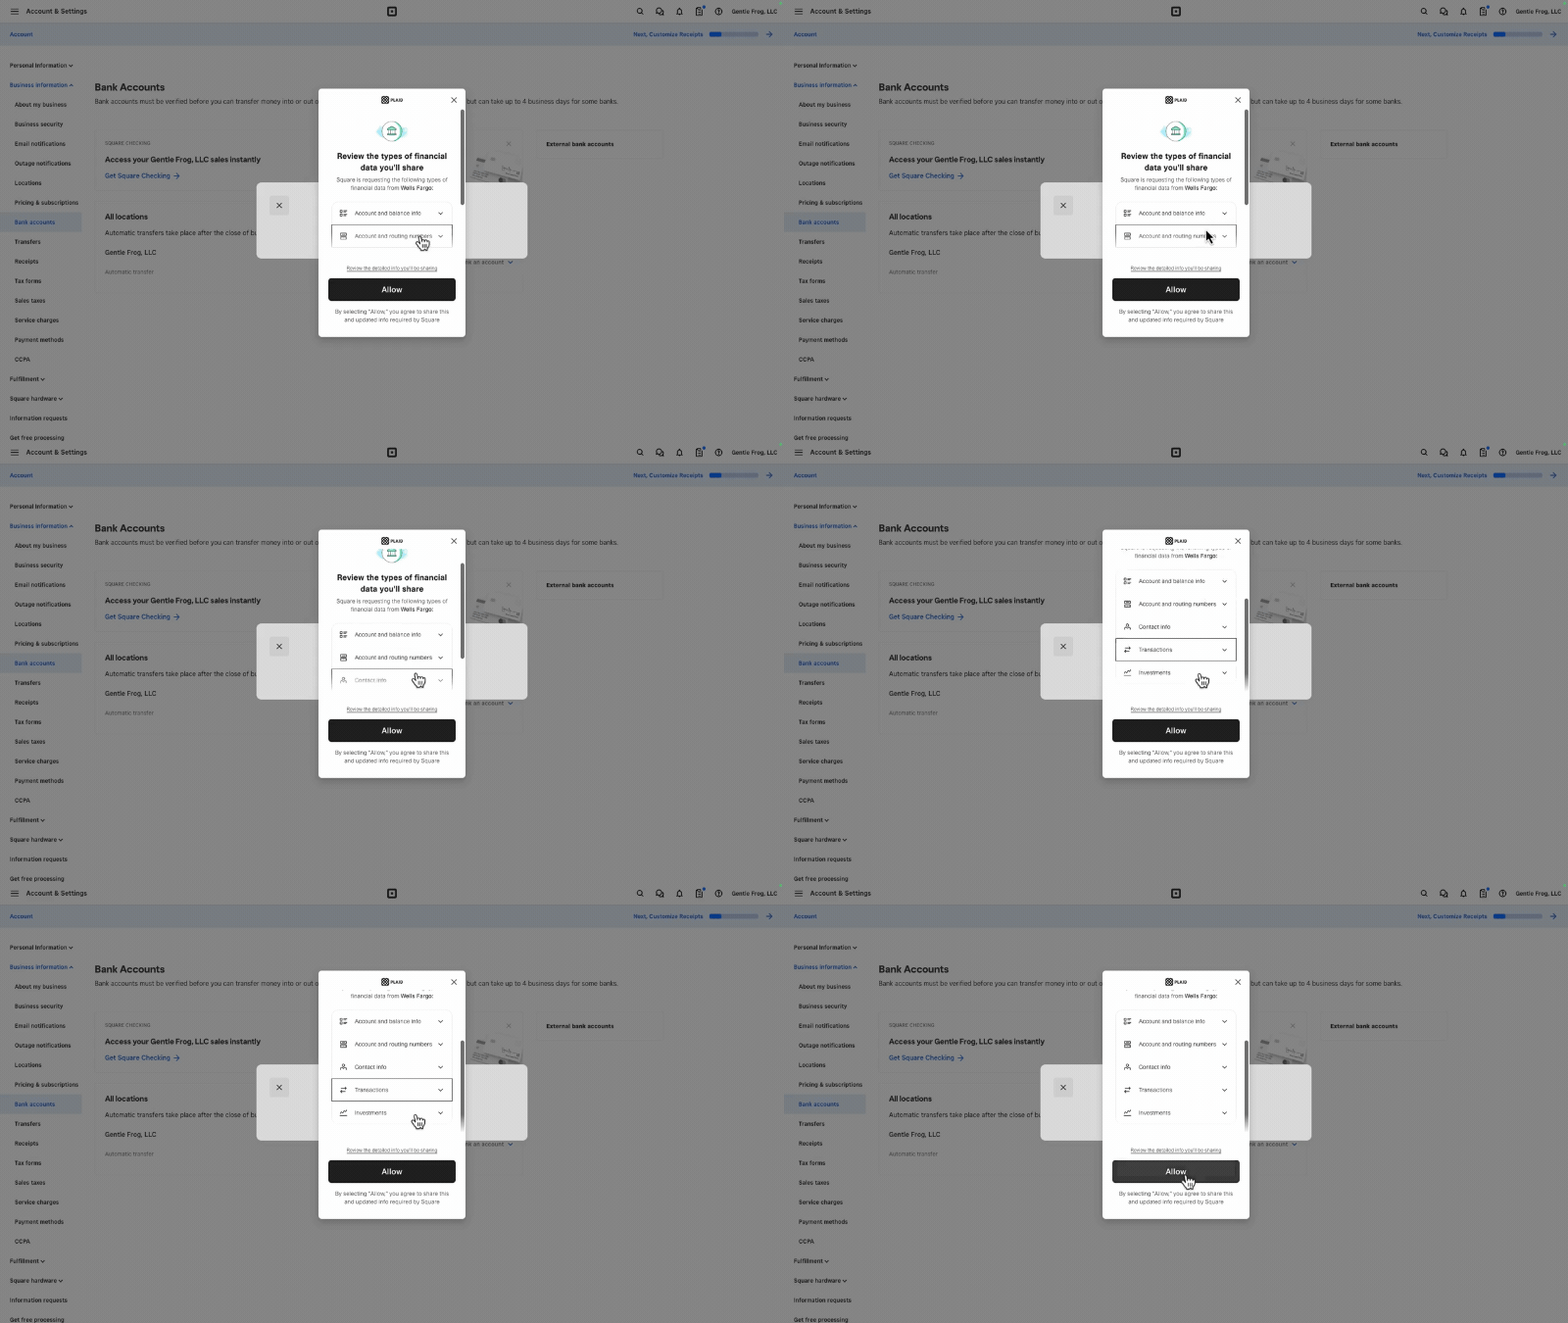
Once you’re finished with the bank connection, you’ll see a Plaid pop-up letting you know what information you’re sharing with Square. Click Allow to continue.
A few more pop-ups will appear, letting you know everything has linked successfully.
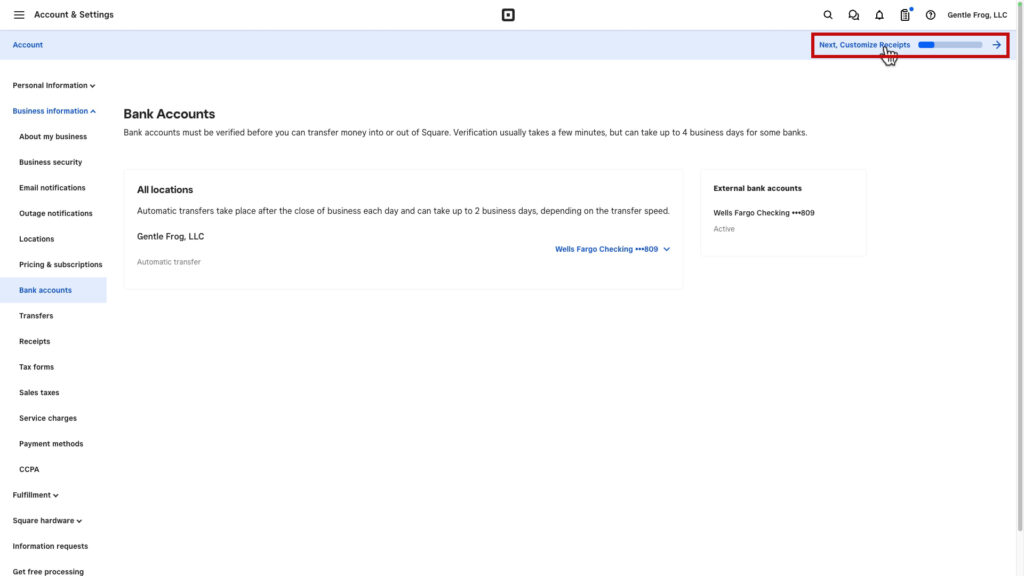
To proceed to the next setup step, click the text on the right in the blue bar at the top of the screen.
This opens the Set up account pop-up (different from the Active your account pop-up we saw before).
The next step here is to customize receipts.
Customize Receipts
I don’t intend to use Square for anything other than testing, but I’ll go through some of the customizations to show you what it looks like.
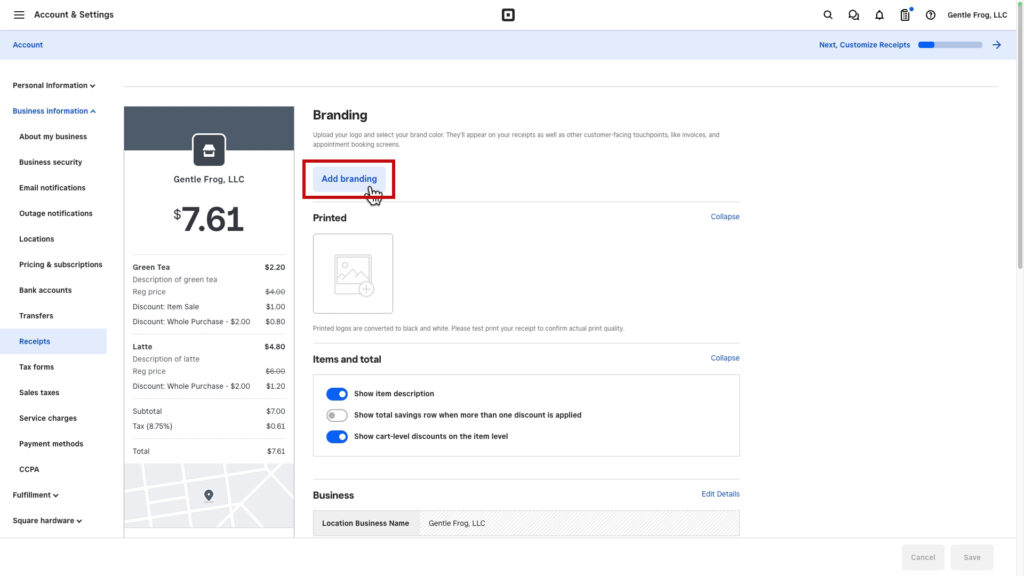
Clicking the Add branding button lets you add a logo and customize the color across the top.
Next, you select the locations you want to apply these customizations to. Since I only have one, I click Apply to finish.
Back on the receipts screen, the preview on the left updates to match your customizations. There are several toggles where you can turn things on and off and text boxes you can edit:
Set Up Your Taxes
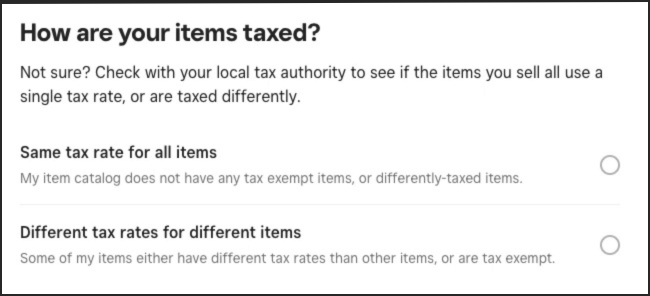
The next step on the Set up account pop-up is to set up your taxes.
You have two options:
- Same tax rate for all items
- Different tax rates for different items.
I don’t have tax to set up. When I go back to the Set up account pop-up, I click the x on the right of that step to mark it complete.
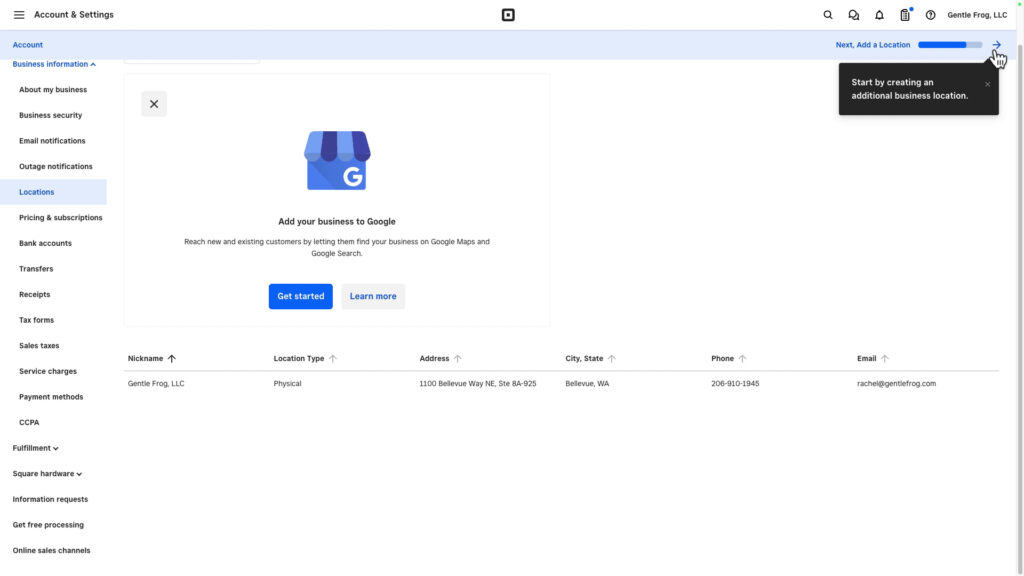
Add a Location
The last setup step is to add a location.
I only have one location, which it already has the address for.
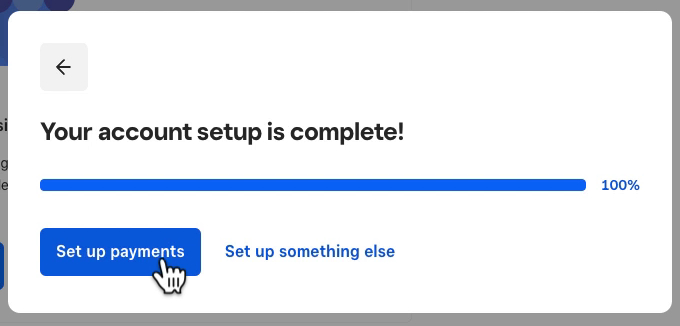
Again, I’ll click the x to mark this complete. When I do that, it says my account is complete, with the option to set up payments or something else.
When I click Set up payments, the Activate your account pop-up that I was originally working from opens. The next step is to Schedule Transfers.
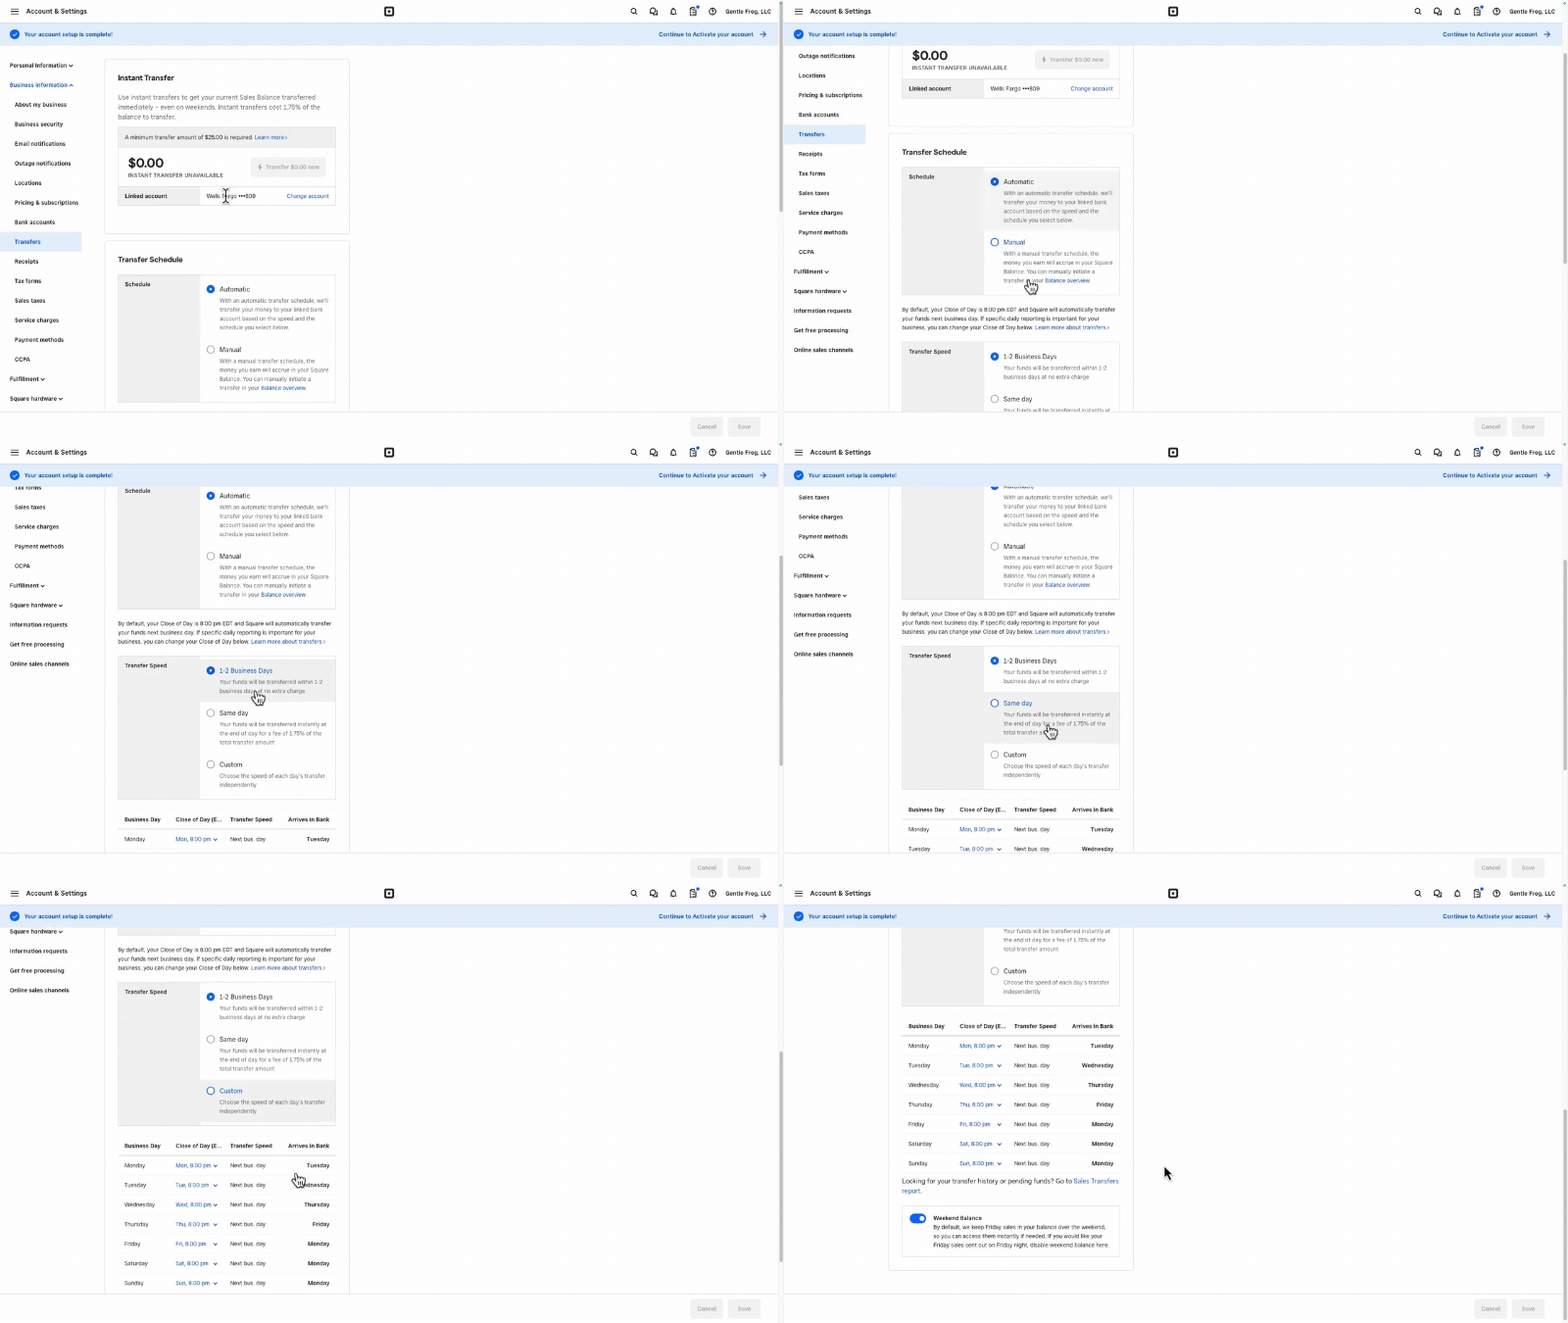
Schedule Transfers
This is where you set up the transfers of sales balance from Square to your bank account. You can tell it which bank account to transfer to and how often.
Take Your First Payment
The final step in the Active your account pop-up is to take your first payment.
You can skip this step, but I like that they give you the option to make a test transaction.
You have four options:
- Use the Square Point of Sale app on your mobile device
- Email an invoice
- Use Virtual Terminal to take payments from your computer
- Take a payment through your website
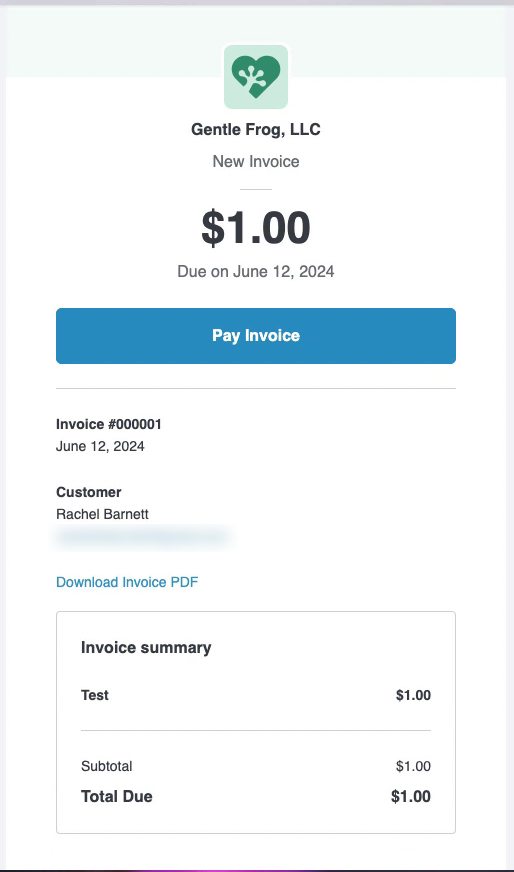
I created a test invoice and emailed it to myself:
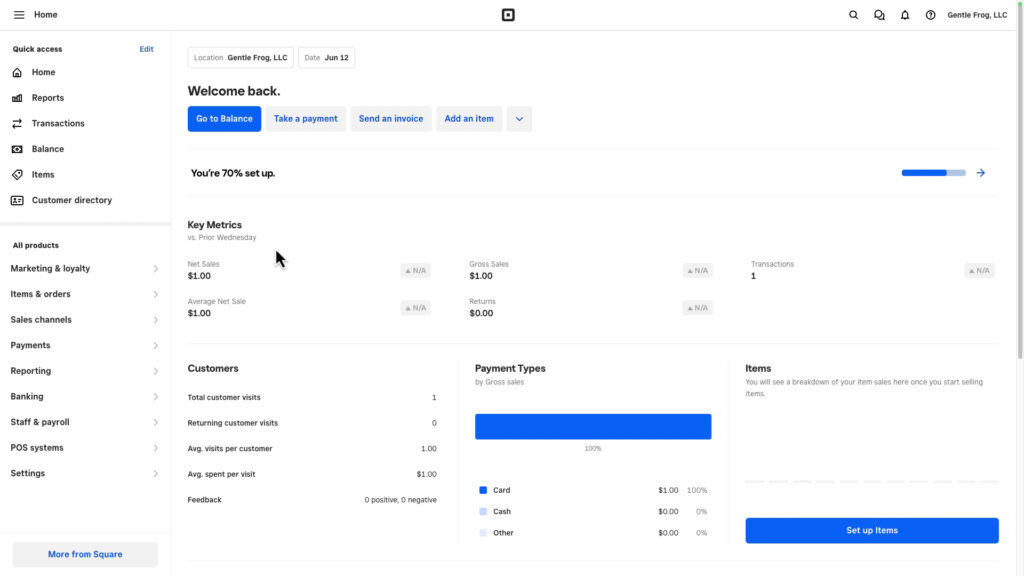
After paying the invoice, the Square home screen shows I’ve had one transaction for $1.
The Active your account pop-up continued to show the Take Your First Payment step unfinished, so I skipped it.
Square Point of Sale
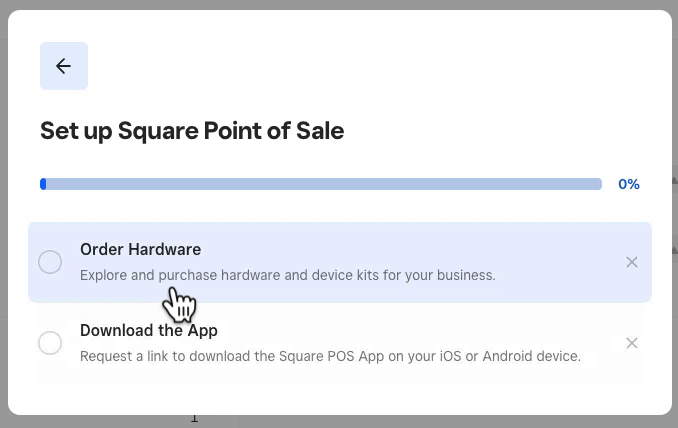
The final part of the Setup Guide is Square Point of Sale. Since I won’t be using it, I skipped both of those steps.
After skipping those steps, I no longer have a bar showing the percentage I have left. The setup is finally done!
☕ If you found this helpful, you can say “thanks” by buying me a coffee… https://www.buymeacoffee.com/gentlefrog
Below is a video if you prefer to watch a walkthrough.
If you have questions about how to record Square sales in QuickBooks Online, click the green button below to schedule a free consultation.


