Have you ever needed to send a sales receipt to a customer?
1) Create a new Sales Receipt
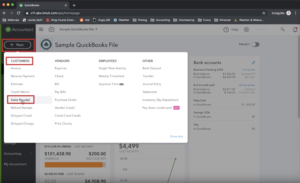
There are several ways to do this. In this example, we’ll start from the QuickBooks Online Dashboard. From the Dashboard, click the + New button to open up the drop-down menu. The drop-down menu will have several columns, Customers, Vendors, Employees, and Other. In the Customers column, click on Sales Receipt link
2) Fill in Sales Receipt Details
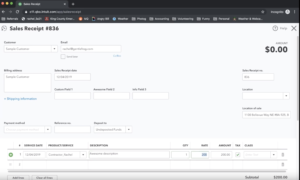
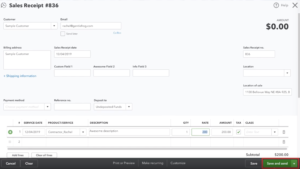
Now that we’ve clicked the link to create a new sales receipt, we’ll be prompted to fill out the details. The exact details don’t matter for the purpose of this example, but you should at a minimum fill out the:
- Customer name
- Sales Receipt Date
- Product information/description/rate/amount/taxability
3) Save and Send Sales Receipt
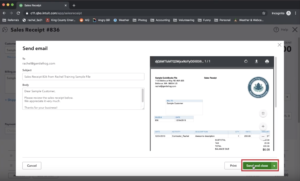
In the lower right hand of the sales receipt screen, you will see a button that says Save and Send. Click it to open the next screen. In the next screen, we’ll be prompted to construct the email that is sent to the customer. Fill in a relevant and accurate Subject and Body and click “Send and Close.”
So there you have it. Now you know how to create a sales receipt and send it to a customer.
☕ If you found this helpful you can say “thanks” by buying me a coffee…
https://www.buymeacoffee.com/gentlefrog
If you would like to see video instruction on how to execute this, check out the video below.


