
In this QuickBooks Desktop training, I’ll show you how to receive a payment against an invoice. I’ll be using QuickBooks Accountant Desktop 2020 (also known as QuickBooks Premier).
Quick Instructions:
- Click the Receive Payments icon on the Home Page. Or, click Customers -> Receive Payments in the top menu
- Enter who paid you in the Received box
- Enter payment amount
- Enter the date
- Select the payment type
- If check, enter check #
- Select DEPOSIT TO account
- Check off the invoice to be paid
- Click Save & Close button
Keep reading for full instructions with screenshots.
In this example we have a customer we sent an invoice to who has paid by mailing a check.
To receive the payment you can either click on the Receive Payments icon on the Home Page. Or, you can click on Customers in the top menu and then select Receive Payments.

Either option will open the Customer Payment screen.
First, you’ll want to enter who paid you. This goes in the Received From box. You can select them from the drop-down. Or, start typing the customer’s name and QuickBooks will autofill.
The payment amount will be the amount on the check. Since this example is a check payment I’ll click on the Check button. I’ll also enter the check number in the CHECK # box that appears.
QuickBooks shows a list of the customer’s open invoices. The software is good about auto-selecting an invoice that matches the payment amount. In the image below you can see it selected the invoice for $175.
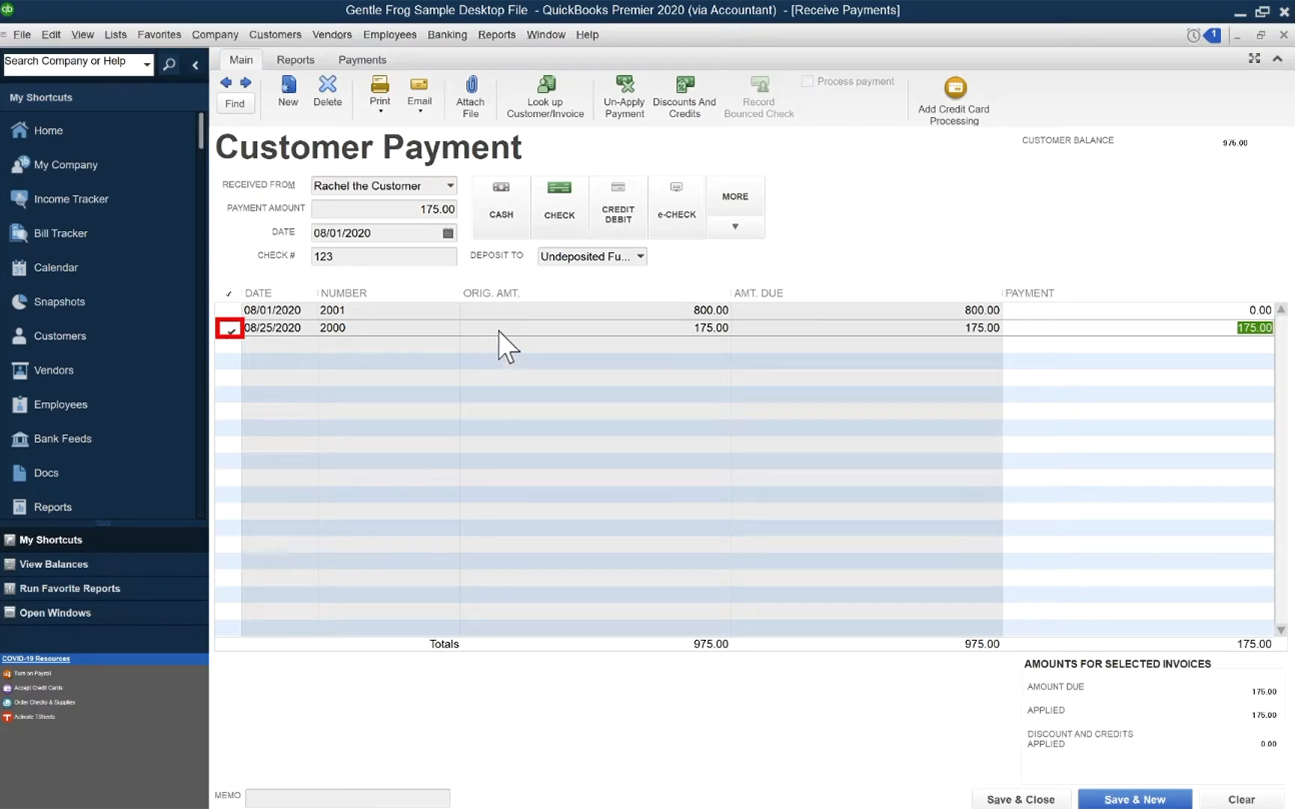
If it had selected the $800 invoice, or if you have a customer with multiple invoices that match the payment amount. You can uncheck the incorrect invoice and check off the correct one.
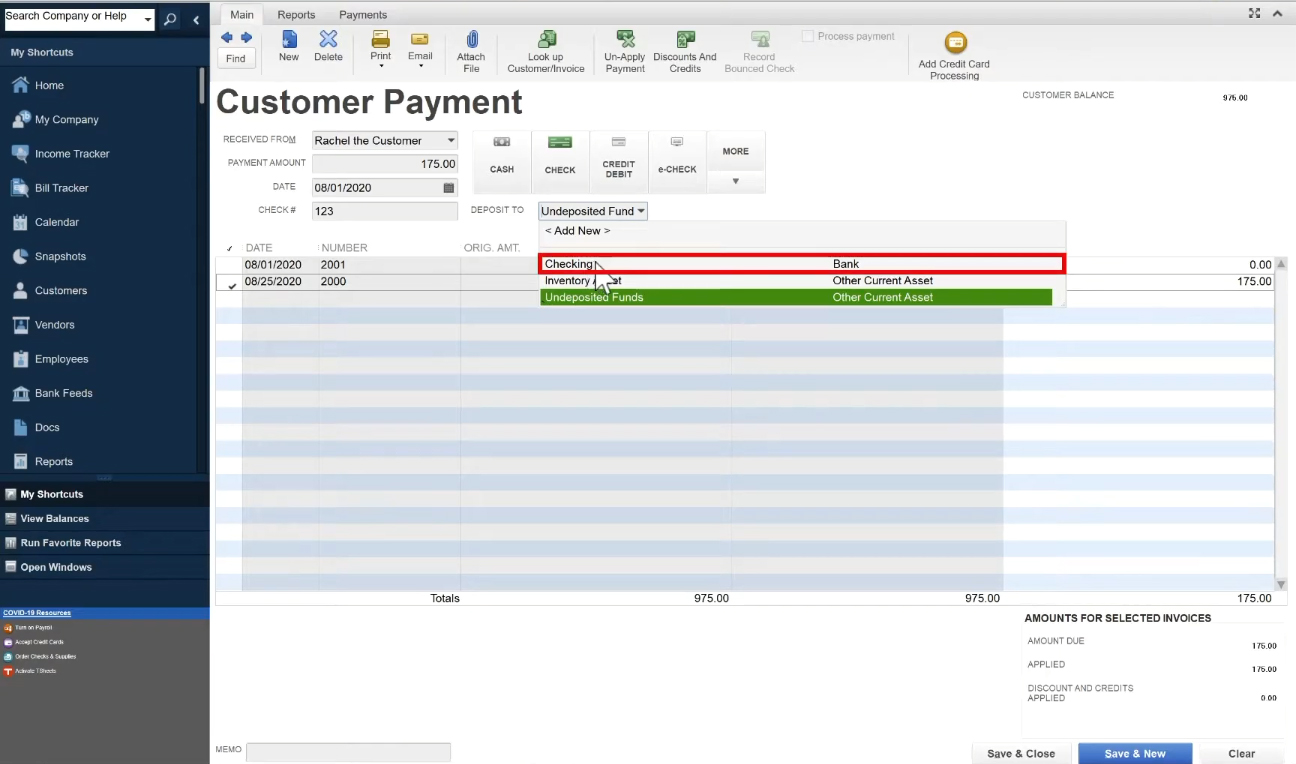
Below the payment method buttons there’s a “DEPOSIT TO” dropdown where you can select which account the money’s deposited into.
You can select a checking account or undeposited funds. Undeposited funds is useful if you’re combining multiple checks into a single deposit. For a single check select the checking account.
When you’re finished click the gray Save & Close button in the lower right-hand corner.
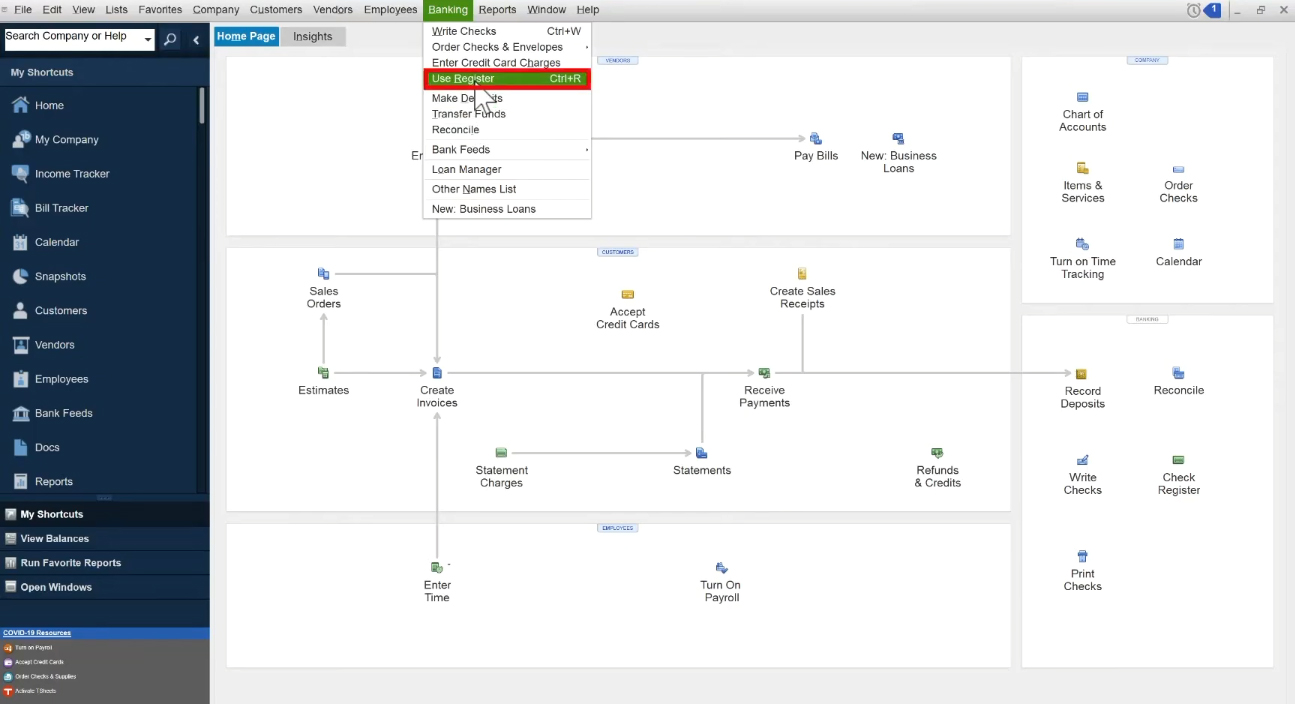
Now let’s see what it looks like when you’re payment gets posted directly to your checking account.
Click Banking in the upper menu then select Use Register.
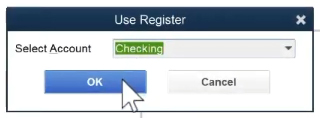
A pop-up will appear asking you to select an account. I’m going to use the Checking account.
When viewing the register I can see the $175 deposit from “Rachel the Customer” linked to Accounts Receivable.
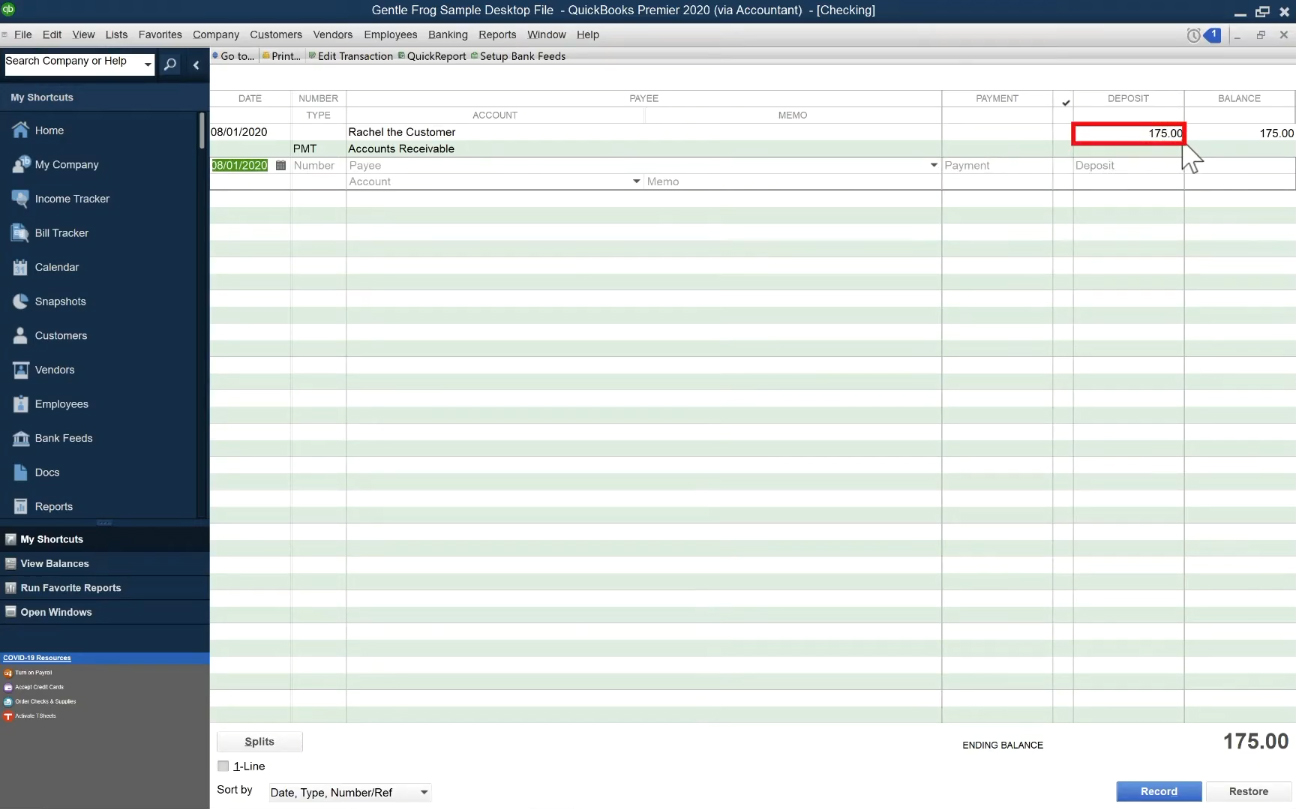
It’s linked to Accounts Receivable because that’s I chose when I created the invoice.
There you have it, you now know how to receive payments in QuickBooks Desktop.
☕ If you found this helpful you can say “thanks” by buying me a coffee…
https://www.buymeacoffee.com/gentlefrog
If you’d like to watch me walk through this process check out the video below:


4 Responses
No one answer this simple question
How should I recieve payments from different customers in one payment recieving list instead of one by one? So that one can save time and it’s also convenience.
Hi Shakeel,
Unfortunately, we’re not aware of a way to do this at this time. You might want to reach out to Intuit (the company that owns QuickBooks) and ask them if it’s possible and if it’s not ask if they could add it.
-Jess
Better yet, how do I removed the requirement of the “payment amount” and just move on to selecting the appropriate invoices for application of said payment???
Angela,
Unfortunately, this isn’t an option. Since a partial payment can be applied to an invoice it does require a payment amount to be entered.
-Jess