In this training, I’ll show you how to enter an expense receipt into Freshbooks.
Quick Instructions:
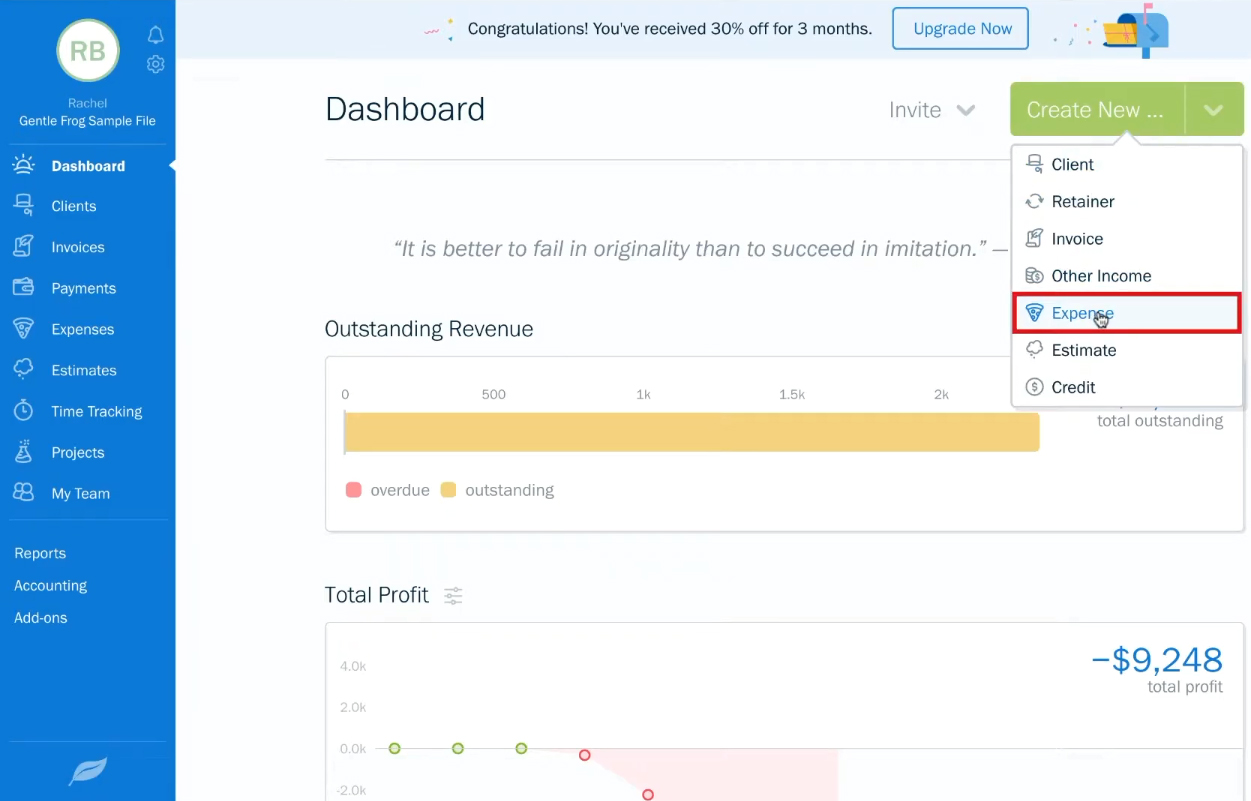
- Click Create New button on the home screen, select Expense
- Select a category
- Attach an image of the receipt (if you have one)
- Select the date of the receipt
- Add vendor
- Add description (optional)
- Enter the total amount of the receipt/expense
- Select the appropriate settings for the expense
- Save
Create a New Expense
From the FreshBooks home screen click the green Create New button at the top of the screen. From the drop-down menu select Expense.
Category
At the top of the New Expense screen you’ll see an Add category link. When you click on this it’ll show a drop-down list of all the accounts that are in your Chart of Accounts.
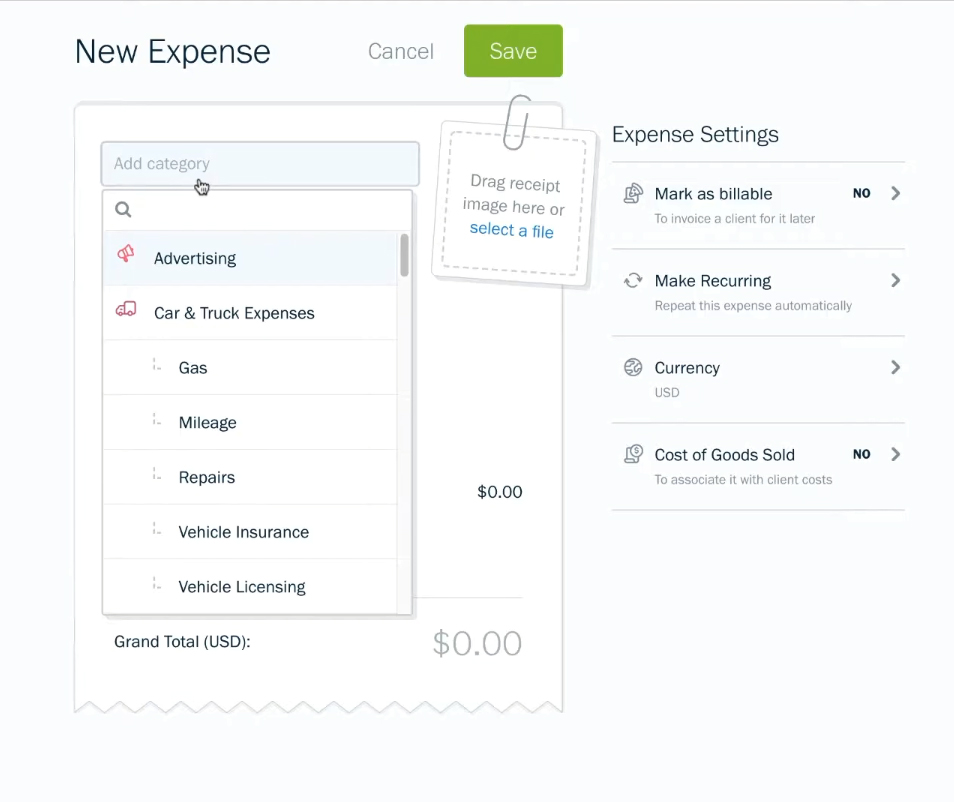
You can’t edit this list from here, you’ll have to pick a category that’s already in the list.
Attach Receipt Image
There’s a little box at the top of the New Expense form that looks like it’s paper clipped on. This is where you can add an image of the receipt (if you have one). You can drag and drop the image onto this box or click “select a file” and upload the image file.
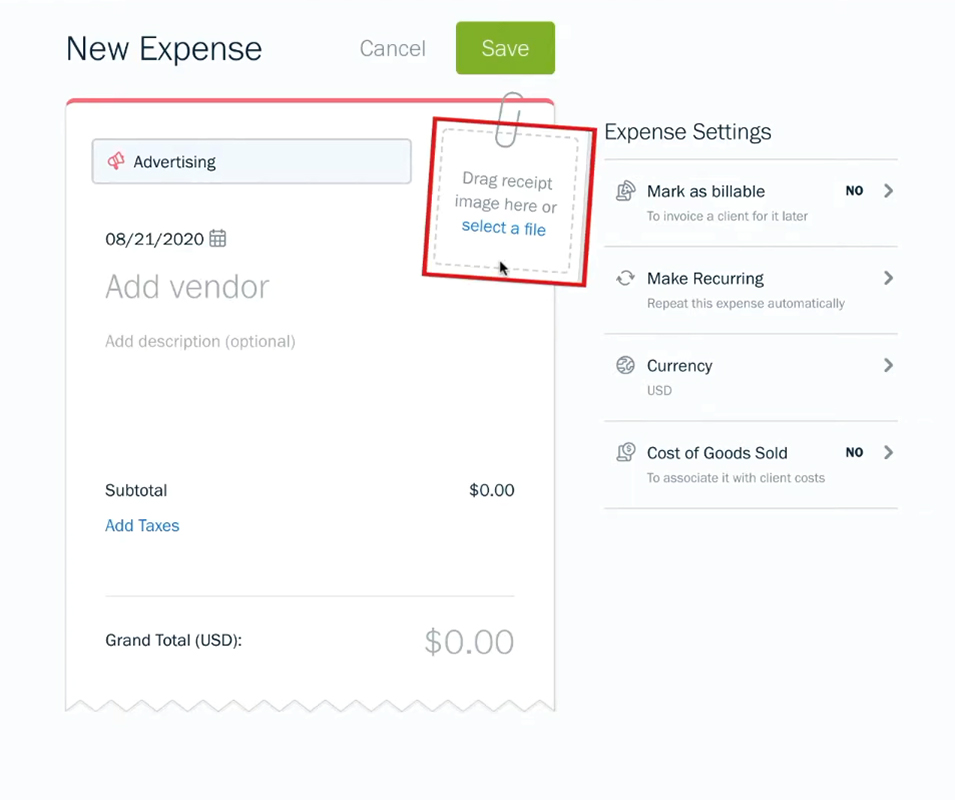
FreshBooks cannot read the receipt and enter the data from it (OCR: Optical Character Recognition). Uploading an image of the receipt just lets you save it there for your own organizational purposes.
You don’t need to upload an image of the receipt. But, I do encourage my clients to have a system to organize and keep receipts electronically.
Date
Next is the date where you can enter the date on the receipt.
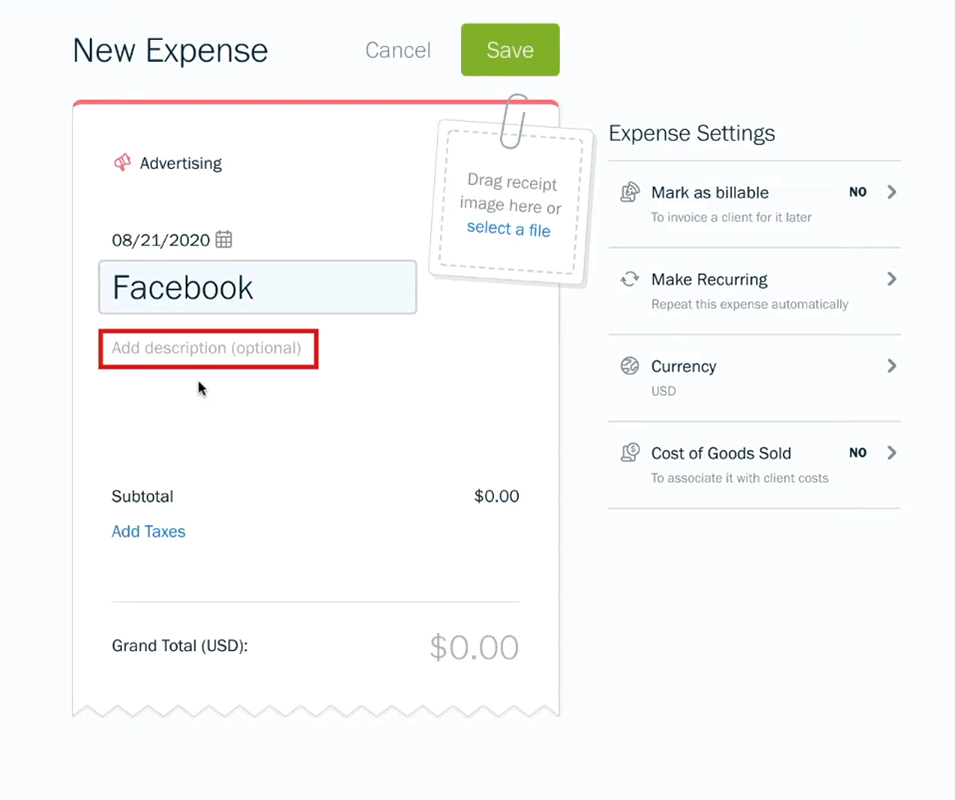
Vendor
Below the date is Add vendor. This gives you a drop-down of the vendors you have entered in FreshBooks.

Description
Next is the option to add a description. This isn’t necessary but this is a great place to put any notes or details about the transaction.
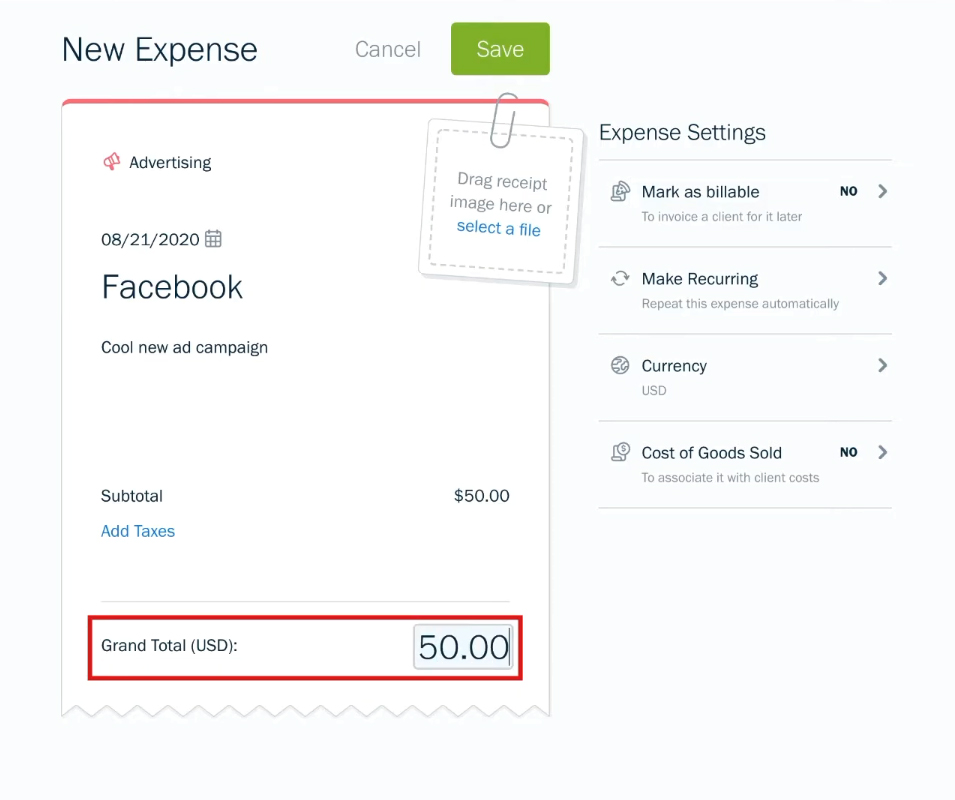
Grand Total
At the bottom next to Grand Total is where you enter the total amount of the receipt/expense.
Expense Settings
Once you’ve filled in the expense information you can edit the settings on the right side of the screen.
Mark as billable
Mark as billable allows you to note if this expense is billable to a client.
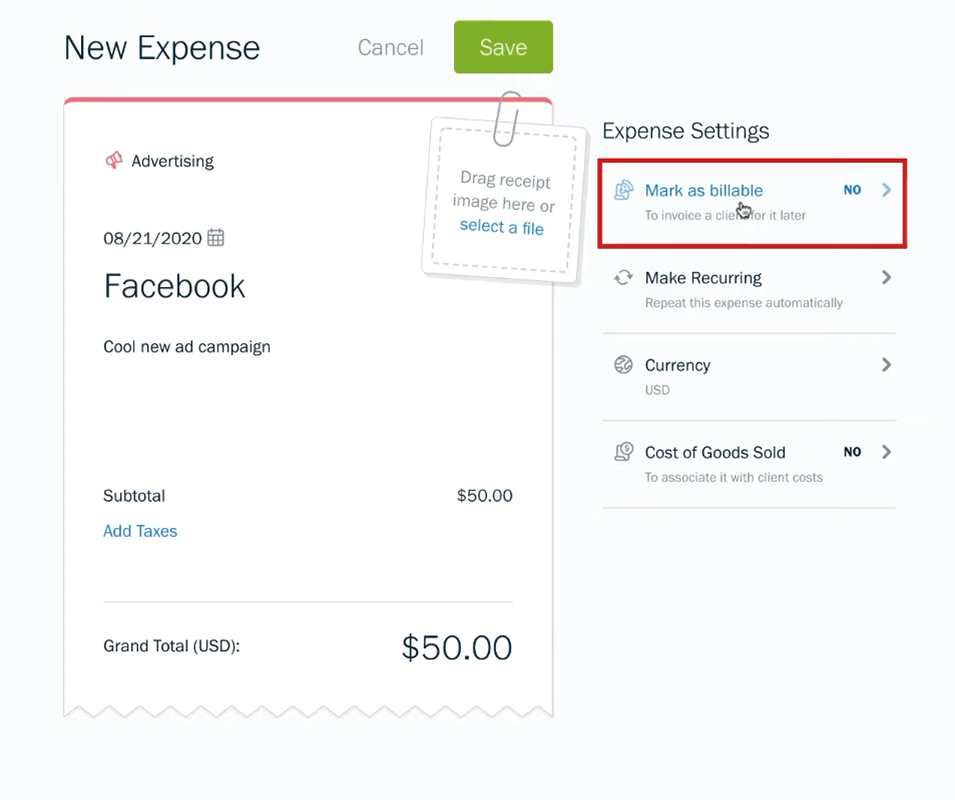
If you use this option you’ll be able to select the client to invoice. You’ll also have the option to include the receipt image on the invoice. As well as markup the amount you charge the client by a percentage.
Make Recurring
If your expense is recurring, like a monthly software expense. You can select “Make Recurring” and FreshBooks will automatically repeat this expense.
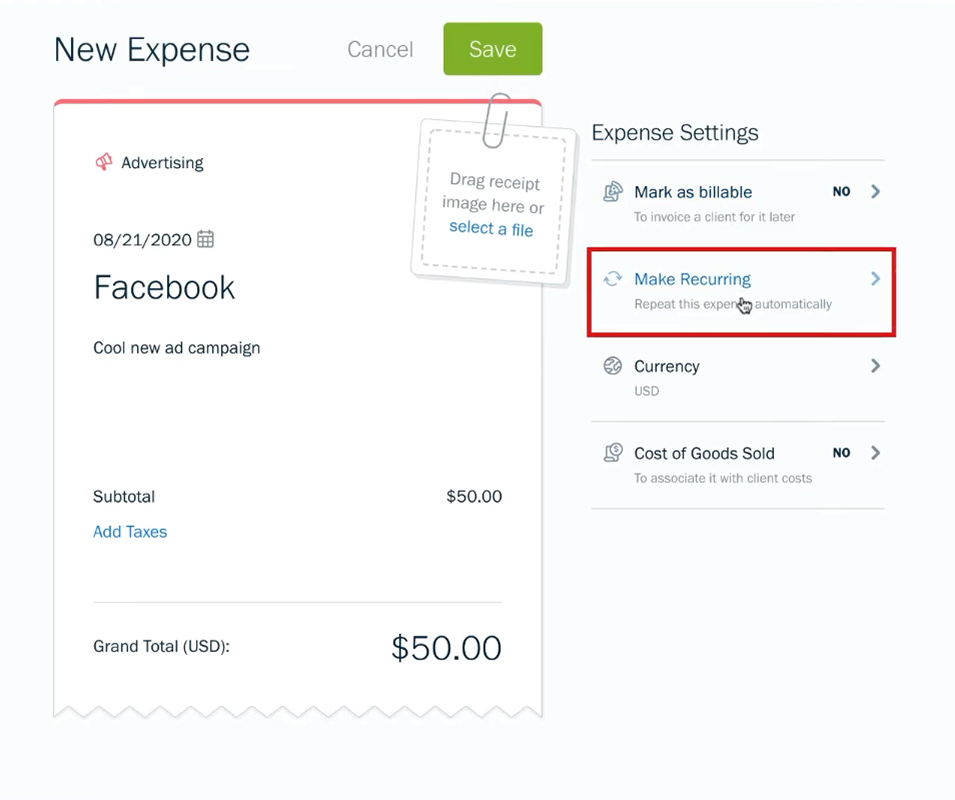
You’ll have the option to choose how often the expense recurs. As well as how many times it should recur.
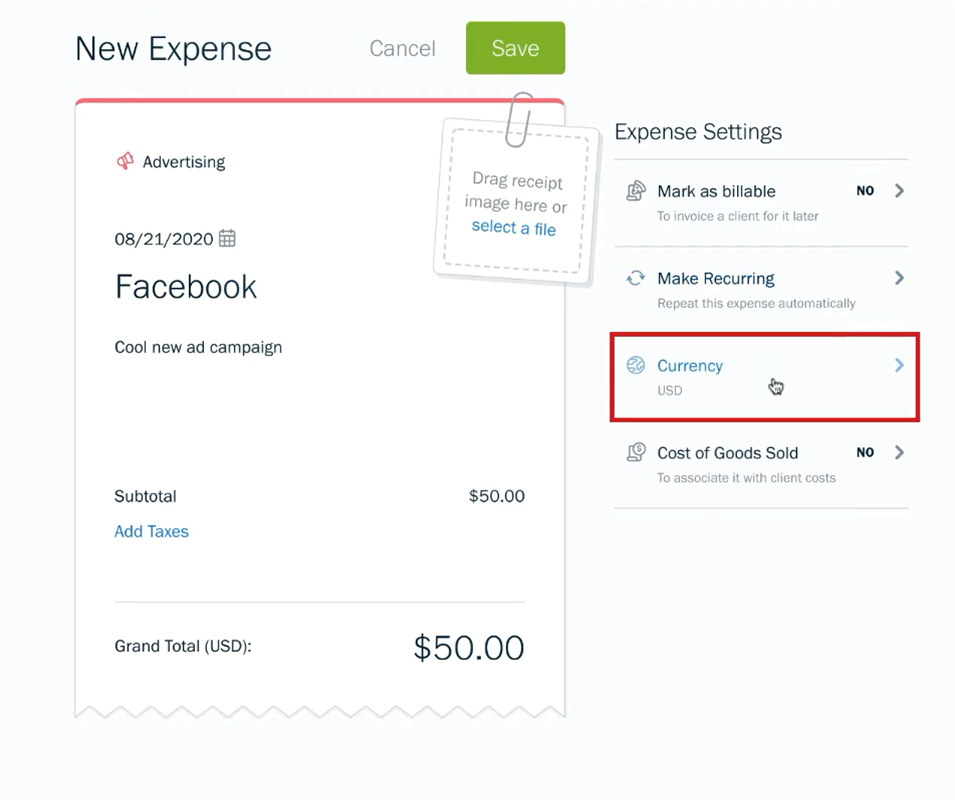
Currency
You can change the currency if you need to.
Cost of Goods Sold
You can also state if this is part of the Cost of Goods Sold (COGS).
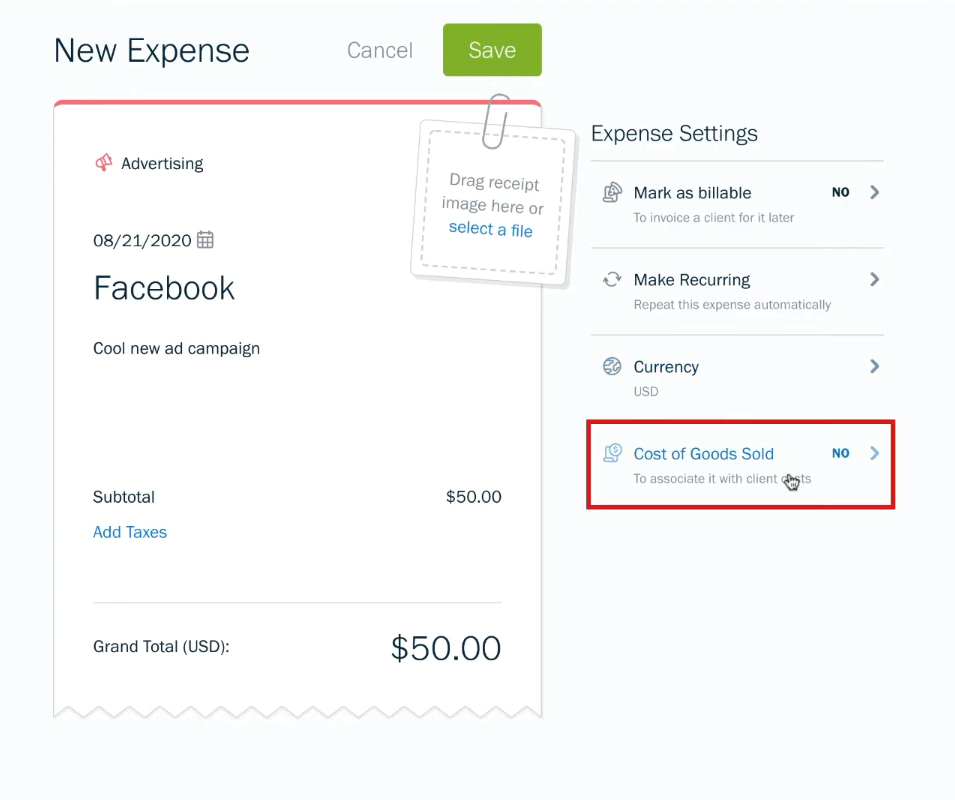
If this is a COGS expense you’ll have the option to mark the expenses category as always a COGS expense.
Save Your Expense
When you’re finished entering your expense click the green Save button at the top of the screen.

When the expense downloads from your bank into FreshBooks. FreshBooks will automatically connect this expense with the downloaded transaction.
I hope this helped you understand how to enter expenses into FreshBooks.
☕ If you found this helpful you can say “thanks” by buying me a coffee…
https://www.buymeacoffee.com/gentlefrog
If you’d like to watch me walk through this process check out the video below: