Edit Company
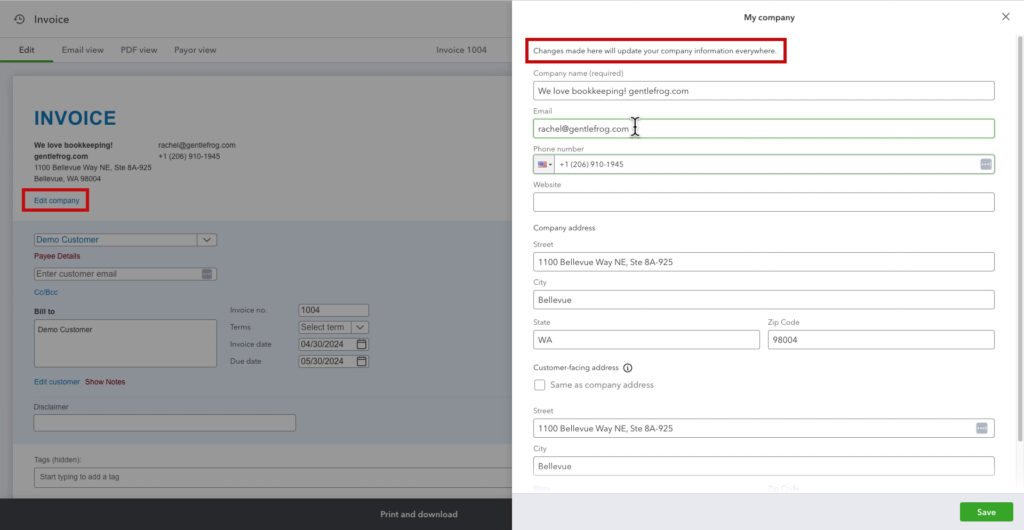
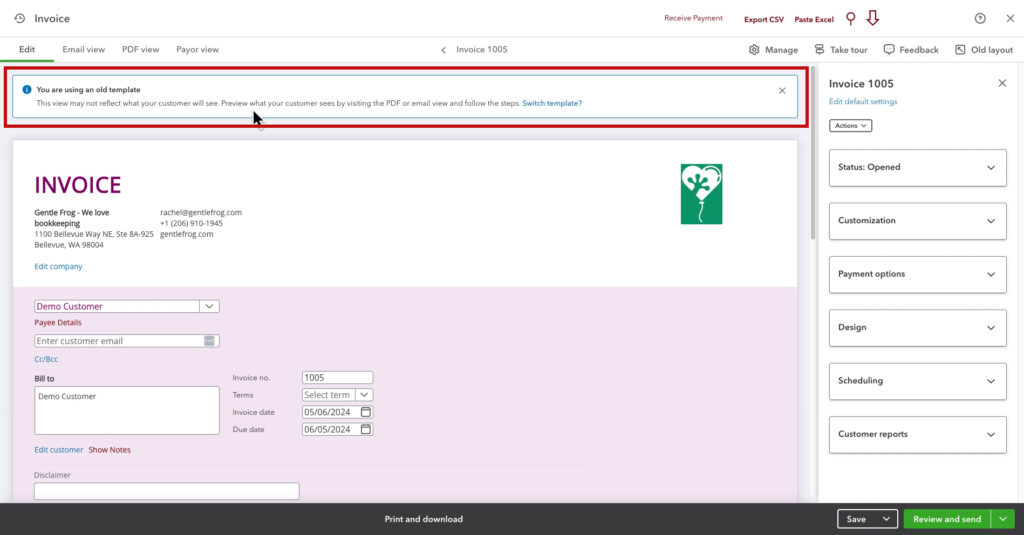
At the top of the invoice, you will find your company information. Below that is an Edit company link.
When you click that link, it opens the My Company pop-out. This updates your company information across QuickBooks, not just on this invoice.
Customer Payment Options
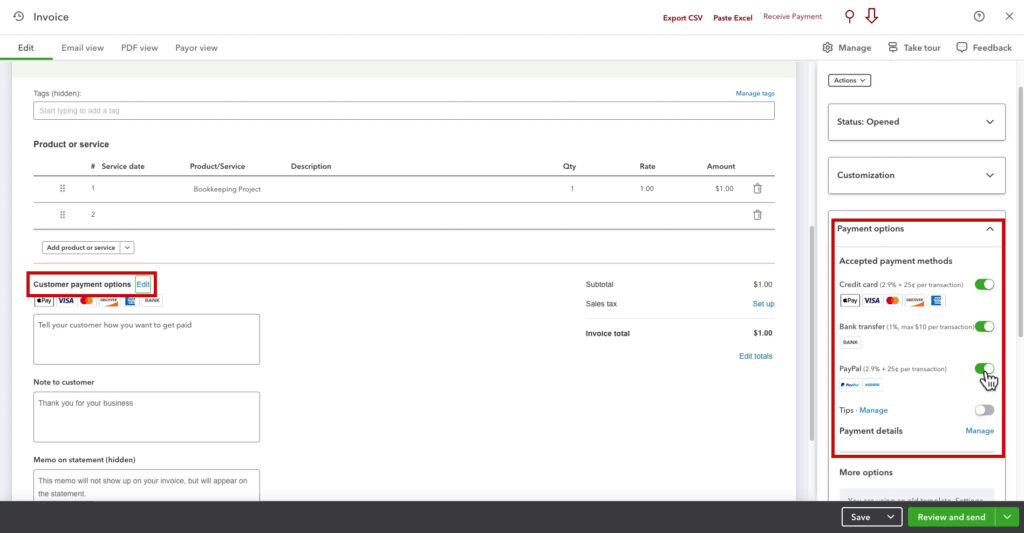
The Customer payment options let you toggle on and off the various ways customers can pay you.
You also have a box with the text “Tell your customer how you want to get paid.” Whatever you write in this box will show up below the payment options.
I have a more detailed blog post covering Customer payment options.
Notes
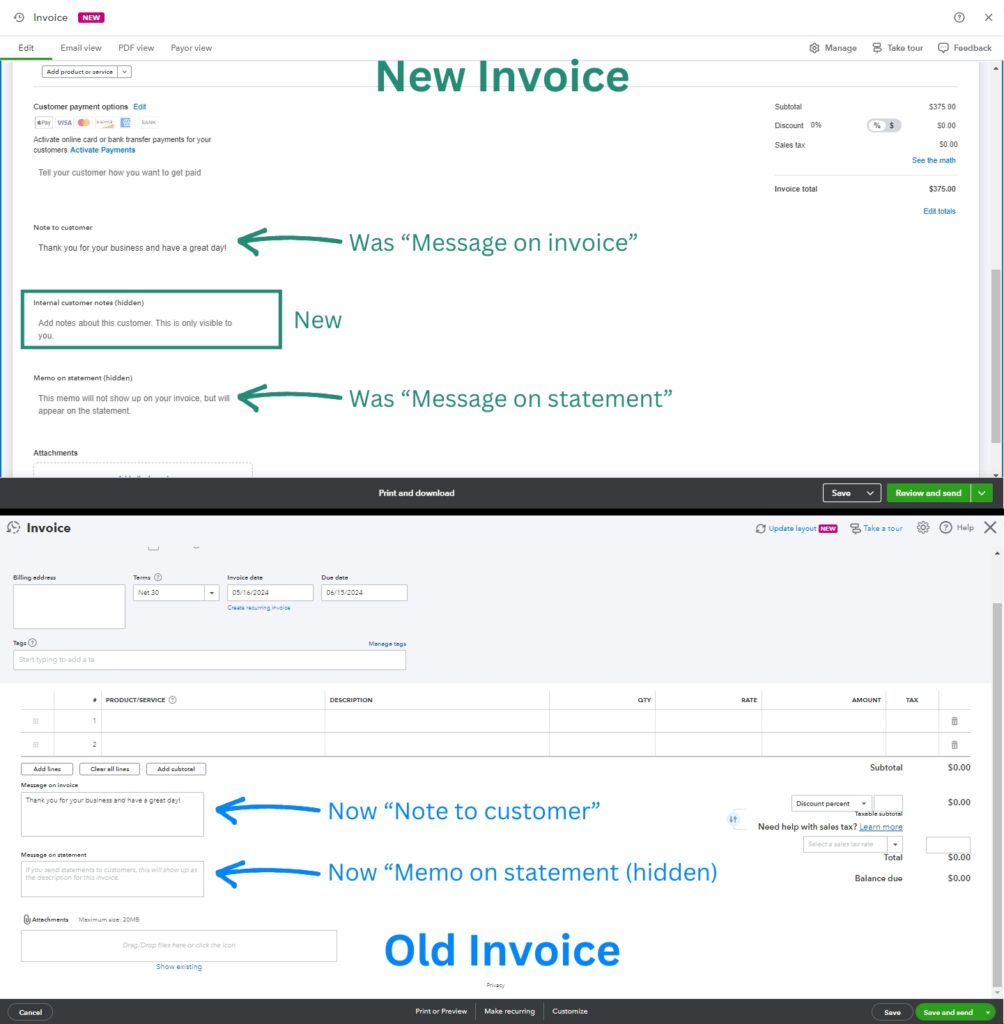
There are three note/message boxes. Two of them are renamed, while one is new.
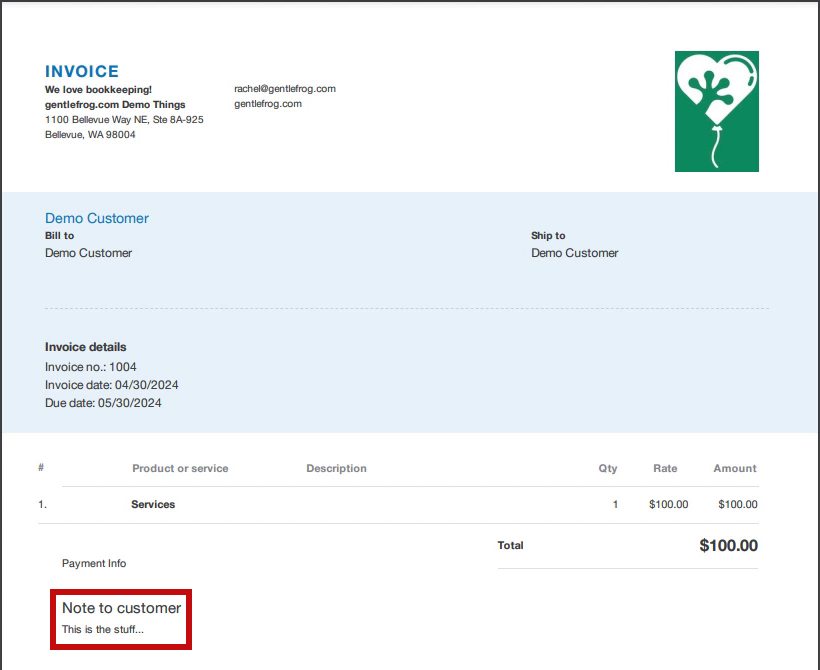
First, is Note to customer. This used to be called Message on invoice. It appears at the bottom of the invoice.
Internal customer notes (hidden) is new. You can add notes here that can only be seen within QuickBooks, it does not appear on the invoice.
Memo on statement (hidden) used to be called Message on statement. Hidden is a bit misleading. While this message does not appear on the invoice, the customer will see it on their statement.
Manage Menu
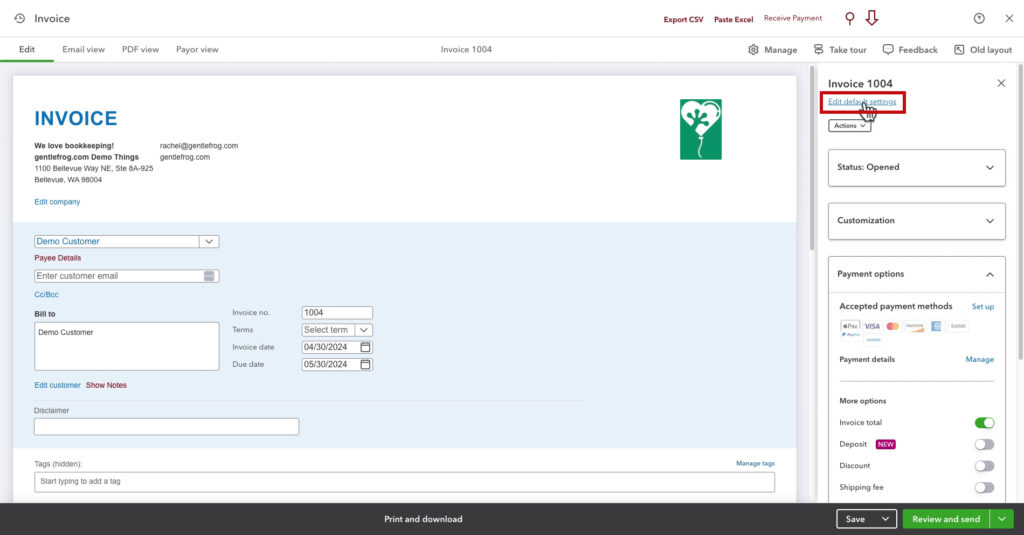
Those are all our options on the invoice. Let’s take a look through the Manage menu. You open this menu by clicking Manage towards the upper right.
Edit Default Settings
The first option is to Edit default settings.
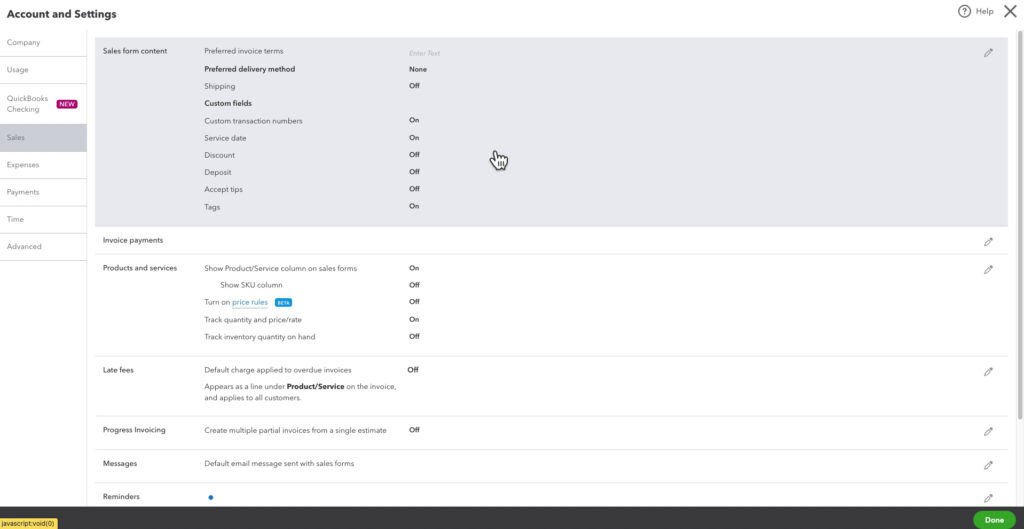
This takes you to the Sales form content section of Account and Settings.
From here, you can turn on and off things like shipping, service date, discounts, etc.
Customization
In the Customization section, you can toggle on and off a few things:
- Ship to
- Invoice no.
- Due date
- Terms
- Service date
- SKU
You can also manage custom fields.
Design
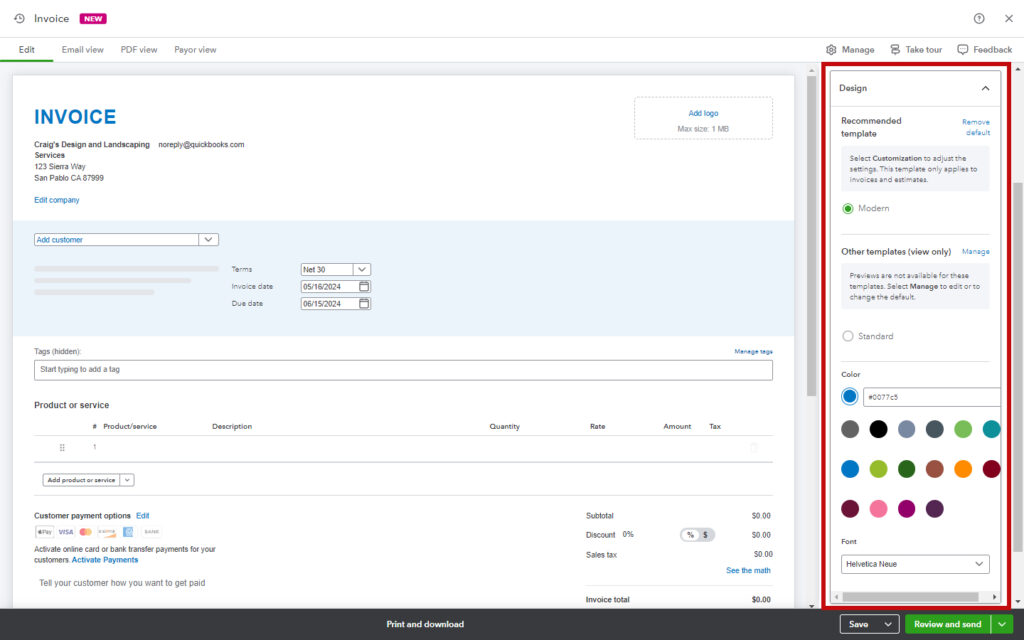
In the Design section, you can change the template, color, and font.
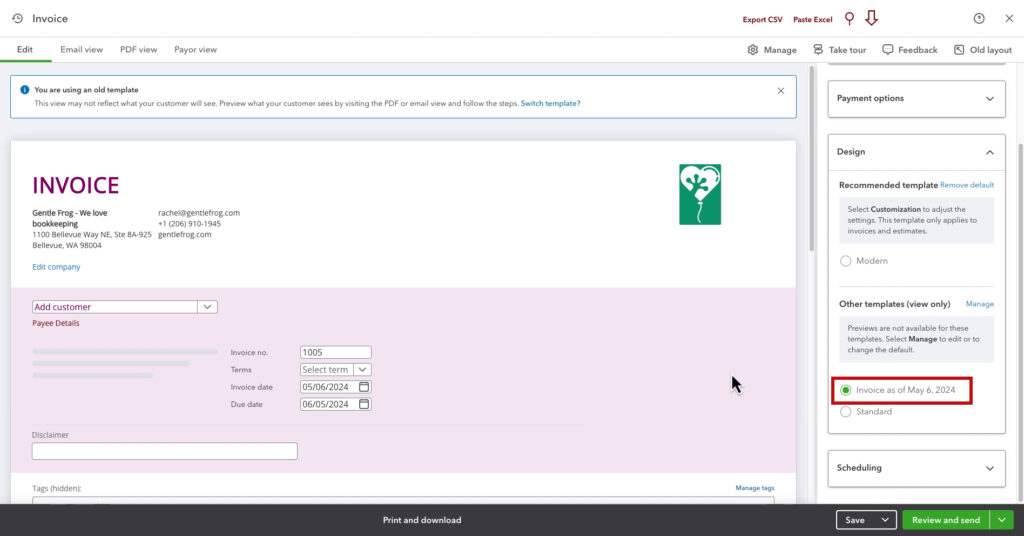
QuickBooks recommends the Modern template. You can select Other templates but they are view only. This means you cannot use any of the “view” tabs across the top of the invoice screen to preview these templates.
Those are your only options for customization within the invoice screen.
Custom Form Styles / Invoice Templates
There is one more option for customizing invoices, creating custom form styles.
To get there, click the gear in the upper right corner. Then click Custom form styles under YOUR COMPANY.
You can click Edit to the right of the Standard form. Or click the New style button in the upper right and select Invoice.
This allows you to create your own invoice templates.
If you’d like to learn more about editing custom invoice templates you can watch the video below:
Preview Custom Invoices
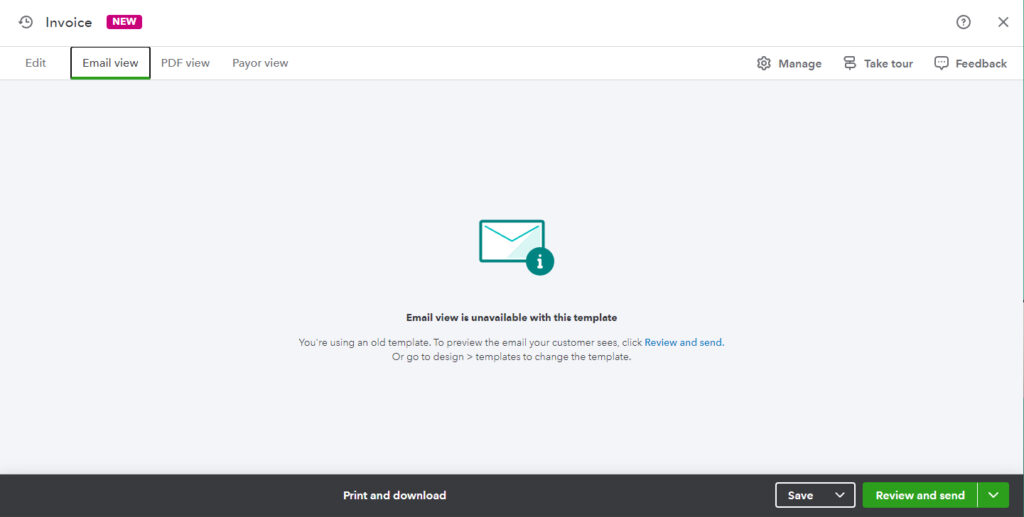
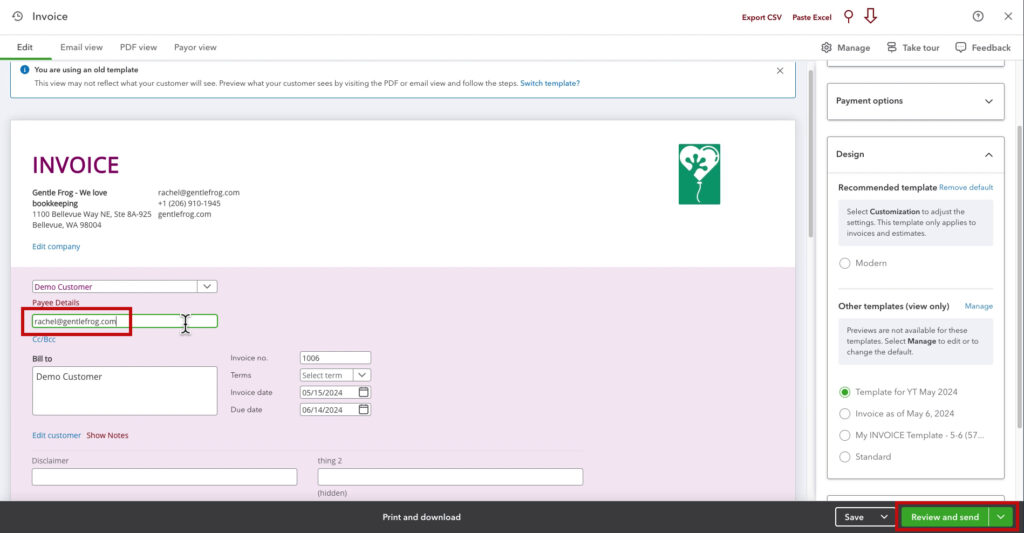
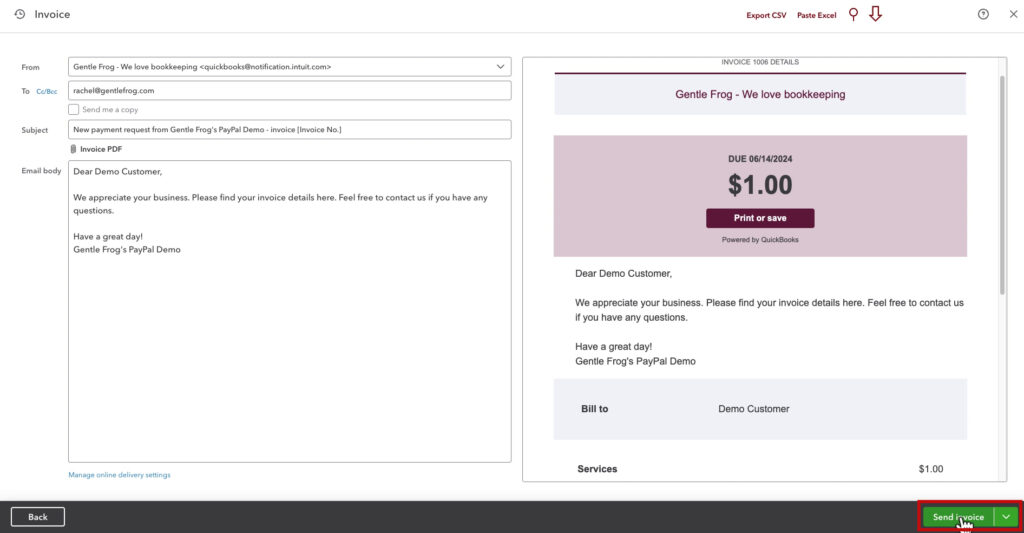
You can still preview the email and invoice by sending it yourself before sending it to your client.
To do this, enter your email address in place of the customer’s email address at the top of the invoice. Then click the Review and send button in the lower right corner.
Provide Feedback
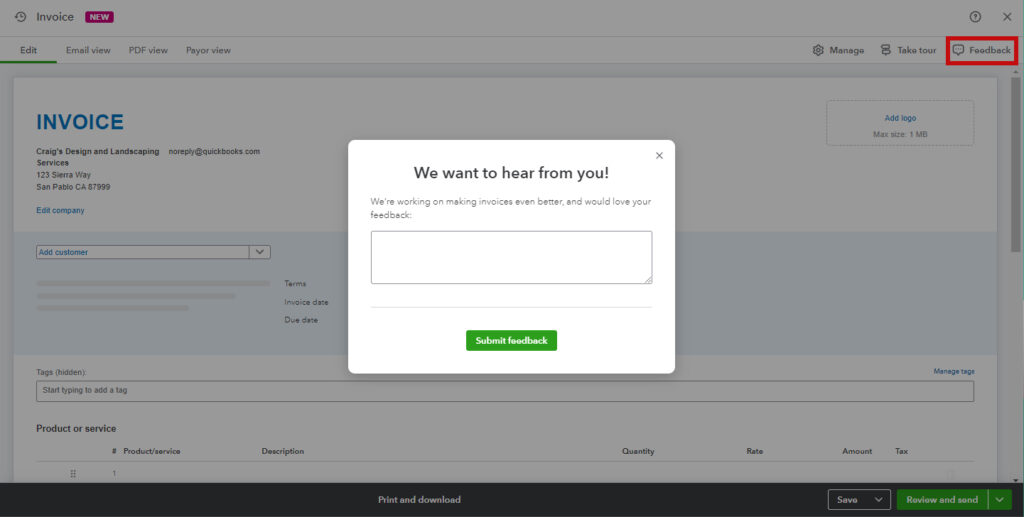
If there’s anything in the new layout that you don’t like, or if you find a feature that’s now missing or confusing, let Intuit know!
You can do this by clicking Feedback in the upper right of the invoice screen. This will open a message box where you can type a message to Intuit letting them know what you’d like to see changed.
☕ If you found this helpful you can say “thanks” by buying me a coffee… https://www.buymeacoffee.com/gentlefrog
Below is a video if you prefer to watch a walkthrough.
If you have questions about the new invoice layout in QuickBooks Online click the green button below to schedule a free consultation.

