In this Xero tutorial, I’ll show you how to add a bank account to Xero. And then, how to import your data into that account using a CSV file.
Quick Instructions:
- Click Accounting -> Bank Accounts in the main menu
- Click the + Add Bank Account button.
- Select your bank from the list
- Click the Skip button on the page Connect Accounts page
- Enter account details then click the Continue button
- Account Name
- Account Type
- Account Number
- From the Bank accounts list click the “Import a bank statement to get started” link in your new account
- Browse to your downloaded bank account data file then click the green Import button
- Assign categories to imported fields then click the green Save button
- Click the OK button in the Import Results pop-up
Keep reading for full instructions with screenshots.
Add a Bank Account
To add a bank account to Xero click on Accounting in the main menu. Then select Bank Accounts.

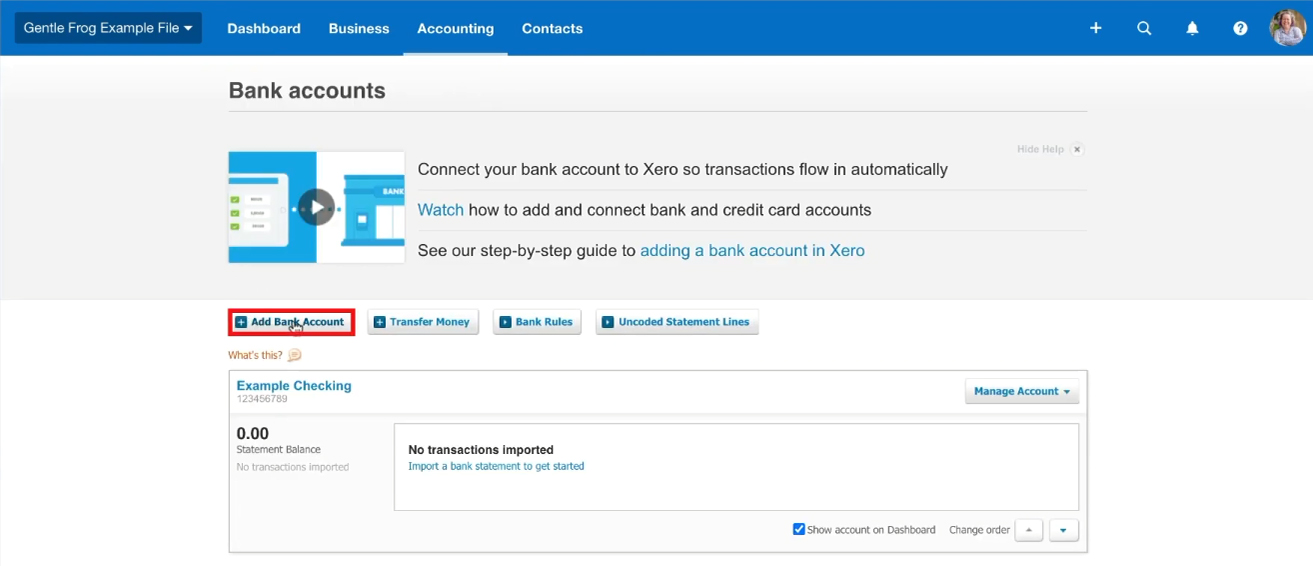
On the next screen click the Add Bank Account button.
Select the name of your bank from the list. For this example, I’ll be adding a Chase bank account.

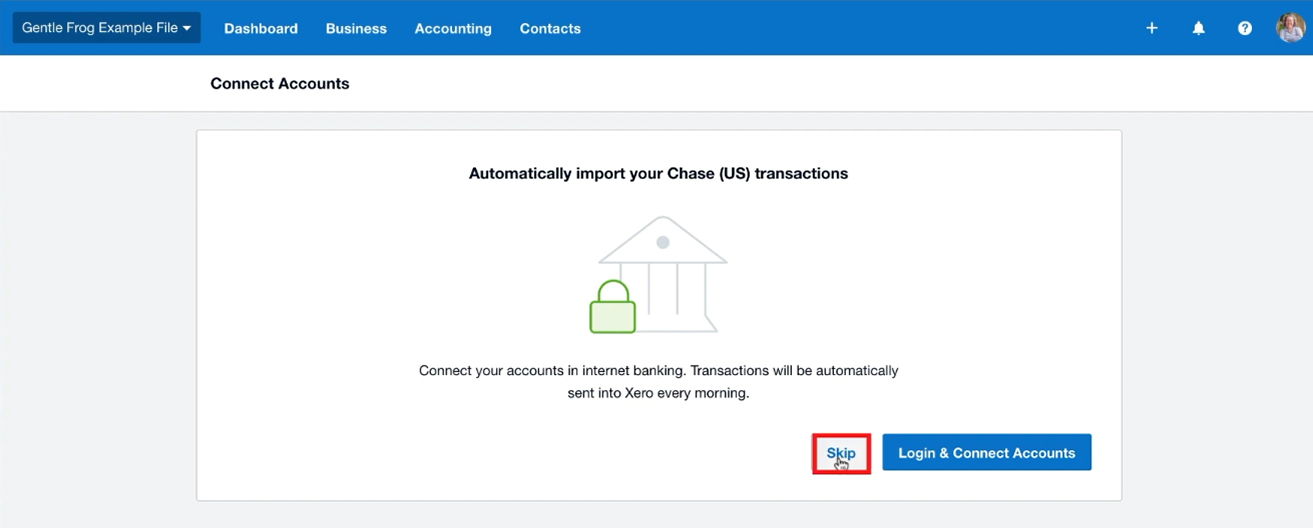
You’ll have the option to connect your bank account. In this example, I’m going to skip this step so I can show you how to import your data using a CSV file.
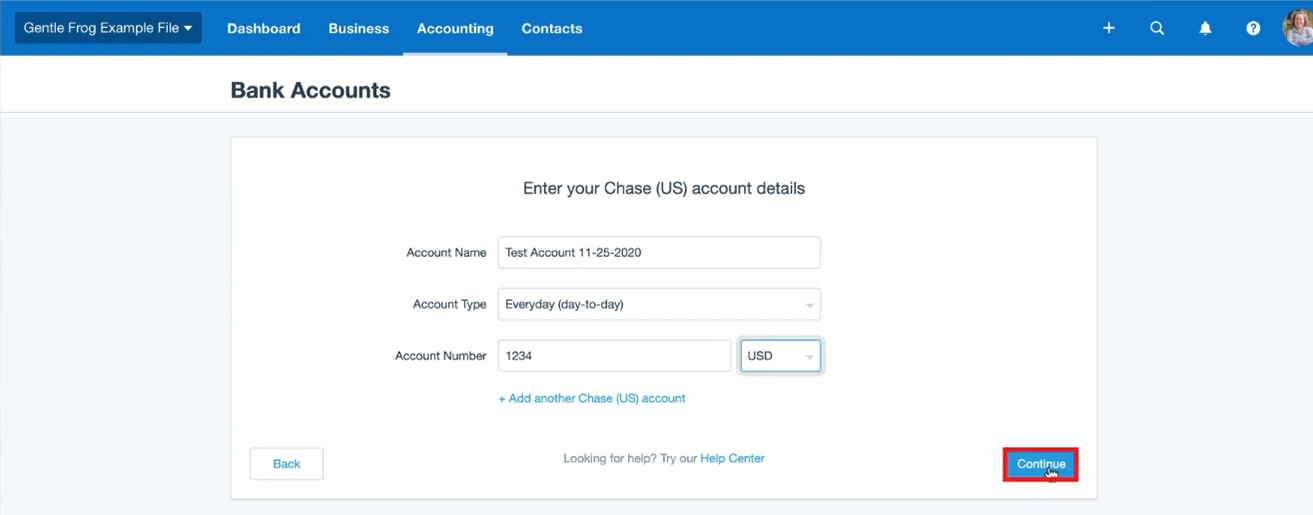
Enter a name for your bank account, the account type, and account number. Then click the blue Save button.
Import a CSV File
You’ll now see your newly added bank account in your list of accounts.

The account shows “No transactions imported.” To import your data click on the “Import bank statement to get started” link.
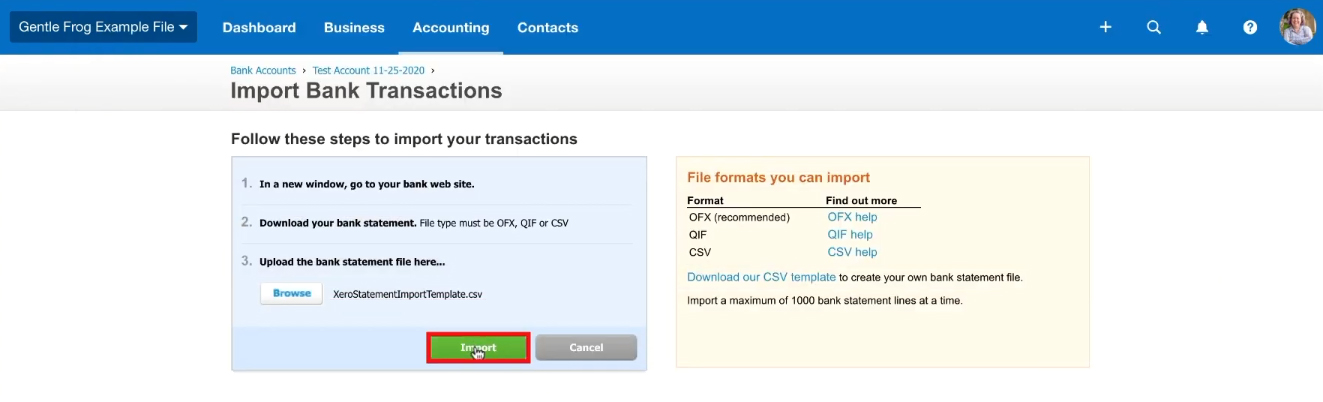
On the Import Bank Transactions screen you have the option to import an OFX, QIF, or CSV file. You’ll need to have this file already downloaded from your bank account. Browse to the file on your computer and then click the green Import button.
At the top of the screen in the green box, it shows you an example of how the data will look once imported into Xero.
Below that, on the left, it shows the lines it imported from your file and suggests what categories to map them to. You can make changes to these by clicking the drop-down menus. Then selecting a different category.
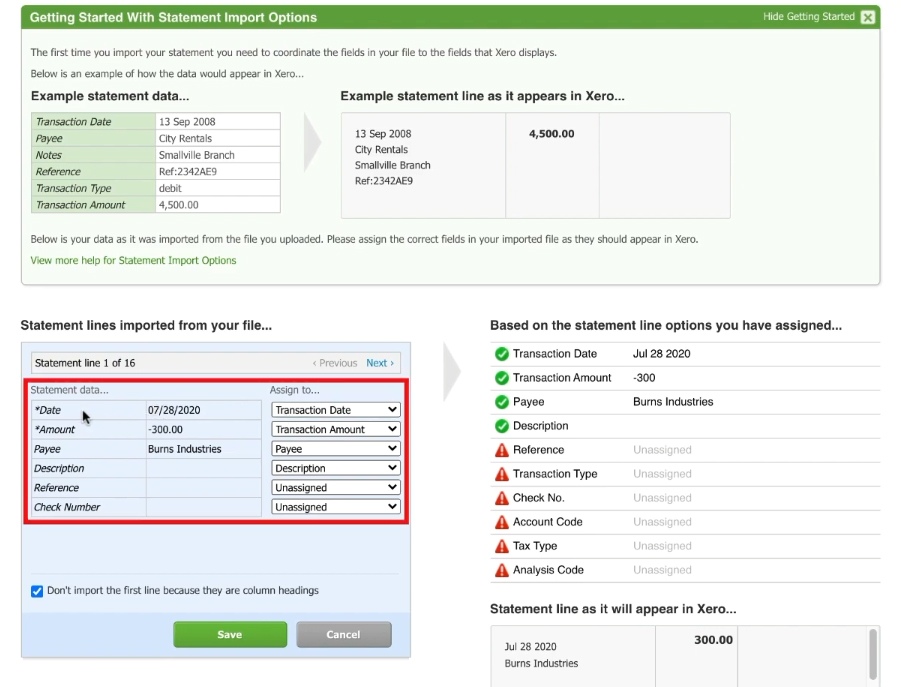
In my example below it did a good job assigning the correct categories.
On the right, the green checkmarks show data that will import. The red warning symbols are showing me categories that won’t import because I don’t have them in my file.
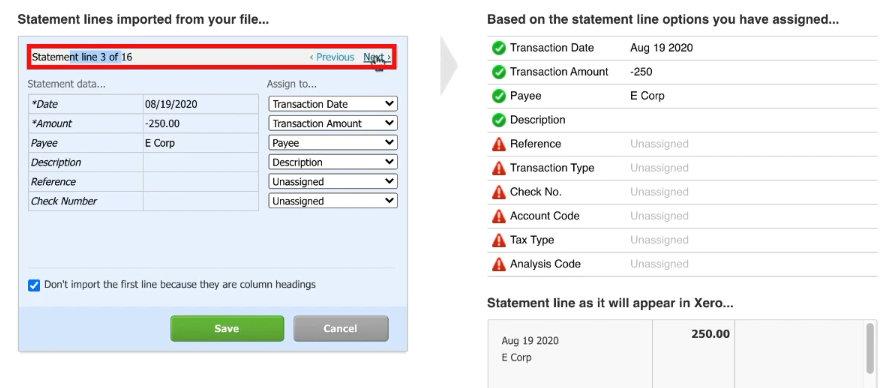
If you’d like, you can click on the Previous and Next arrows where it says “Statement line 1 of X.”
This will move through each line you’ve imported. So you can double-check everything will import correctly.
When your finished click the green Save button. A pop-up will appear letting you know everything imported. Click the blue OK button.
You can now view your imported bank account data.
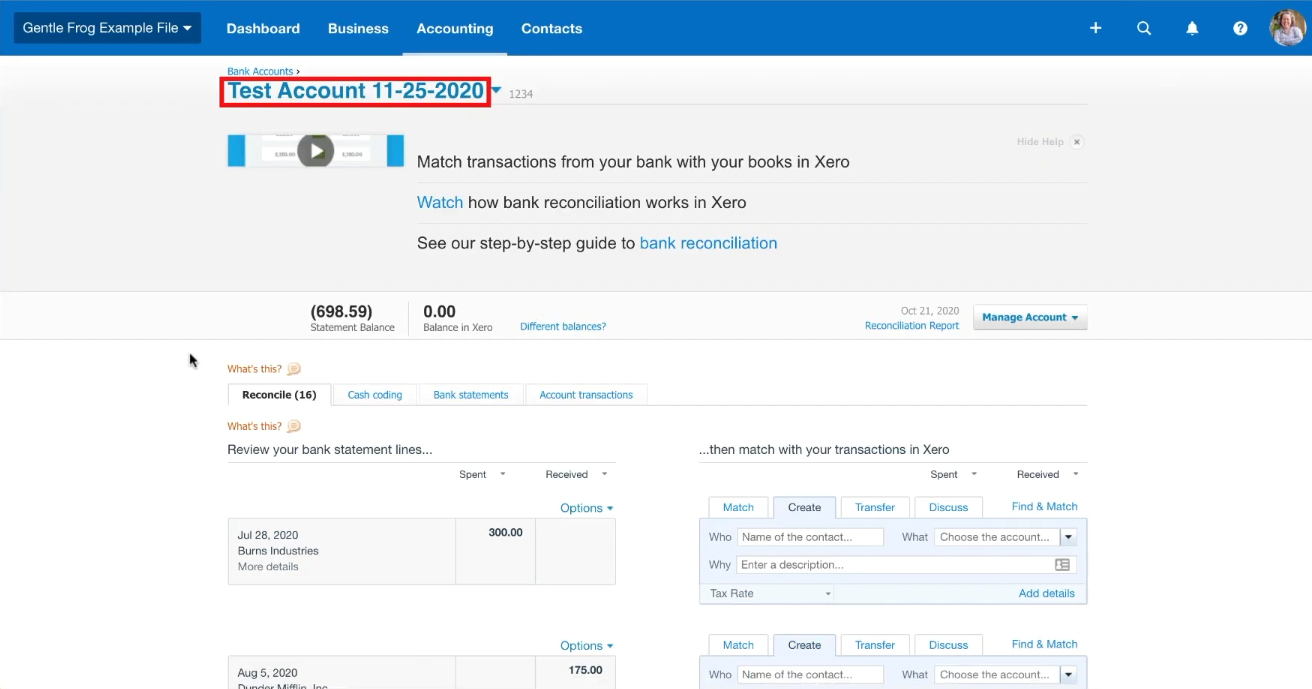
The imported transactions will be ready to reconcile. Click here for instructions on reconciling your Xero bank account.
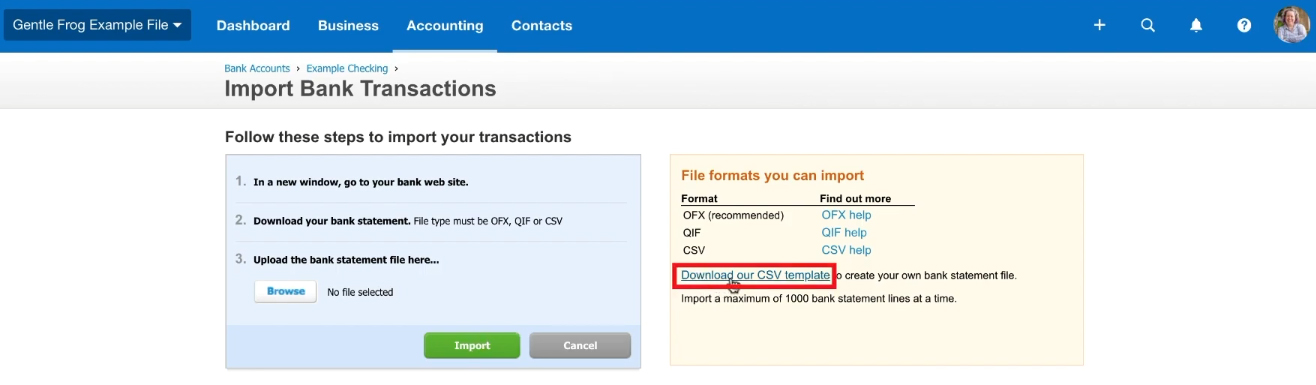
If you try importing a CSV file and it doesn’t import correctly you may need to use Xero’s CSV template.
You can find a link for this template on the Import Bank Transactions page.
You now know how to add a bank account to Xero and import its data using a CSV file. If you have any questions about adding bank accounts in Xero please ask them in the comments.
☕ If you found this helpful you can say “thanks” by buying me a coffee…
https://www.buymeacoffee.com/gentlefrog
If you’d like to watch me walk through this process check out the video below: