Reconciling Xero differs from reconciling with other accounting software.
In other accounting software, like QuickBooks, reconciling means comparing your bank statements to your account. And making sure everything matches.
In Xero, reconciling means reviewing and organizing transactions downloaded from your bank accounts.
There are two different methods for reconciling Xero. Reconciling transactions individually and Cash Coding, which lets you reconcile in bulk.
Reconciling Quick Instructions:
- On the dashboard click a blue Reconcile link in a bank accounts tile
- In the box to the right of an item select the Create tab
- Enter Why
- Click “+ New Contact” if the contact is not already in Xero
- Enter What
- Enter Why
- Click the OK button between the transaction and the Create tab
Cash Coding Quick Instructions:
- On the dashboard click a blue Reconcile link in a bank accounts tile
- Click the Cash coding tab at the top of the screen
- Edit fields for items in the list
- Payee (optional to edit)
- Account
- Tax Rate (updates automatically)
- Check off all items you’ve edited and want to reconcile
- Click the green Save & Reconcile Selected button on the bottom of the screen
Keep reading for full instructions with screenshots.
Reconciling Xero
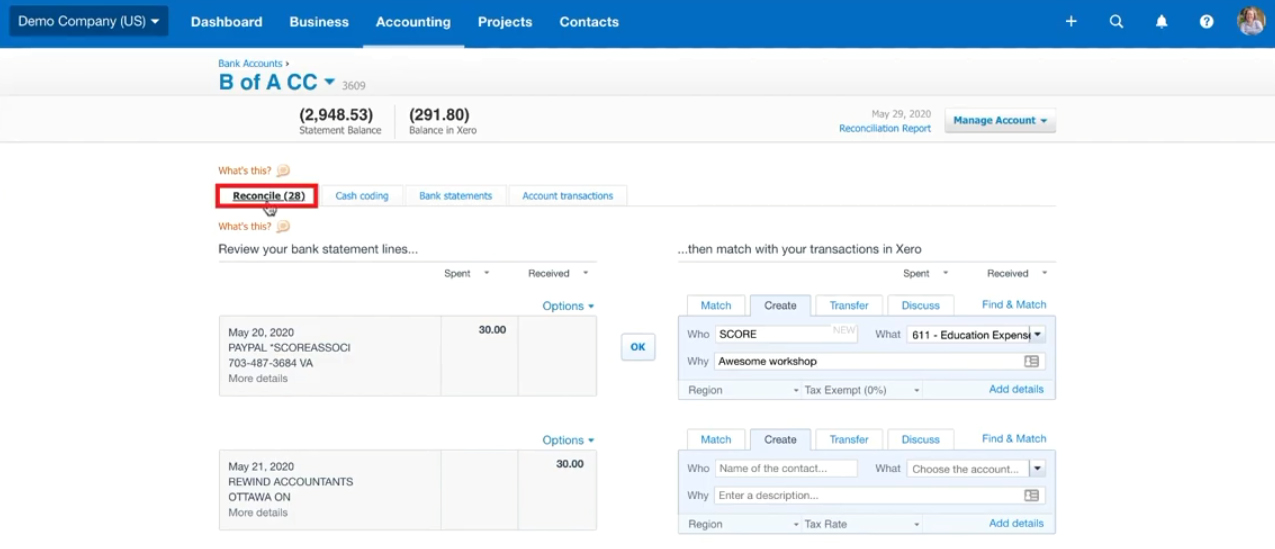
When viewing the dashboard, your bank accounts will have a blue link telling you how many items need to be reconciled.
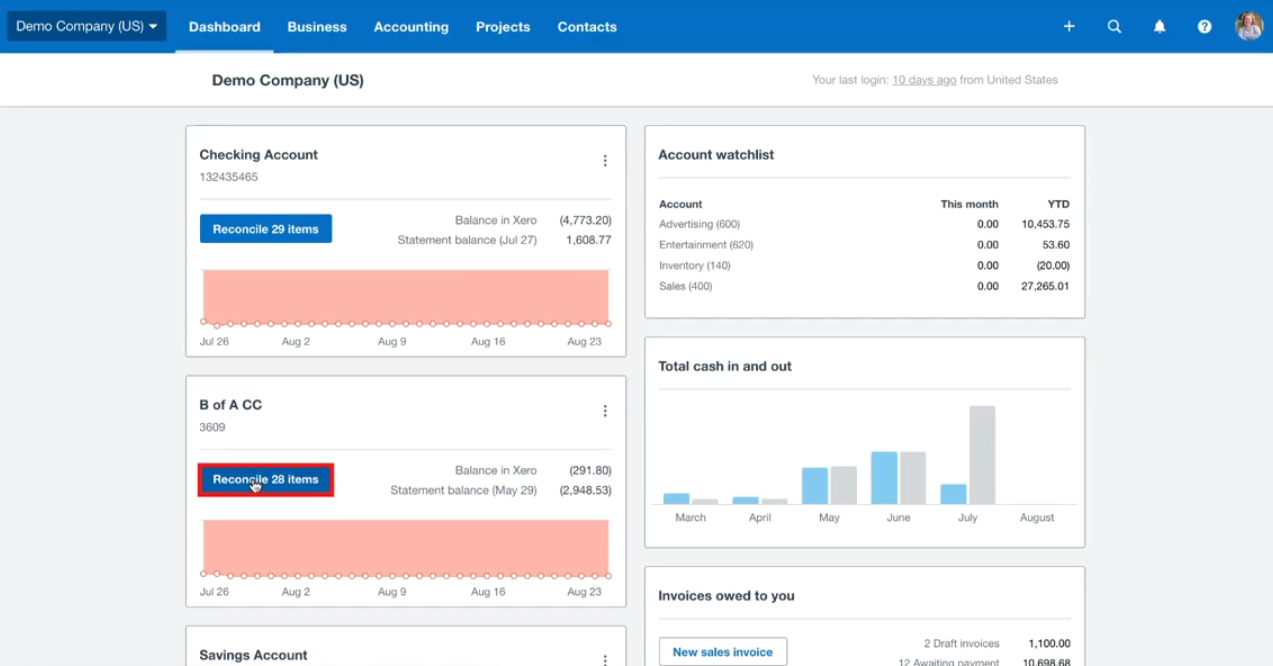
Click on one of those links to begin. You’ll be taken to that bank accounts reconcile screen.
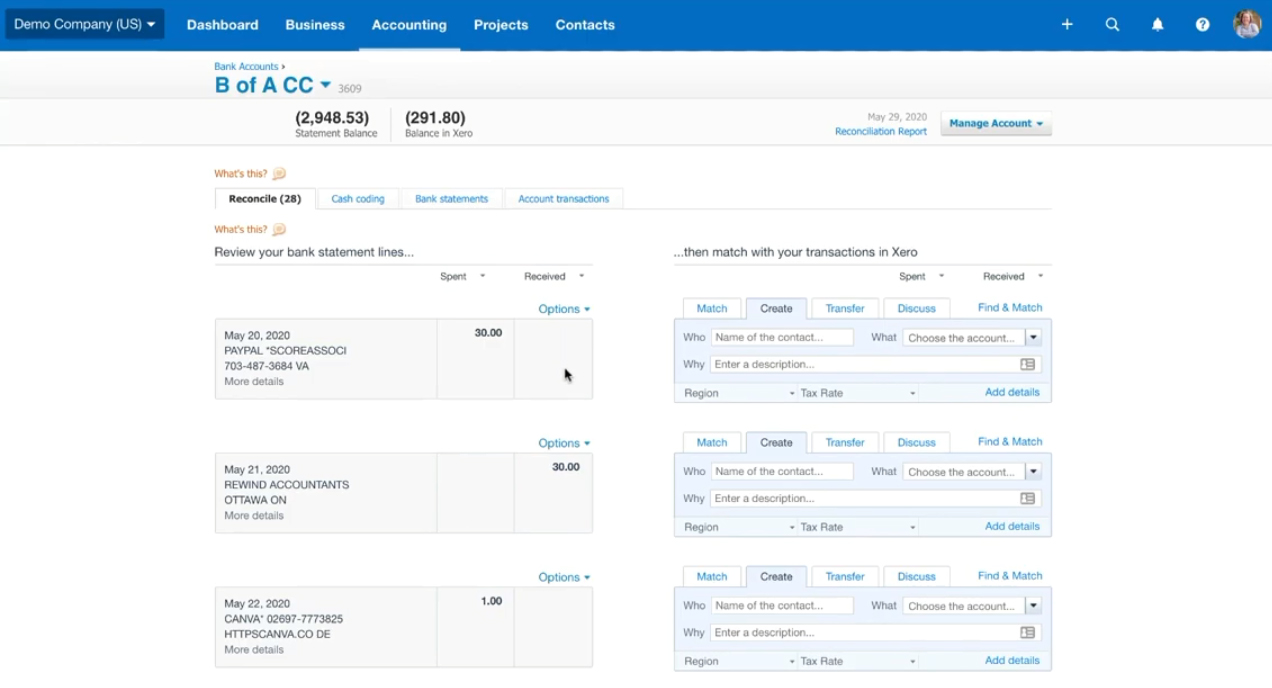
On the left-hand side of the screen, you’ll see the items that need reconciling.
On the right-hand side, across from each item, is a box with actions you can take.
You can:
- Match with an existing transaction
- Create a new transaction
- Log it as a transfer between accounts
- Discuss (add a note to the item)
In this tutorial, I’ll show you how to create a new transaction.
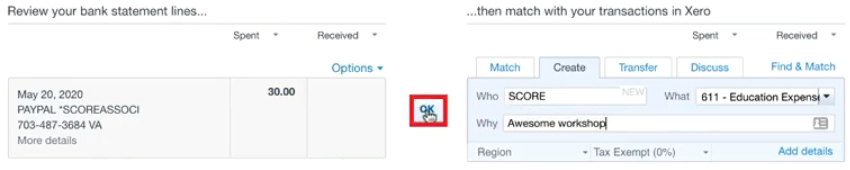
I’ll start with the first item on my list. A PayPal transaction where I paid Score $30.
With the Create tab selected, I’ll enter SCORE as the “who” for this item. SCORE does not yet exist, so I’ll click “+ New Contact” to add it. 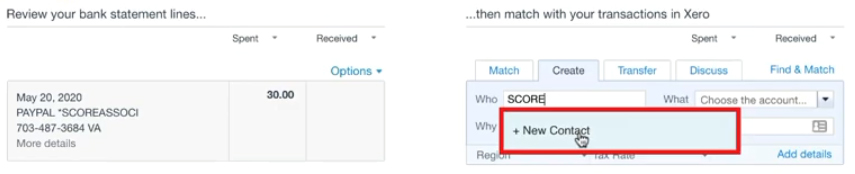
There’s nothing else that needs to be done and no confirmation. The contact is automatically added when you click “+ New Contact.”
Next is the “What” drop-down menu, where you select why you paid this contact. I’m selecting Education Expense.
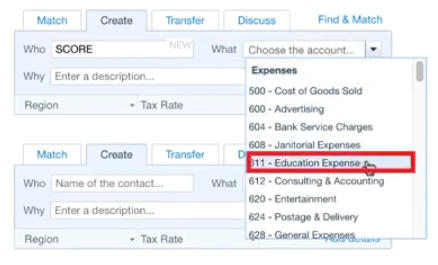
The Why field is for adding an optional description.
When you’re done, click the OK button between the item and the action box.
When you click OK, the item will disappear from the list, and the number next to the bold Reconcile will go down by one.
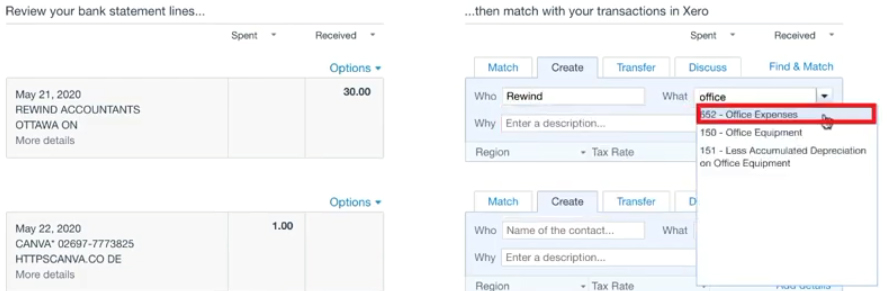
The next item on my list is money received, but I know this was a refund. When I create this transaction I will select the expense account it was initially spent from.
That’s a quick overview of how to reconcile transactions individually in Xero. Next, I’ll cover Cash Coding.
Cash Coding
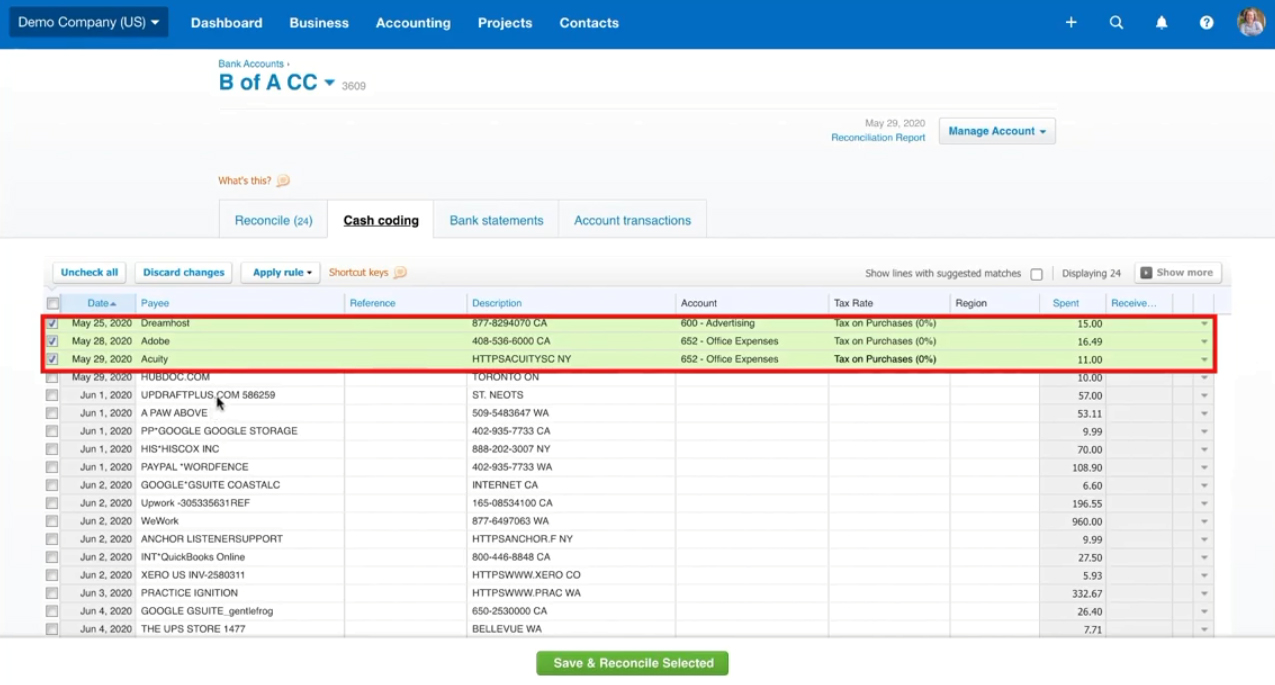
Click the Cash Coding tab at the top of the screen to the right of the Reconcile tab.

On this screen, you’ll see a list of your transactions looking like a spreadsheet.

You can click on any of the fields in this list to edit them. I’ll start with the first item on my list, a DreamHost expense.
First, I’ll update the Payee field, remove the extra text, and change it to “Dreamhost.”
Under account, I’ll click the drop-down menu. Then, select an expense account for this transaction.
The Tax Rate field is automatically filled in after I select the account type.
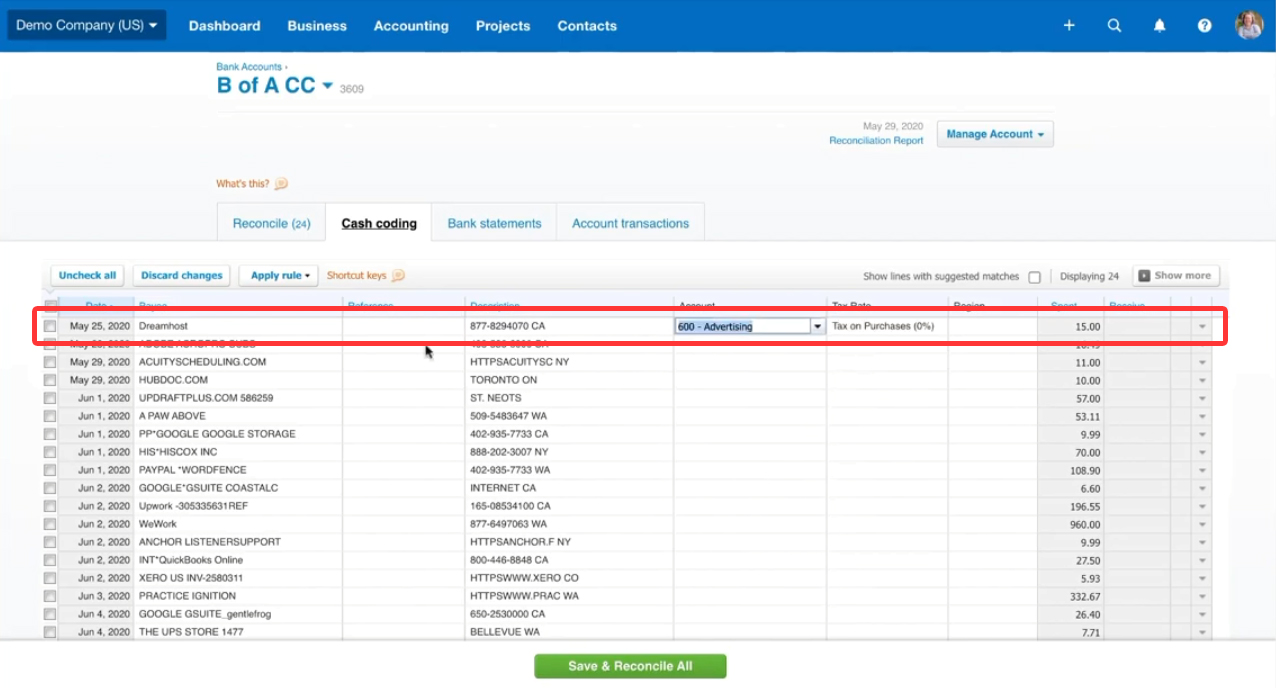
Once you’ve edited several transactions, click their checkboxes to the left.
Then click the green Save & Reconcile Selected button at the bottom of the screen.
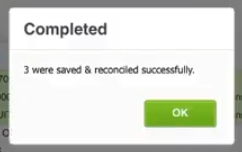
A pop-up will appear, letting you know how many items you reconciled.
You now know how to reconcile your accounts in Xero. If you have any questions about reconciling accounts in Xero please ask them in the comments.
☕ If you found this helpful you can say “thanks” by buying me a coffee…
https://www.buymeacoffee.com/gentlefrog
If you’d like to watch me walk through this process check out the videos below: