In this training, I’ll show you how to set up and get started with QuickBooks Desktop. I’ll be using QuickBooks Accountant Desktop 2020 (also known as QuickBooks Premier).
Quick Instructions:
- Create a new company
- Select “Express start”
- Fill in your business information
- Click the “Start Working” button
Keep reading for full instructions with screenshots.
Creating a New Company File
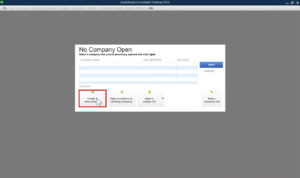
When you first open QuickBooks Desktop you’ll see a box that states “No Company Open.” You have the option to create a new company, open or restore an existing company, or open a sample file.
To create a brand new company file click on Create a new company.
You’ll be presented with a setup screen. You have the option for express start, detailed start, creating a new file based on an existing one, or importing data from other accounting software.
For this example, I’ll be using the Express start option.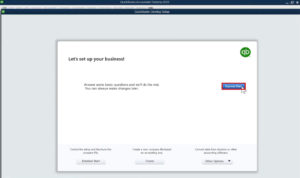
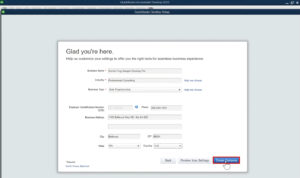
On the next screen, you’ll need to fill in some business information including:
- Business Name
- Industry
- Business Type
Everything else on this screen is optional but it is a good idea to fill in as much as you can.
If you don’t have an EIN you can get one from the IRS website.
After entering your business information click the blue Create Company button in the bottom right-hand corner.
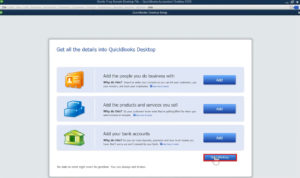
Once the file is created you’ll have a few prompts for starting to enter information into your file.
- Add the people you do business with
- Add the products and services you sell
- Add your bank accounts
I’ll show you how to do each of these in future tutorials. To start I’m going to click the blue Start Working button in the lower right-hand corner.
Now that you have a new QuickBooks Desktop company file I’ll go over some of what you’ll see on the homepage.
Home Page
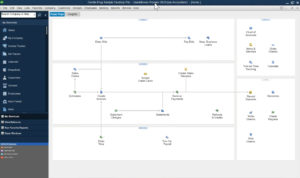
At the very top, you’ll see the name of your file and the version of QuickBooks Desktop you’re using.
Next is the regular Windows menu with everything from File to Help.
On the left-hand side is the shortcuts bar with shortcuts to areas of QuickBooks Desktop that are used most often.
The main part of this screen is referred to as the Home Page. It’s divided up into sections.
- Vendors
- Customers
- Employees
- Company (your business)
- Banking
There are lines and arrows on this screen between many of the icons. They’re there to help you visualize the workflow. Let’s take a look at one of these workflows starting with an estimate.
If we take a look at the Estimates icon we can see that when you create an estimate it can be turned into a sales order that can then be turned into an invoice. Or you could go directly from estimate to invoice. After it’s become an invoice you would receive payment and then record the deposit.
Insights
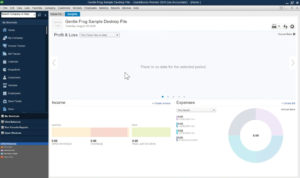
At the top of the Home Page screen there’s two tabs, Home Page and Insights. Insights gives you a visual overview of your Income, Expenses, Profit & Loss, Business Growth, and more.
If you’ve just created your file, as I have in this tutorial, there will be no data to populate this screen.
In the large light blue/gray section where it says “There is no data for the selected period” there are dots showing that their are more pages to view. You can click the left and right side arrows to scroll through these pages. In the top left of these pages you can see the title of the information that’ll be available here once your company file has some data.
This tutorial gave you an overview of creating your file and what QuickBooks Desktop looks like.
☕ If you found this helpful you can say “thanks” by buying me a coffee…
https://www.buymeacoffee.com/gentlefrog
If you’d like to watch me walk through this process check out the video below:
