In this QuickBooks tutorial, you’ll learn how to issue a refund receipt.
A refund receipt should only be issued when your customer already paid their invoice.
If a customer has not yet paid for an invoice and you’d like to wipe out their balance you can use a credit memo. You can find instructions for that in my blog post How to Create a Credit Memo in QuickBooks Online
Quick Instructions:
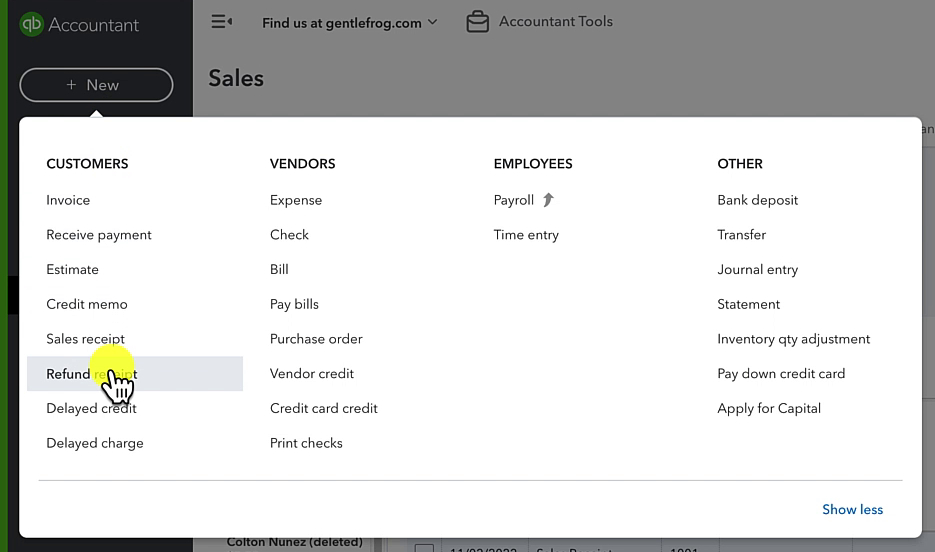
- Click the +New button
- Click Refund receipt under CUSTOMERS
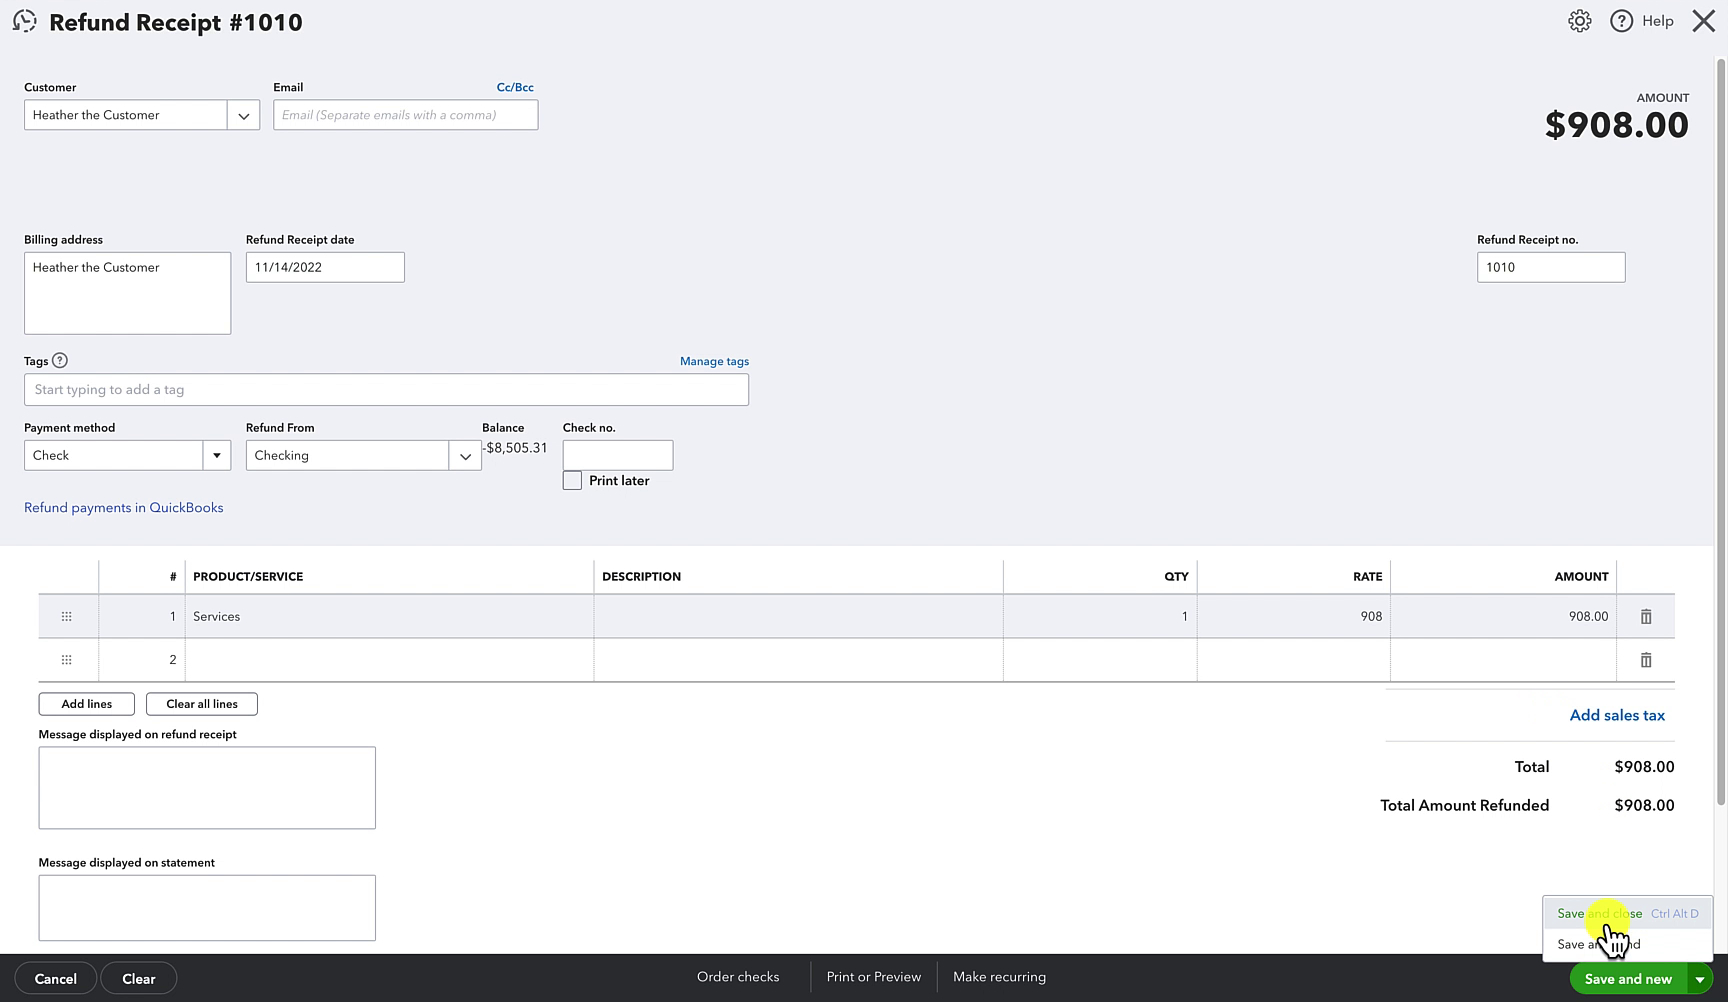
- Fill in the Refund Receipt page
- Click Save and Close
Keep reading for a complete walkthrough with screenshots:
Issuing a Refund Receipt
To issue a refund receipt click the + New button in the upper left corner then select Refund receipt under CUSTOMERS.
Fill in the Refund Receipt page:
- Customer: Who is receiving the refund
- Refund Receipt date: The date the refund is processed
- Payment method: How is the refund being processed
- Refund from: Which of your accounts the money is coming from
- PRODUCT/SERVICE: The product or service the customer originally purchased
- QTY: The amount of the product/service that was purchased
- Rate: The price of the product/service
When you’ve finished filling out this screen click the Save and Close button in the right corner.
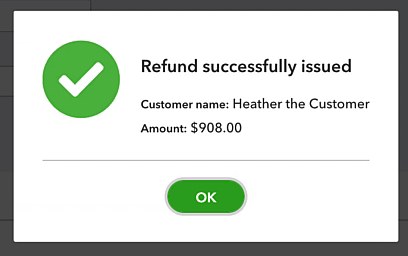
A pop-up will appear letting you know your refund has been issued.
WARNING! Issuing a refund receipt in QuickBooks DOES NOT refund your customer. This is a receipt of a refund. You must process the refund elsewhere. Whether that’s handing your customer cash, using a credit card processor, PayPal, Stripe, etc.
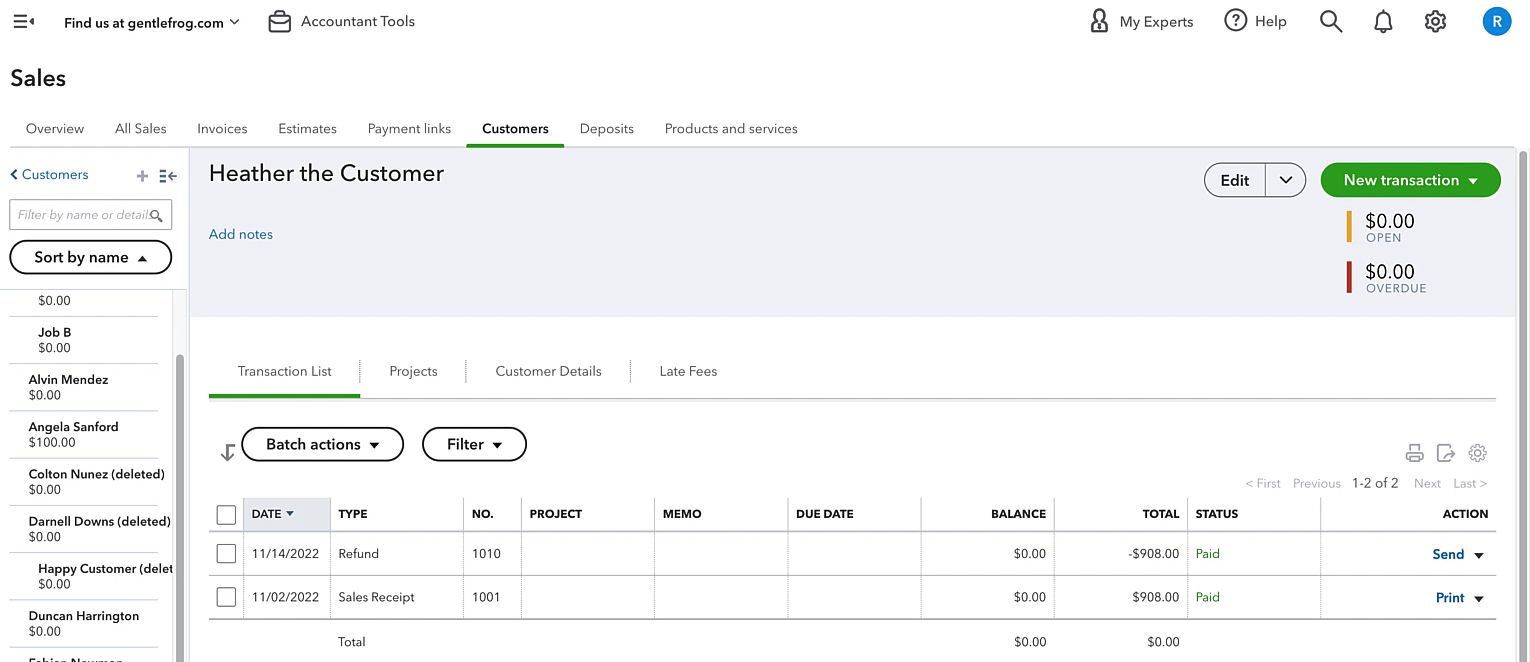
When you view your customer’s details you’ll be able to see both the original sales receipt and the refund.
Refund on the Bank Register
Let’s see what this looks like on the Bank Register.
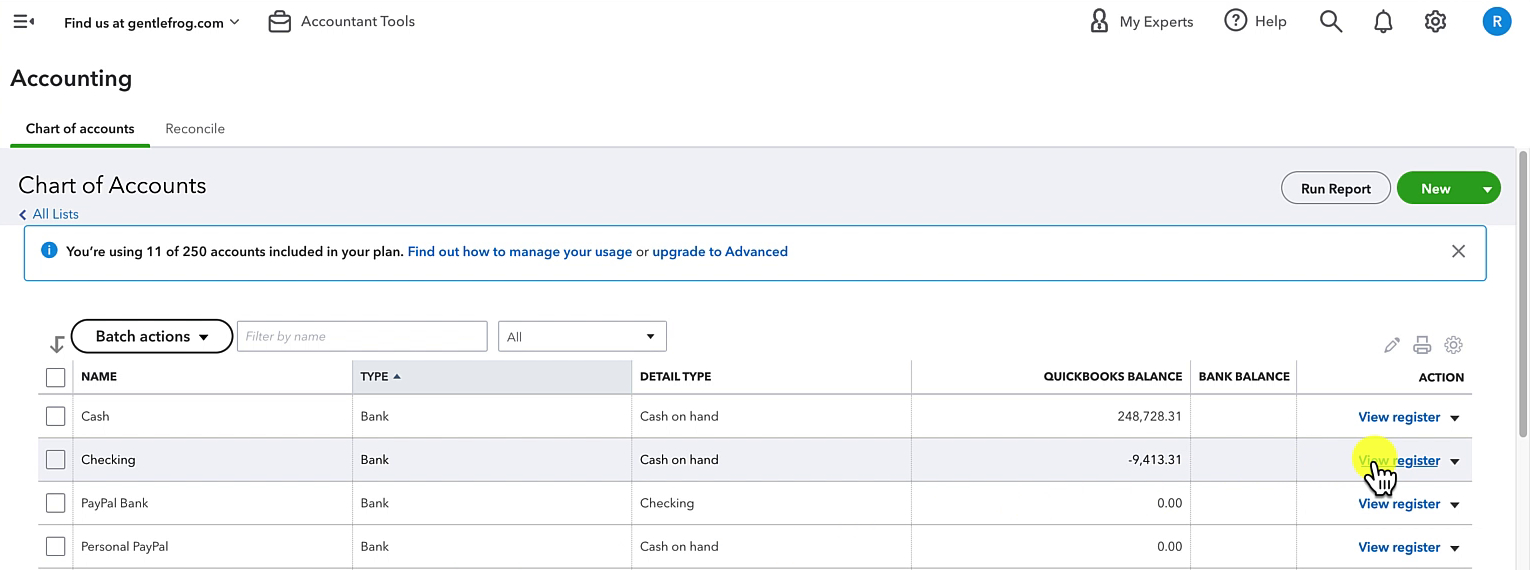
Click Accounting -> Chart of accounts in the left side menu.

Find the account that you used in the Refund from field when creating your refund receipt. Click view register on the right.
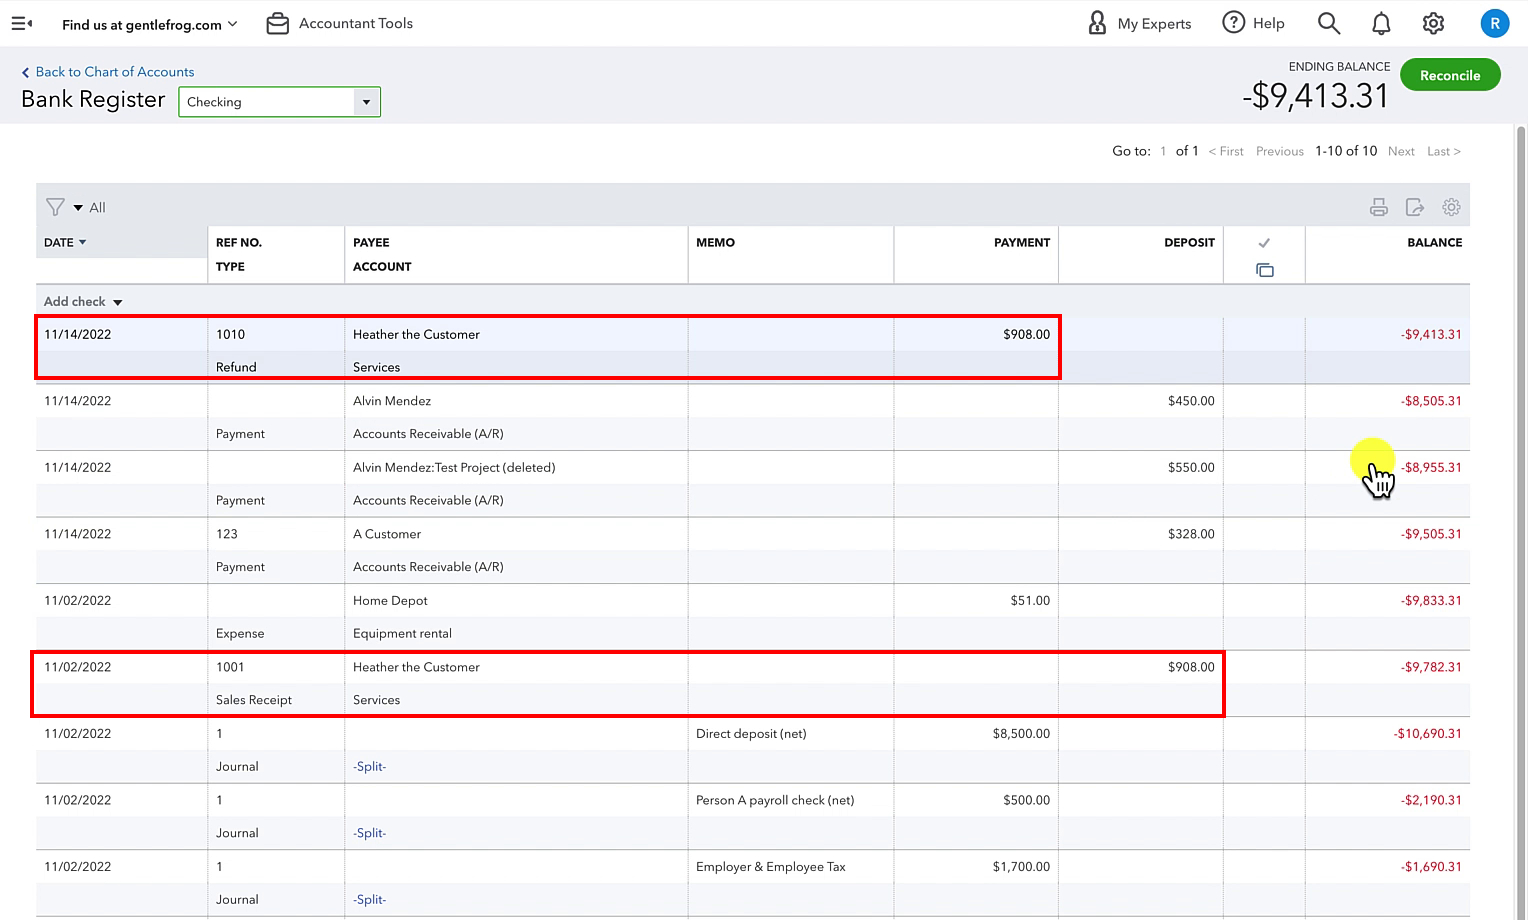
This is ordered by date so I can see at the top the refund (PAYMENT) then lower down the original sales receipt (DEPOSIT).
You now know how to issue a sales receipt in QuickBooks Online.
☕ If you found this helpful you can say “thanks” by buying me a coffee… https://www.buymeacoffee.com/gentlefrog
Below is a video if you prefer to watch a walkthrough.
If you have any questions about issuing refunds in QuickBooks Online click the green button below to schedule a free consultation.